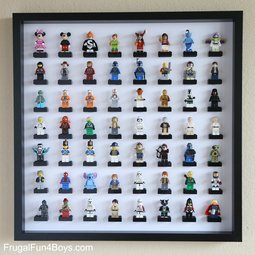
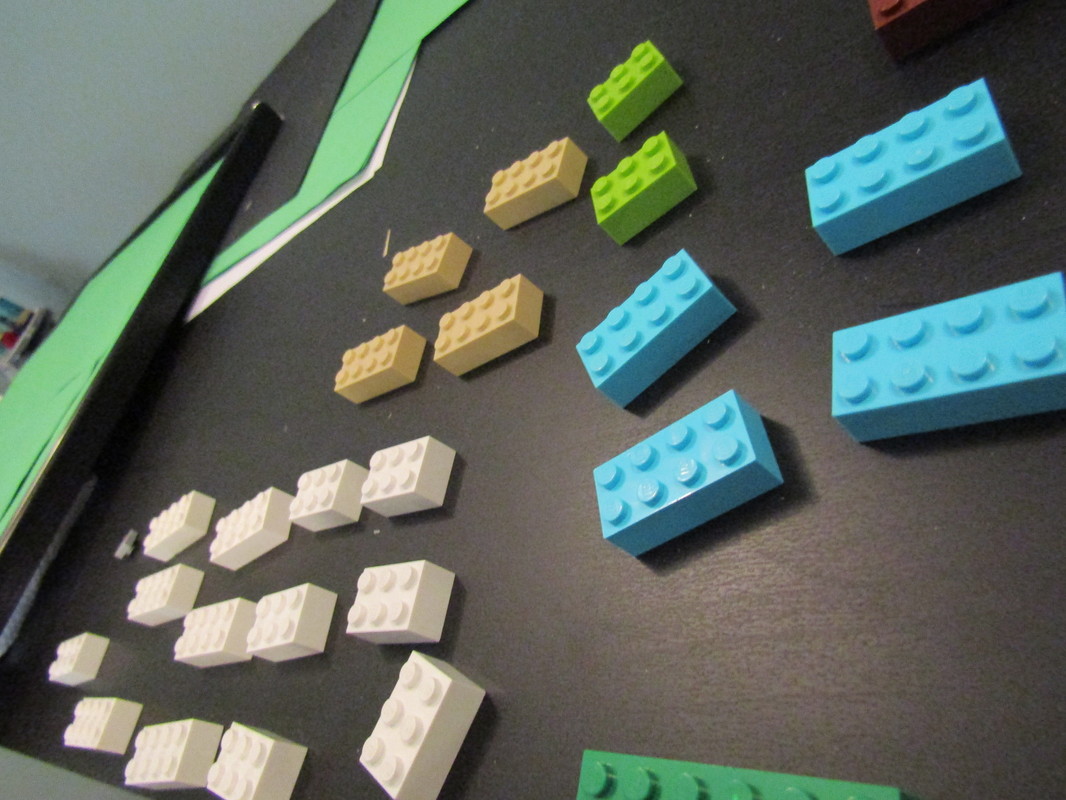
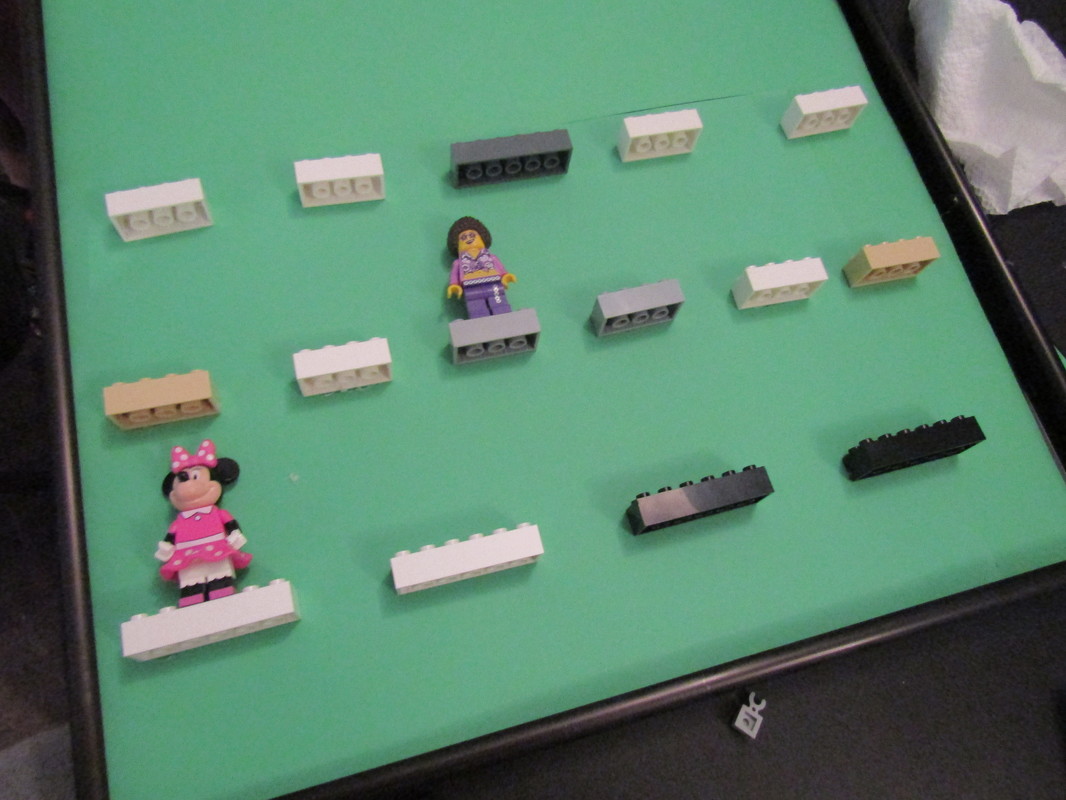
 My kids love Legos. I mean LOVE LEGOS! They are everywhere in my house. In every room with toys and in every toy bucket in those rooms. I saw online a picture at frugalfun4boys an idea that would keep a lot of the lego mini figures together and on display for them to find. SO I thought I'd make our own versions. All you need is: Frame Same size lego pieces as stands for the figures Glue gun/slue sticks 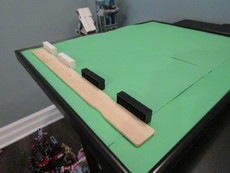 Take out the glass from the frame. The legos obviously won't fit with the glass, but I also want this to be a working display that the kids can get to whenever they want to play with the figures. I backed my daughter's frame with green construction paper to give it some color. I used a paint mixer stick to keep the legos as straight as possible when gluing them down.  I didn't realize how many figures they really had so I had to enlist some help looking for the 6 and 8 peg legos to use as stands. After gluing all the the legos down about an inch or two a part and about 3-31/2 inches between rows it was just time to place the figures. 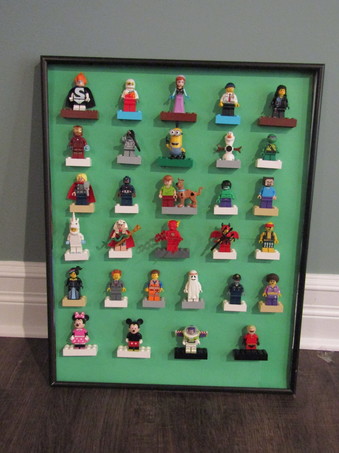 Since my oldest had a frame my youngest of course needed one as well. 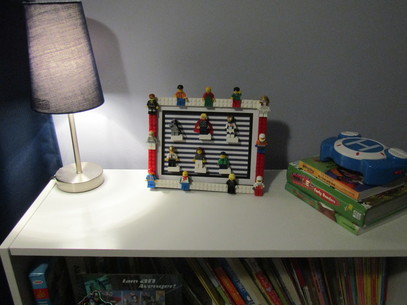 How do you keep your kids toys organized? I'd love to hear some great ideas.
0 Comments
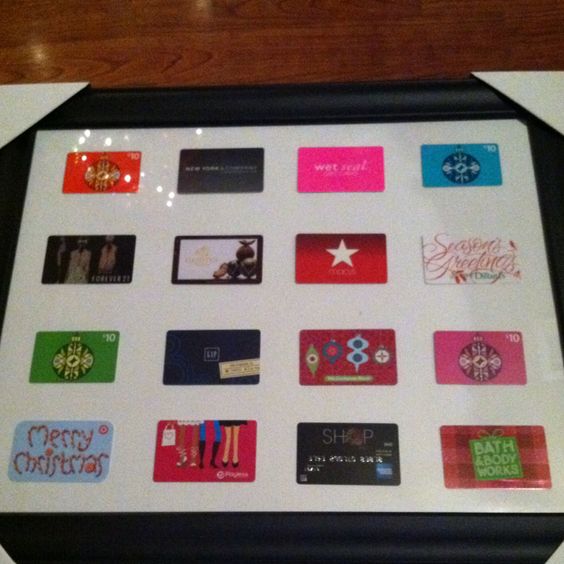
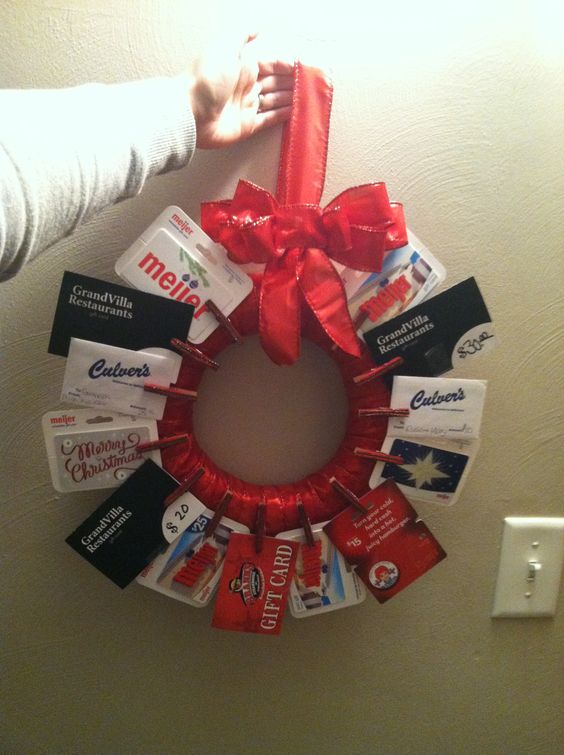
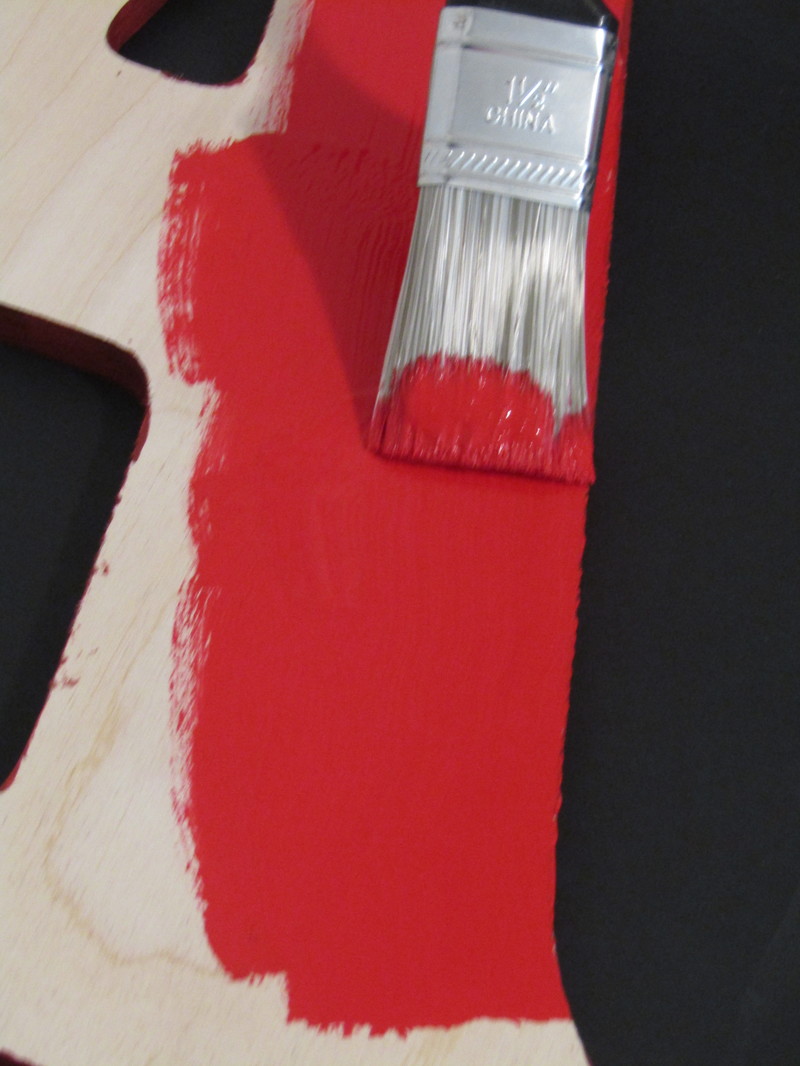
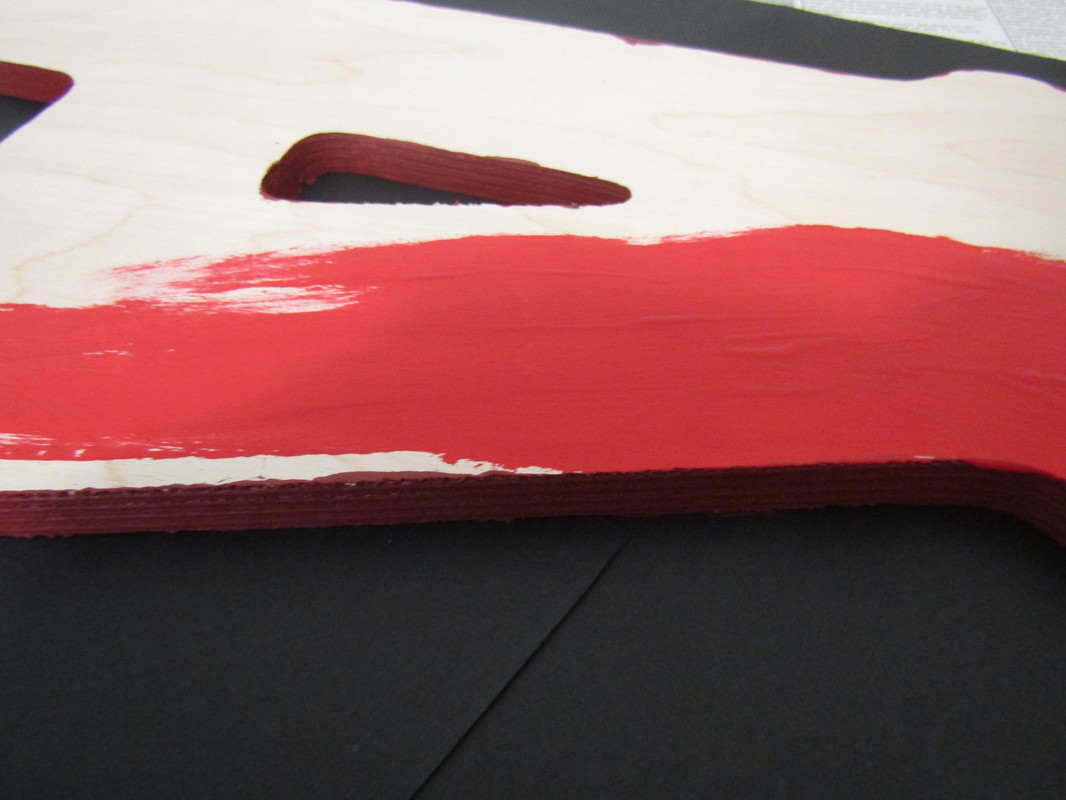
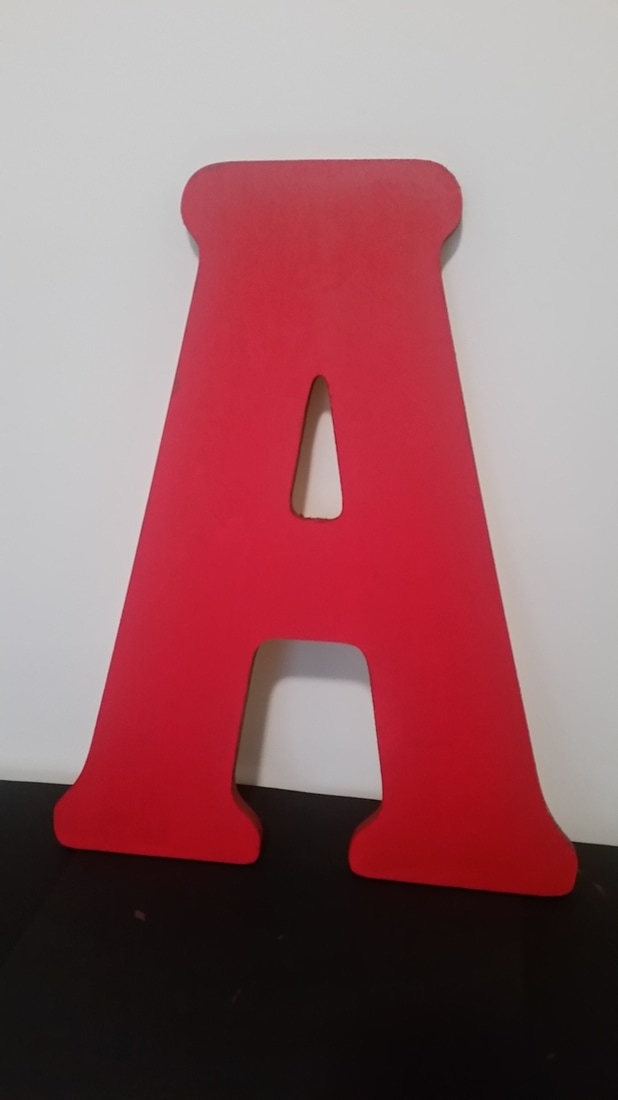
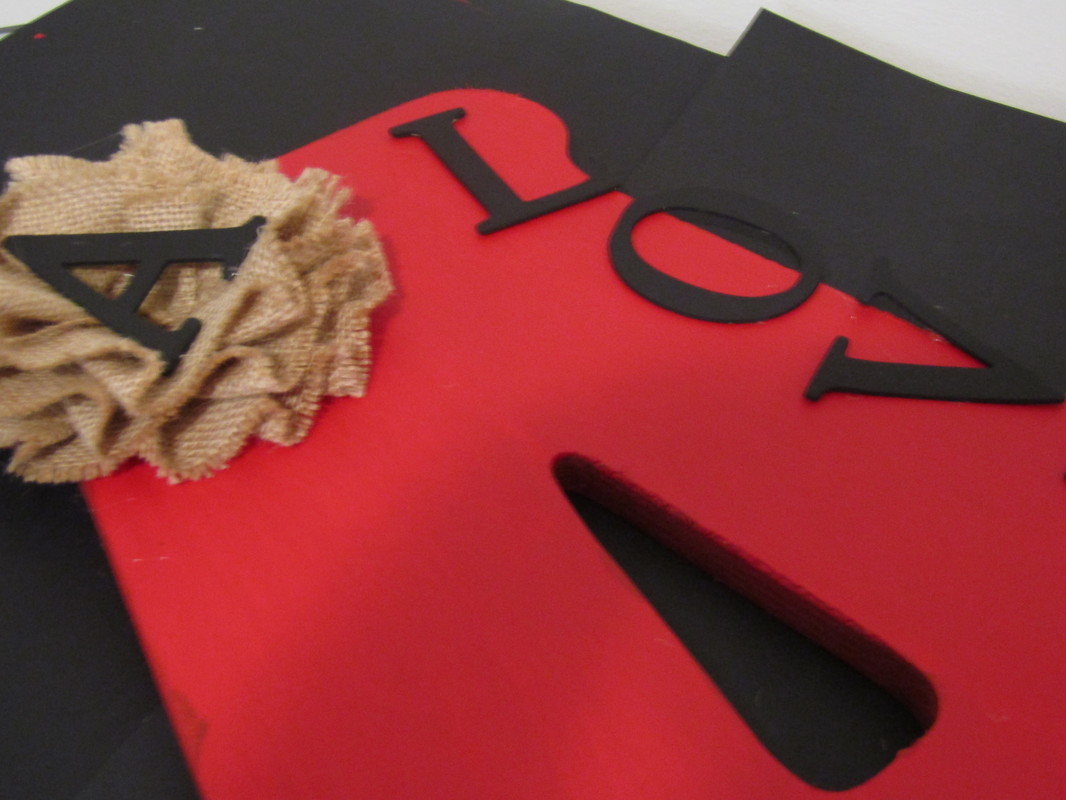
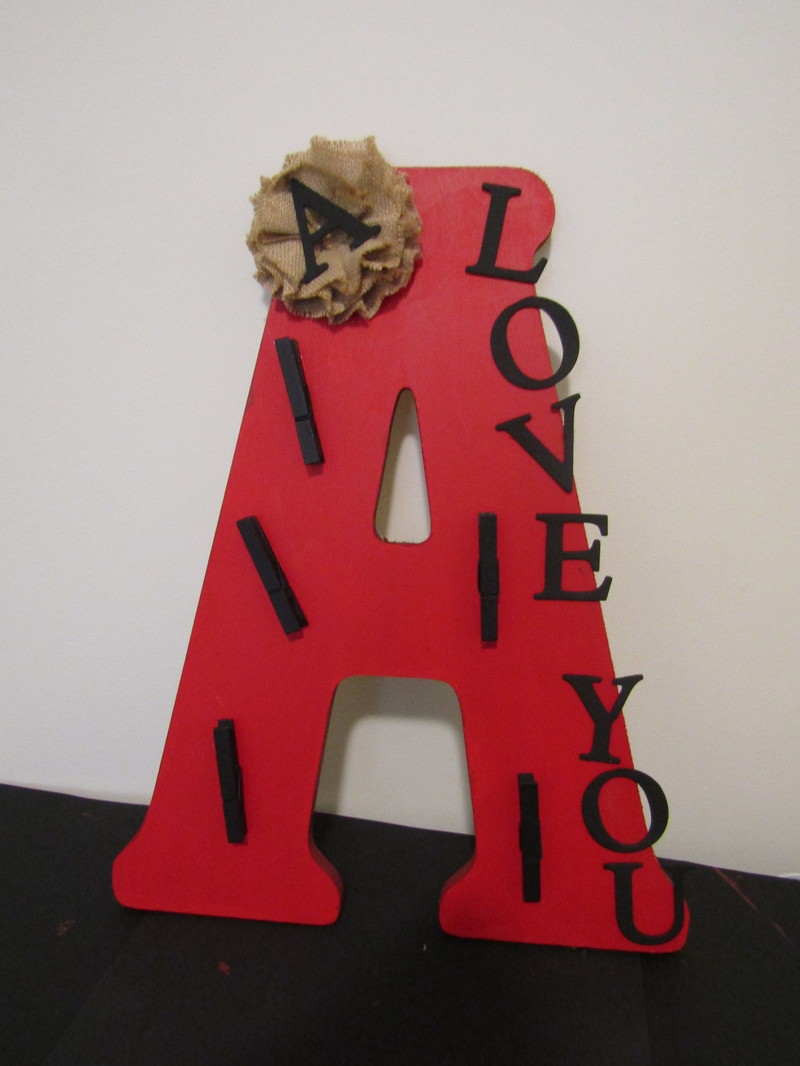
My mom's birthday is quickly approaching and I want to do something creative but living in another state means I have to get busy now. I had the idea of giving her a bunch of gift cards but in a unique way. I found many great ideas but thought that her initial would be a great way to go. 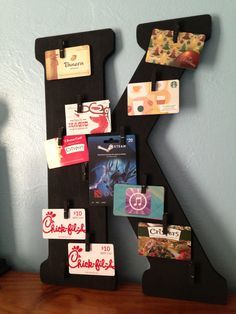 One Stop Party Ideas- has great gift ideas for the more mature birthday guy or girl! Here's my version of this unique gift! 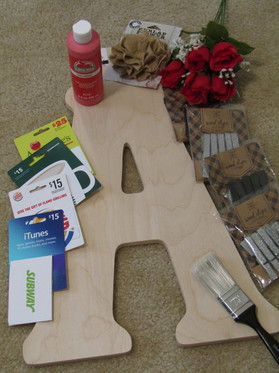 Materials: Giant wooden letter-Hobby Lobby (9.99) Your color choice paint- my mom likes red Clothes pins (found these during the after Christmas sale at Target for $.50) Any embellishments you want to add to decorate your letter Various gift cards 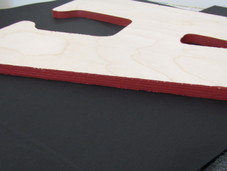 My first step was to paint the edges with a dark red. Once that dried I painted the whole "A" a lighter red.  While I let the red paint dry I painted some smaller wooden letters to add to the "A" black. I used a glue gun to glue the letters down. After gluing down the letter that spell LOVE YOU and the flower to the wooden letter, I glued the clothes pins where I wanted them to go. 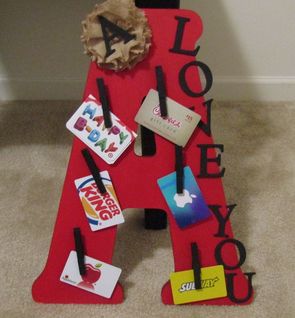 All that was left to add was some of her favorite gift cards. I hope that she loves this gift as much as I loved working on it for her.
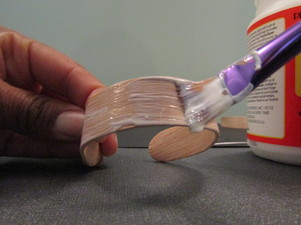
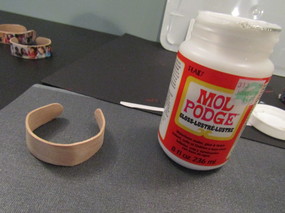
HAPPY BIRTHDAY MOMMY!!! 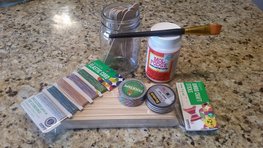 I was itching for a new craft to try one day and while surfing...(you guessed it) Pinterest I came across DIY Popsicle Bracelet tutorials. I pinned a few and moved on to another craft. As the days and weeks went by each day someone new had saved and liked the pin. Over and over again this happened. I finally decided to do the project myself. Materials: craft sticks (jumbo craft sticks-just make sure your pot is larger enough) pot-boiling water glass jars sand paper accessories to decorate bracelets-glitter, paint, Mod podge, etc. 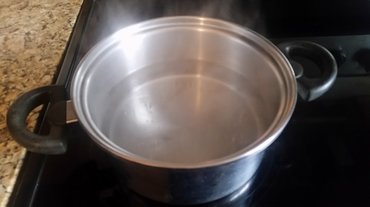 Step 1: Bring the pot to a boil. 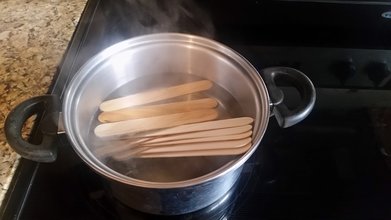 Step 2: Add popsicle sticks. Note: I broke a few in the upcoming steps so I would place a few extras in just in case. Let sticks boil 20-30 minutes. 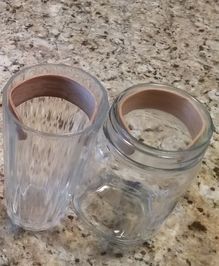 Step 3: Gather your glass jars. It's best to choose jars that are about the size of a wrist. Once time is up remove sticks from the water one at time. Slowly bend sticks and work them into the jars. Because they are bracelets be sure to work them in where the ends come close to touching so that the bracelet fits well on a wrist. (I now see I won't be able to use a few that are drying-too big.) Be sure to work slow so you don't break any. Let them dry for 24 hours. 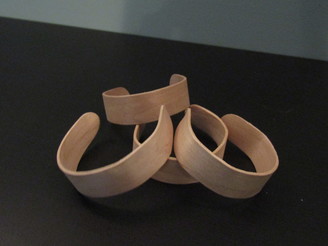 Once the bracelets had dried I realized I had 4 bracelets that I could use. 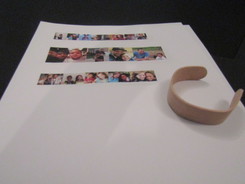 Photo Strip: In Microsoft word I cut and copied pictures side by side that I wanted to use and shrunk them to the size of the popsicle stick (less than an inch). After carefully cutting the photo strip out, spread a layer of mod podge on the bracelet. Slowly place the photo strip on the bracelet being careful not to get mod podge on your fingers and then touch the pictures. Let bracelet dry for about 15 minutes. Once dry sand down the edges of the bracelets.
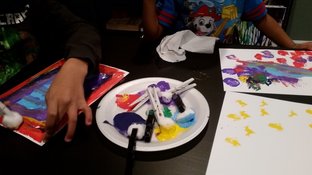
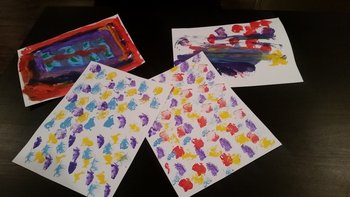
For one of the bracelets I used a page from a Dr. Seuss book that I had previously used pages for a book wreath. I used a popsicle stick to measure where I wanted the pictures to go on the bracelet. These bracelets are for my daughter and her best friend since Kindergarten. What a sweet way to show some love to a friend or family member. 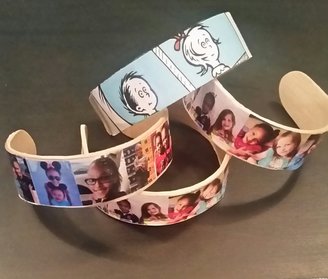 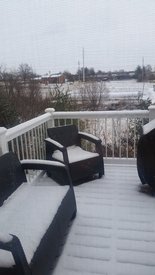 Today was the first snow of the year!You know what that means...SNOW DAY!!!We love snow days around here. From a kids point of view duh...no school. From a teachers point of view....oh yeah.. duh no school! My 3 year old was so excited to see the snow. He asked if today was a "pajama snow day!?" So that's exactly what today was. We stayed in our Pj's while having a ton of fun. Outside of indoor bowling, basketball, playdough and baking we also did some painting. 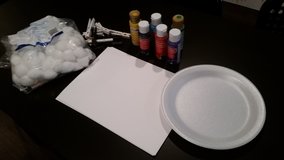 Cotton Ball Painting Materials: cotton balls clothes pins paint paper Letting the kiddos creativity take over is all that's left. 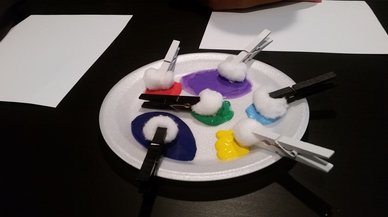
Leave me a comment of a fun indoor craft you like to do. I'm sure there are more snow days to come! (Here's hoping anyway!)
|
Archives
December 2019
|


 RSS Feed
