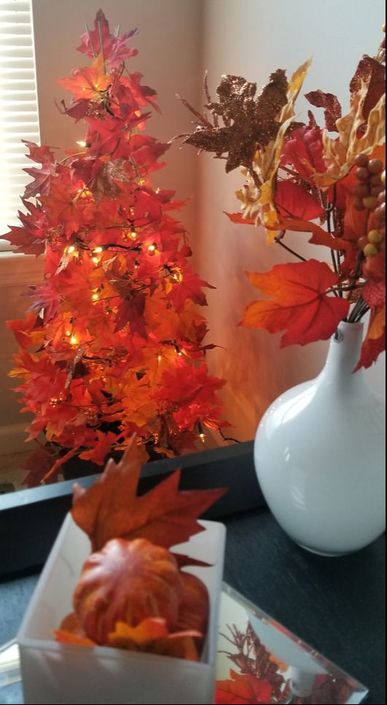
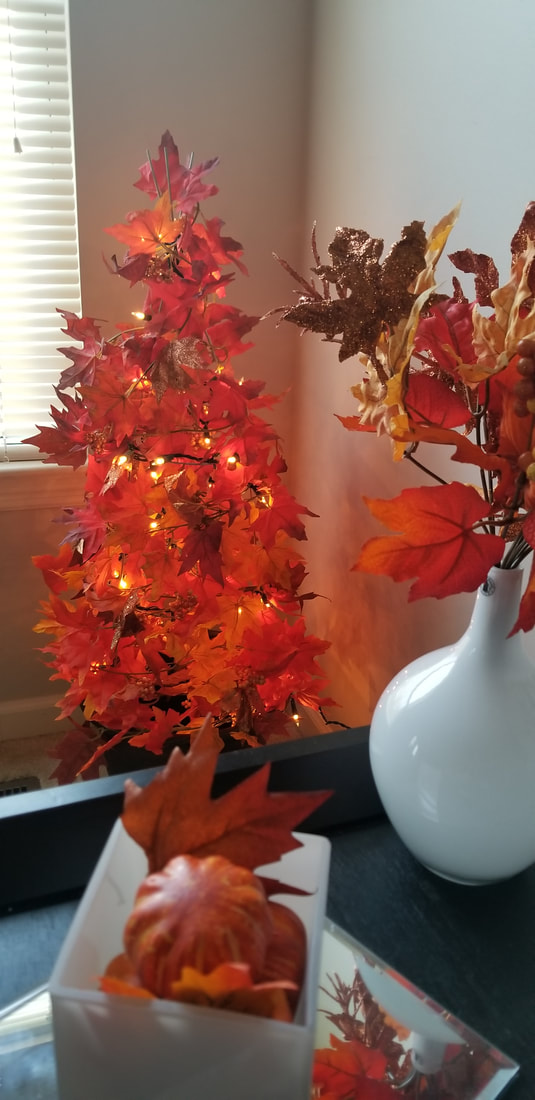
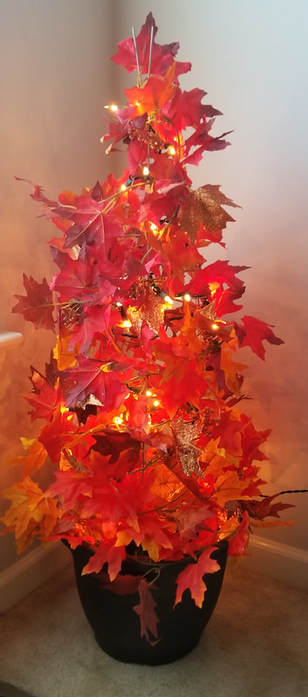
 I love fall! I love the color changes, the weather changes and the decorations! This year I decided what we needed was a tree. I looked on Pinterest and found some ideas on a tomato cage tree now affectionately called my Fallmas Tree! Here's how to easily make your own Fallmas Tree! Materials: Flower Pot- I found one I liked in the Garden Center of Home Depot $6.00 Tomato Cage- Lowes -$2-I bought the 33 inch one String of Lights- Michael's (on sale) $5.00-originally $10.00 String of Fall leaf garland- 4-5 strands (on sale) $5.00 per-strand originally $9.99 Duct Tape Directions: 1. Place the tomato cage in the flower pot. The cage was a little bigger so I bent the sides and duct taped the cage to the inside of the pot so it is secure. 2. Once the cage was secured I wrapped the lights starting at the top of the pot (I let the plug and a few lights hang so that I can plug in the tree)all the way to the top of the cage. 3. After the lights were in place I wrapped the garland of leaves around the lights. I used 4 strands of leaves. You can wrap them as close or as far away as you want. Do what looks good to you! That's it! There you have it! Your FALLMAS TREE!!!!!
Happy Fall Ya'll!
0 Comments
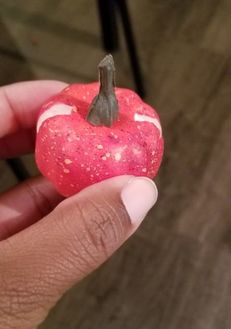
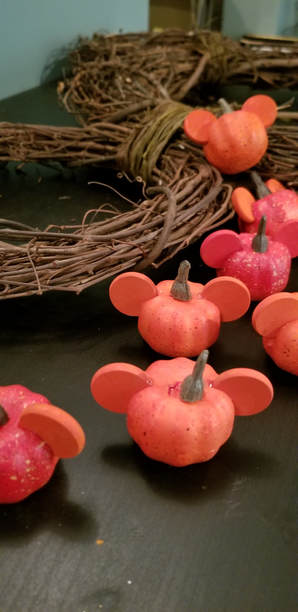
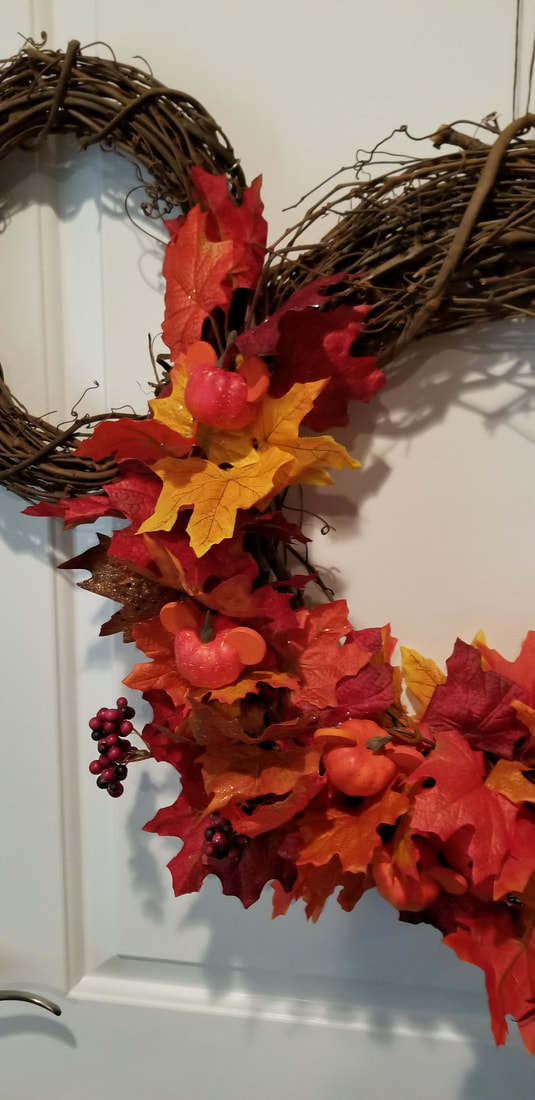
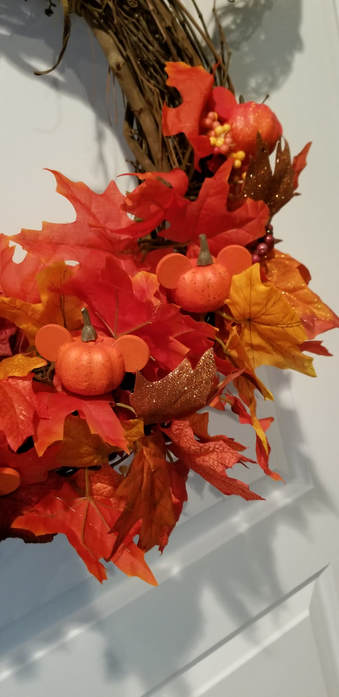
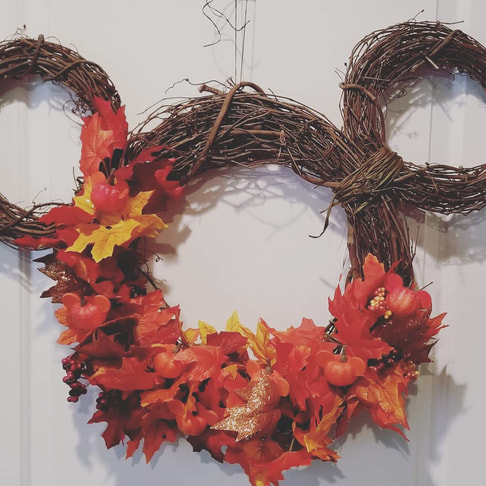 It's almost Fall and you know what that means. It's time for Apple picking, pumpkin carving and time to decorate the house! Since I've been feeling a little Disney inspired lately I thought what's better than a Mickey Mouse Wreath for the front door?Absolutely nothing- so here it is! Here's how to make your very own Mickey Fall Wreath Materials Needed 3 wreaths-1 large and 2 small (Michaels) 2 Fall leaf garlands- I also bought a Fall leaf bouquet (Michaels) 1 pack of pumpkins (Hobby Lobby) 1 pack of small discs (Michaels) Orange paint (try to get as close to to the pumpkin color Raffia-to secure ears (Michaels) ***X-Acto knife, scissors, and hot glue gun *** 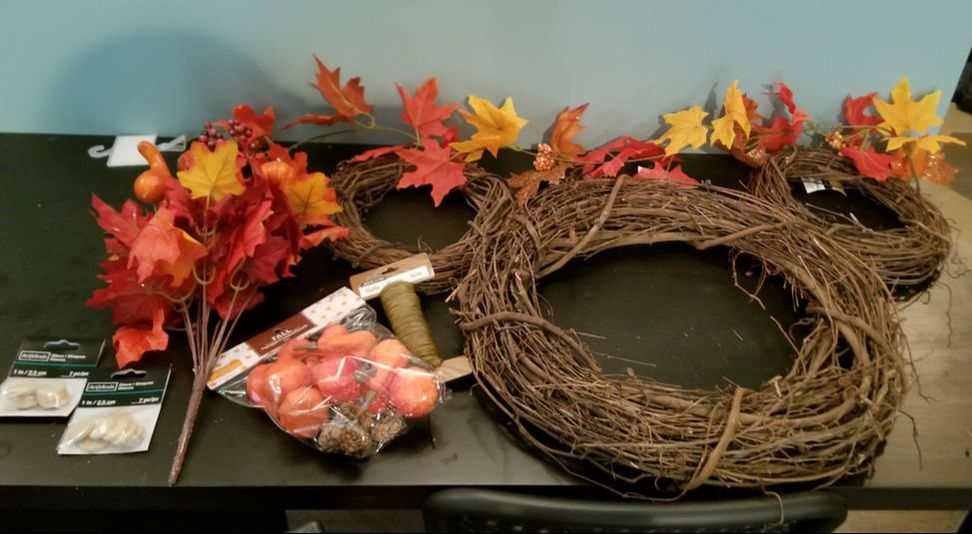 Directions: 1. Paint the discs orange on both sides (2 disc per pumpkin). I had to mix in a little red to match one of the pumpkins that were a little darker orange. 2. While the disc are drying is the perfect time to attach the ears to the head. I just eyeballed the spacing. Wrap the Raffia around the ear and head. The more wraps the better so the ear doesn't droop. I was able to get the Raffia about the same color as the wreath. 3. Once the discs are dry cut slits in the side of the pumpkins to insert the disc. I used a little hot glue in the slit to secure the disc.
4. Now the fun part: START ASSEMBLING! Start wrapping garland, pulling leaves and berries off the garland or out of the bouquet and start shoving and poking them where you like them. It's all about you now and what you want so be creative!!!! Once the garland was secured I hot glued the Mickey pumpkins in various places. #hiddenmickeys
I love how this wreath turned out. Can you tell where we'd rather be??? 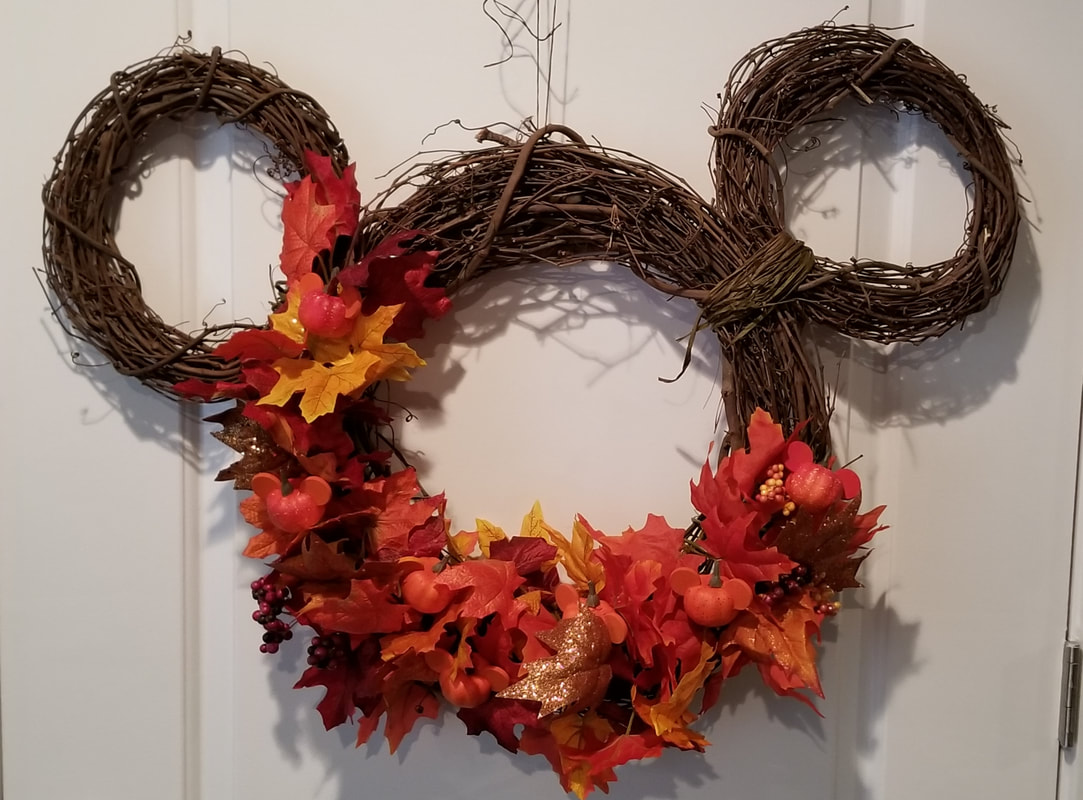 |
Archives
December 2019
|
 RSS Feed
