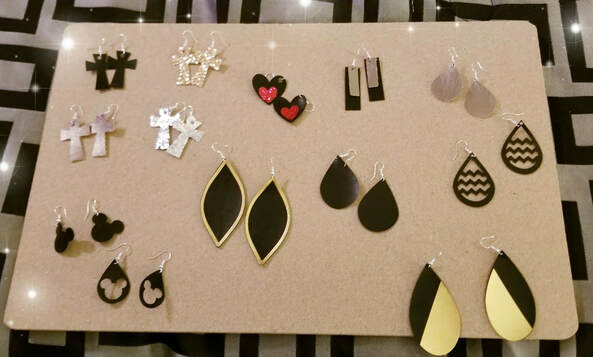
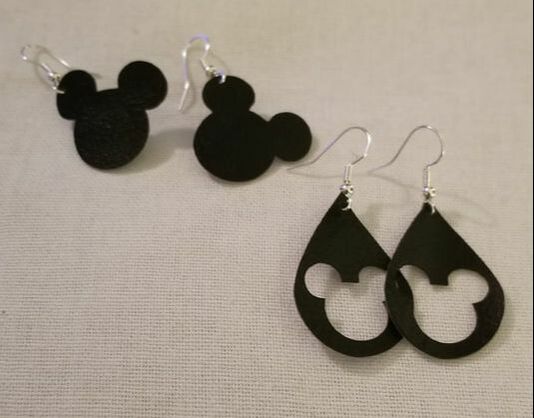
 I am slowly learning that there are a million and one things you can do with a Cricut Explore Air 2 machine. One of those things I have recently learned is how to make these amazing leather earrings. They are so fun and in style. I wore them for days before anyone knew that I had made them. Here is how I (and you) can create some stylish DIY faux leather earrings.
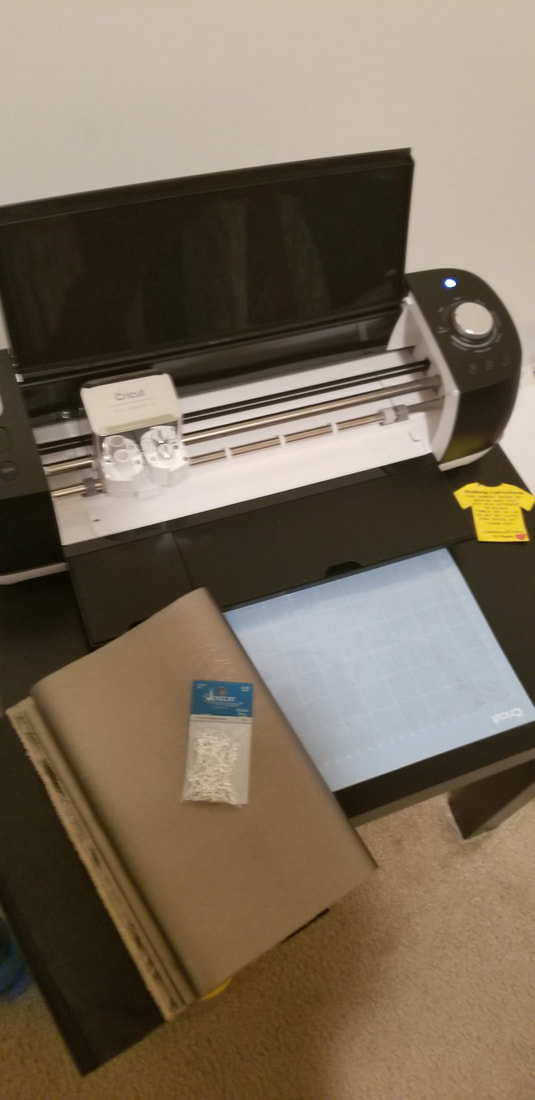
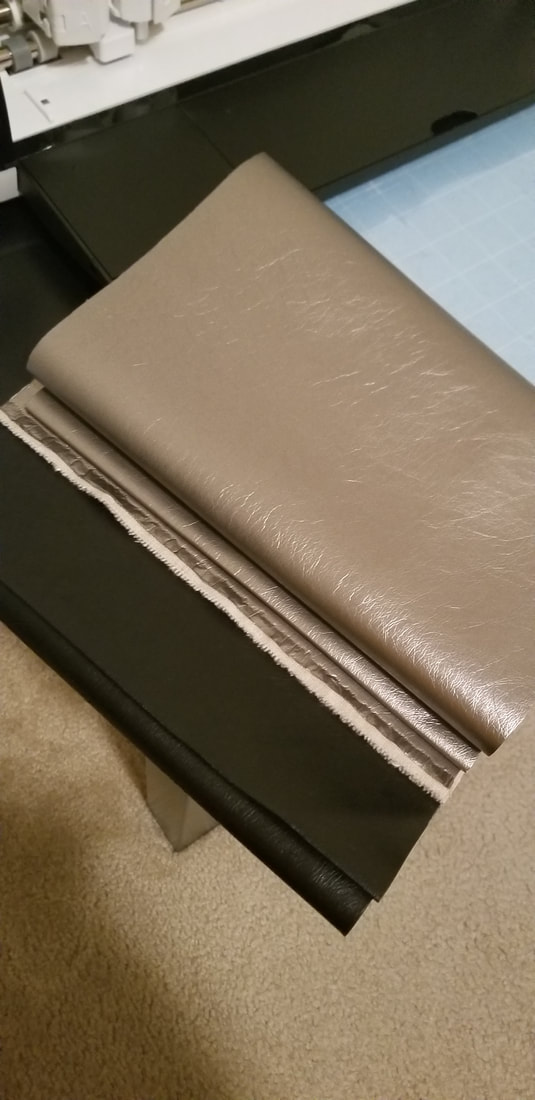
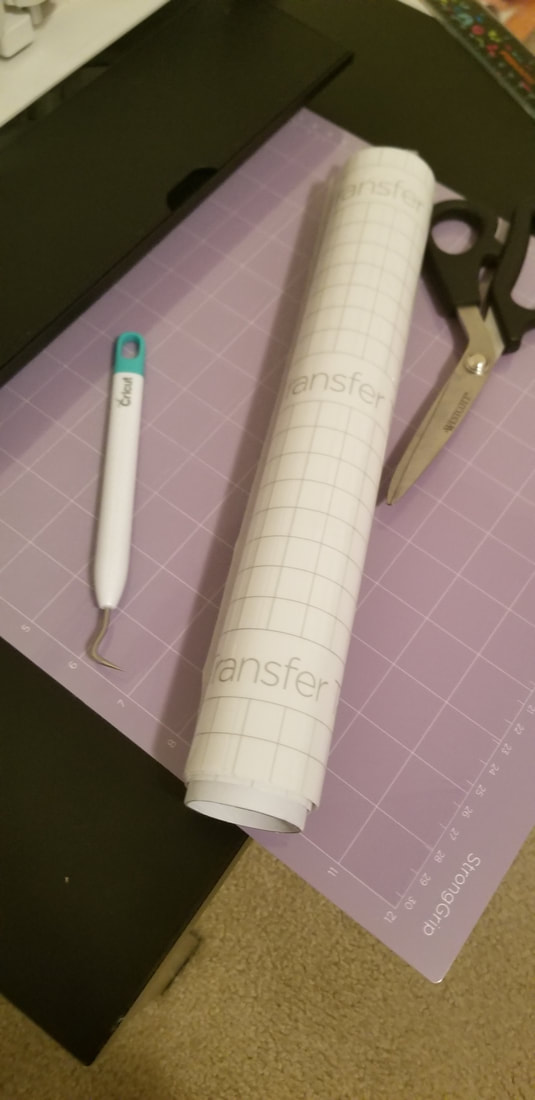
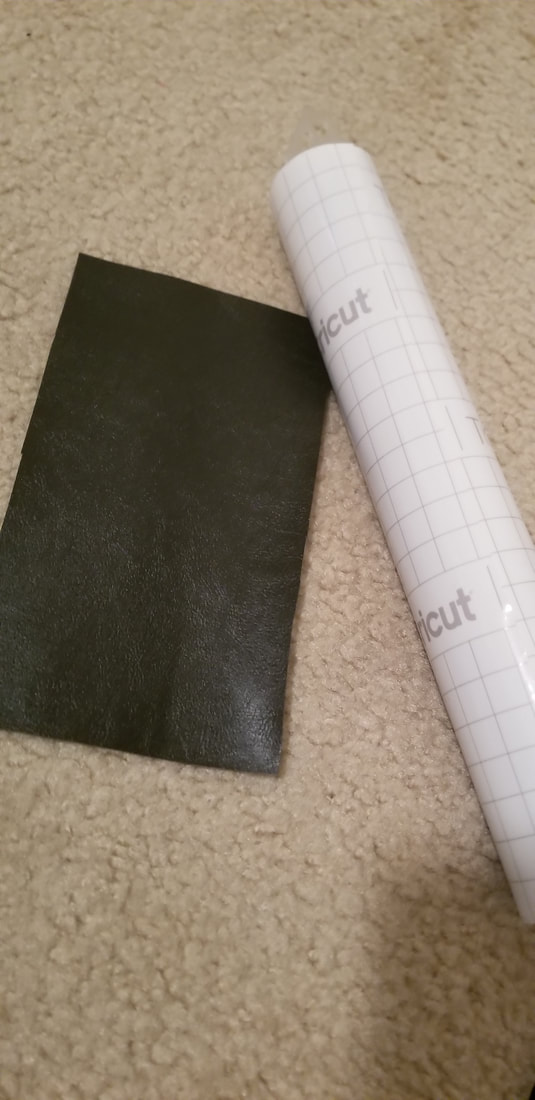
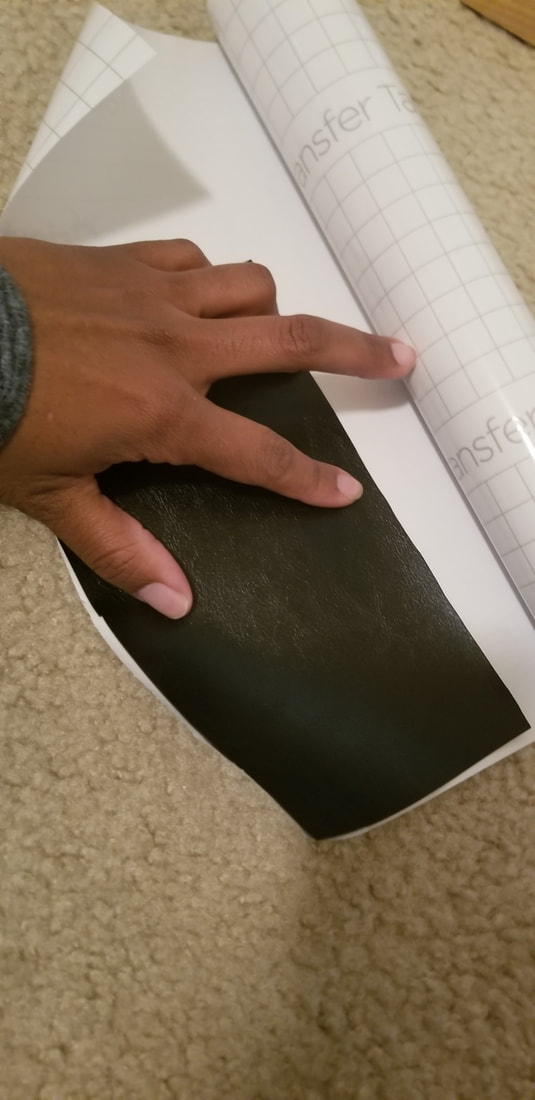
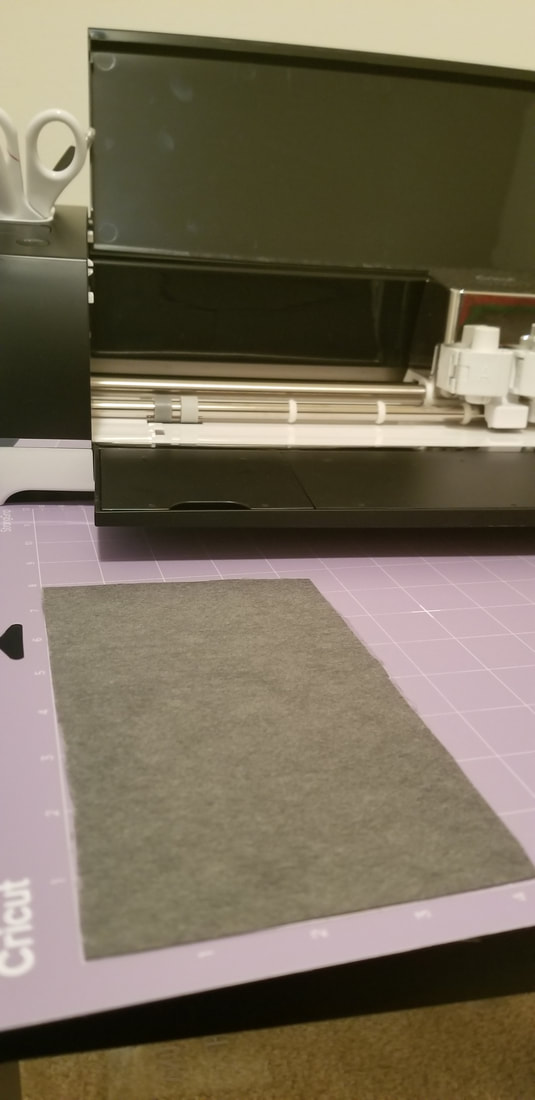
What you need: Cricut Explore Air 2 Machine Cricut Strong grip Map Faux leather (Cricut sales this in many colors, but I started with some simple pieces from Walmart) Cricut Transfer paper Needle nose pliers Fish hook earring hooks Once you have the shape and size set on in Cricut Design Space it's time to cut. (I just googled, saved and uploaded the shapes I wanted.) 1. Cut the size of leather you need and back it to the same size transfer paper. Make sure to lay the fabric down leather and transfer paper side down onto the mat.
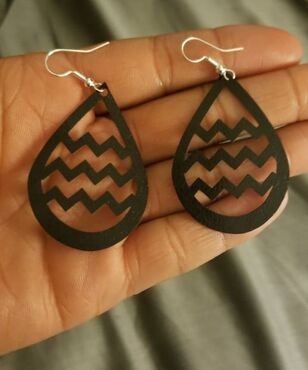
2. Once the design has been cut out- make sure you poke a hole in the top of the fabric. (I use the slice tool in design space to cut the whole into the fabric already.) 3. Using the needle nose pliers attach the fish hook earring to the leather piece. There you have it! A fab pair of earrings. Here is a video that I used the first time I ever made a pair of these earrings.
I love these earrings and can't wait to make more! I would love to hear from you. Let me know what you think of the earrings or if you have made some on your own.
Happy Crafting!
1 Comment
|
Archives
December 2019
|
 RSS Feed
