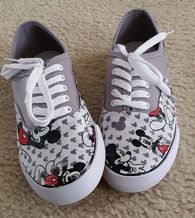
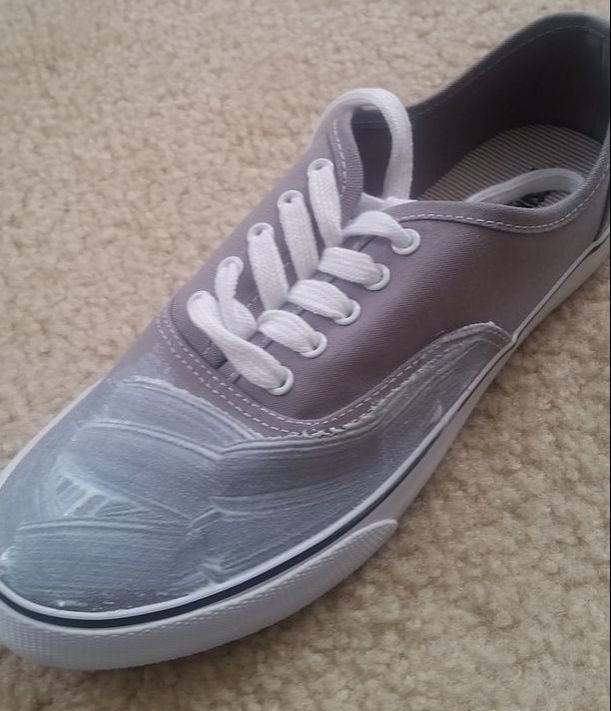
 So I can't seem to help myself. We are on Disney countdown!!! My sis-in-law and I were looking at some shoes that were mickey and princess inspired. I saw many that were cute and thought that I'd try a pair. I searched and found a quick simple tutorial and decided to give it a try. 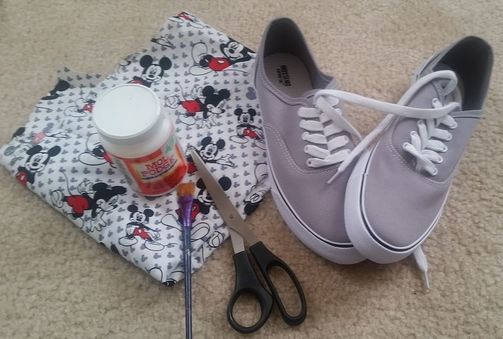 Here's what you're gonna need: Pair of shoes- I just grabbed some from Target Fabric of your choice Mod Podge and paint brush Fabric scissors
Paint a layer of mod podge over the section of the shoe you want to cover with the fabric.
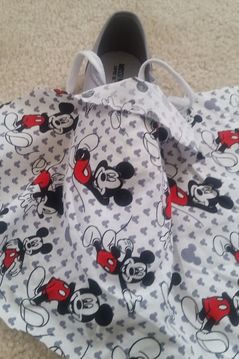
Place the fabric over the mod podge. Press down and be sure that all corners and edges are down tight. Let it dry. Cut the fabric to match the shape of the shoe you have put mod podge on. Once cut put a thin layer of mod podge over the fabric to seal it down.
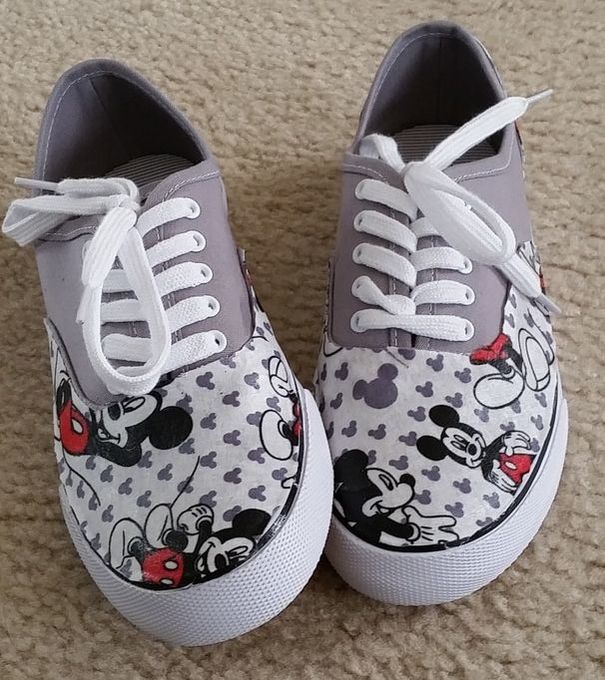
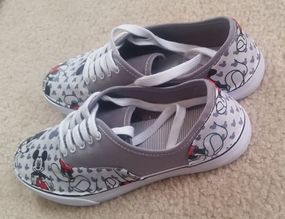
There you have it!!! Here is the tutorial I used!
1 Comment
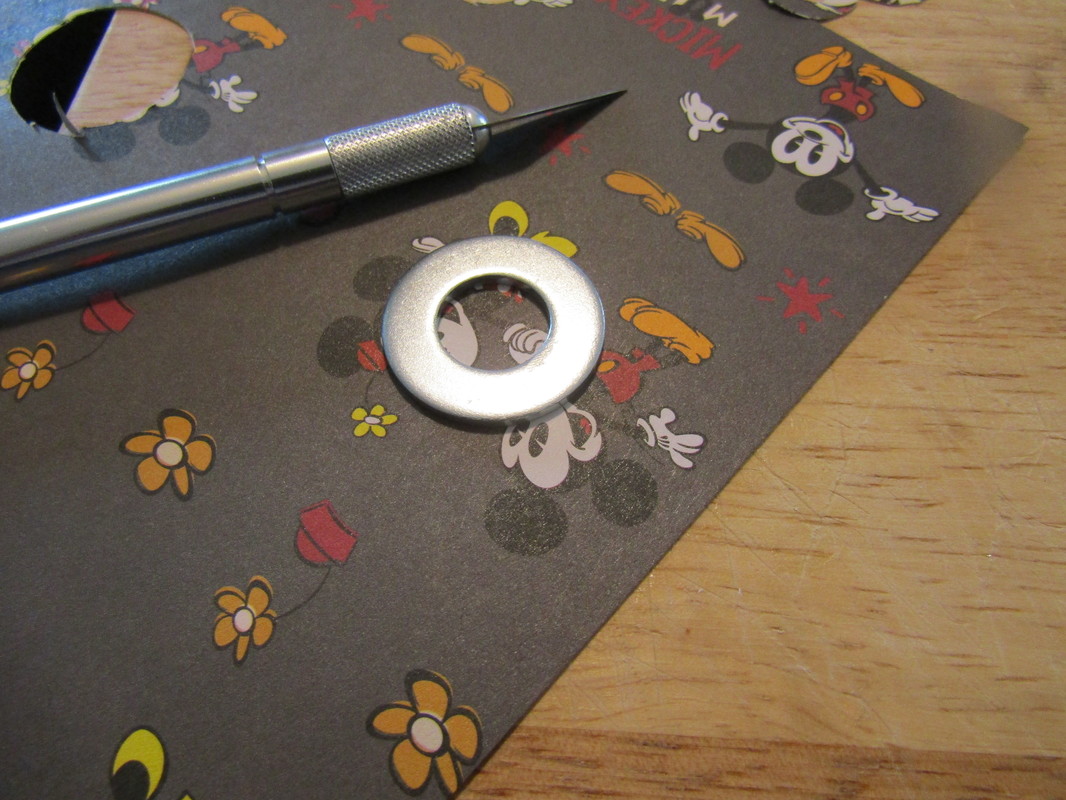
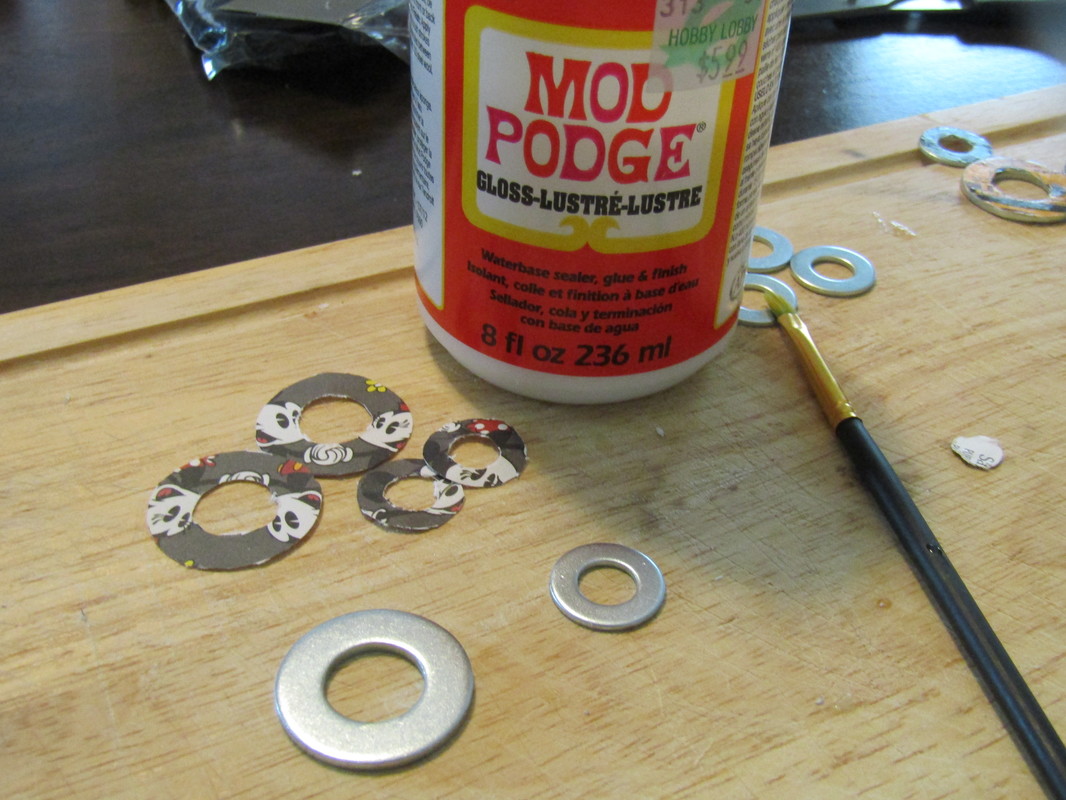
With our upcoming Disney trip I have been scouring Pinterest looking for fun crafts to make and I came across these washer necklaces. These will definitely be worn at Disney. 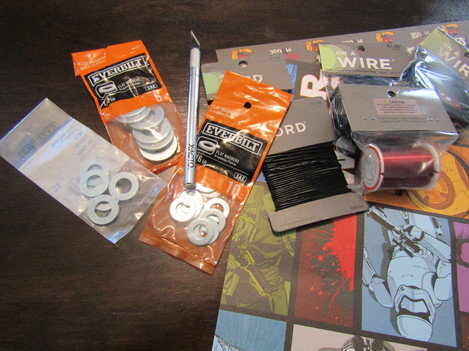 What you need: Flat Washers - I used 1/2 inch and 5/16 inch washers Paint, nail polish, crafting paper X-acto knife Mod Podge Paint Brush Jewelry wire and cord
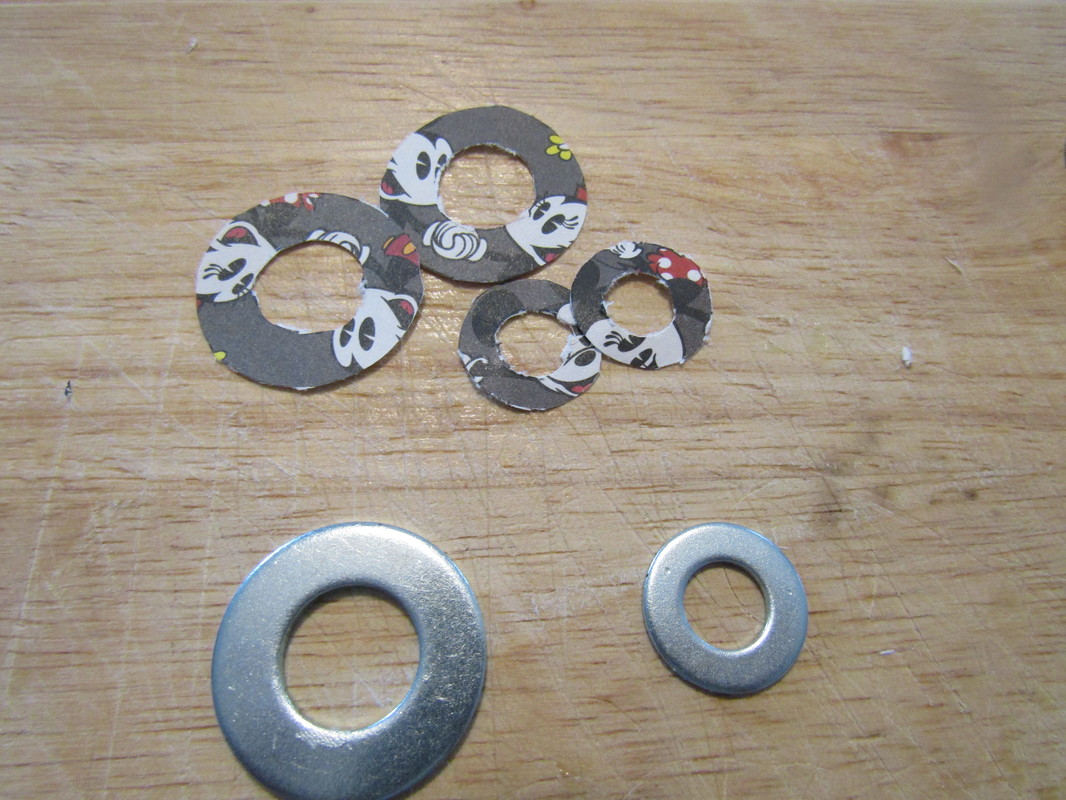
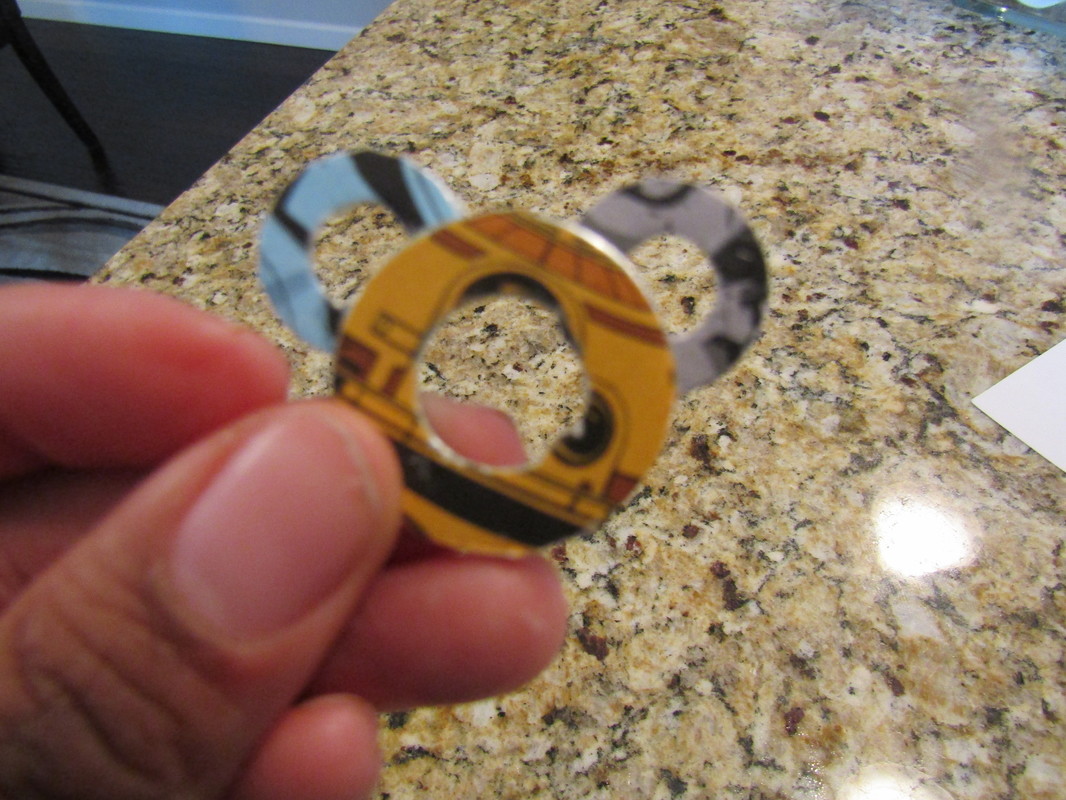
Trace around (or paint) washer pieces. I traced each piece with an X-acto knife than carefully cut it and the center out.
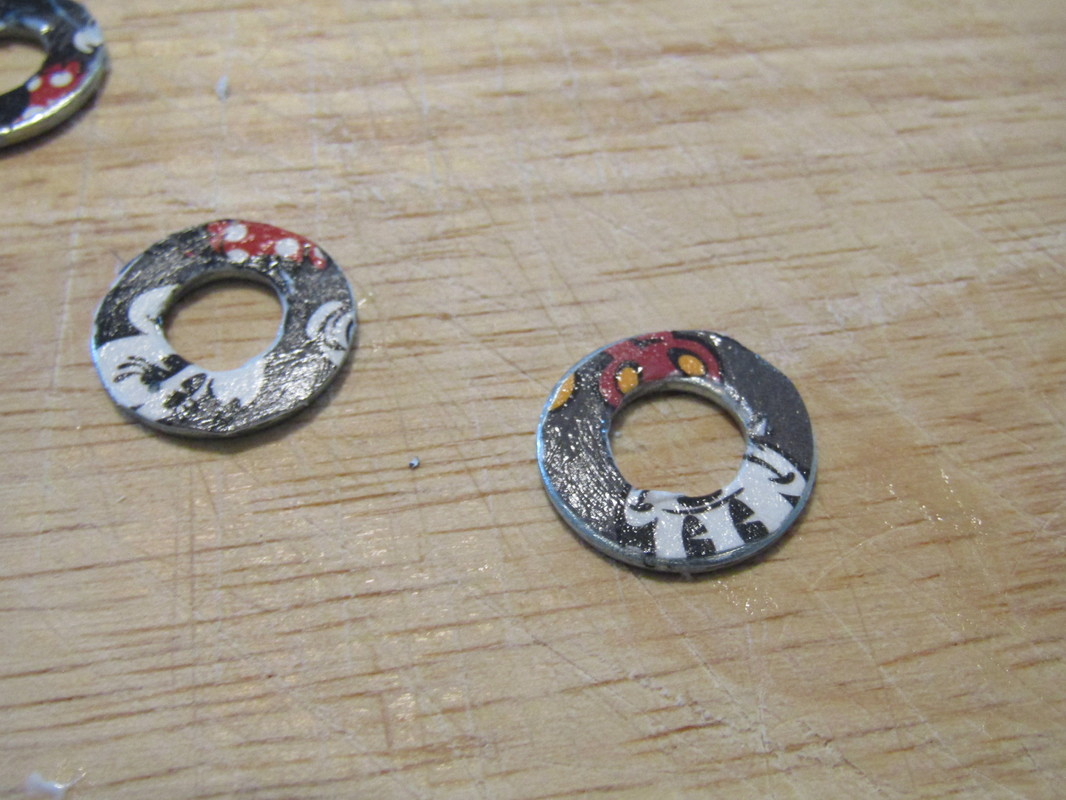
Once the pieces are cut out paint a thin layer of mod podge on the washer. This acts as glue. Place the cut out piece on top of the washer and seal it with another layer of mid podge. Let it dry.
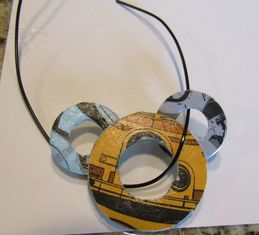
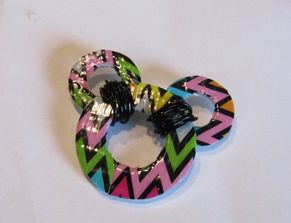
Using a glue gun, glue the smaller washers (ears) to the larger washer (head). After the glue has set tie the wire around the space between the large washer and the small washer.
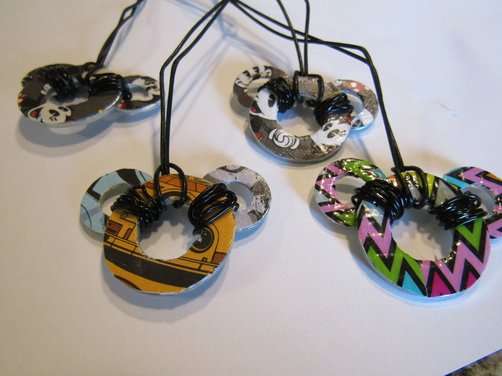 Have fun with making the washers as creative and fun as you want!!!
This post contains affiliate links meaning I may earn a commission if you use those links.
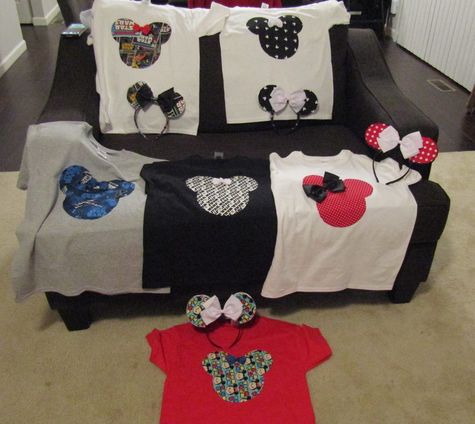
I have been to Disney World twice and each time I saw families with coordinating shirts or kids with unique outfits that clearly were not bought at a store. I have searched some sites for different shirt ideas but they all included sewing and I DO NOT sew. Then I found a great no sew tutorial video that is at the end of this post.
Here's what you need:
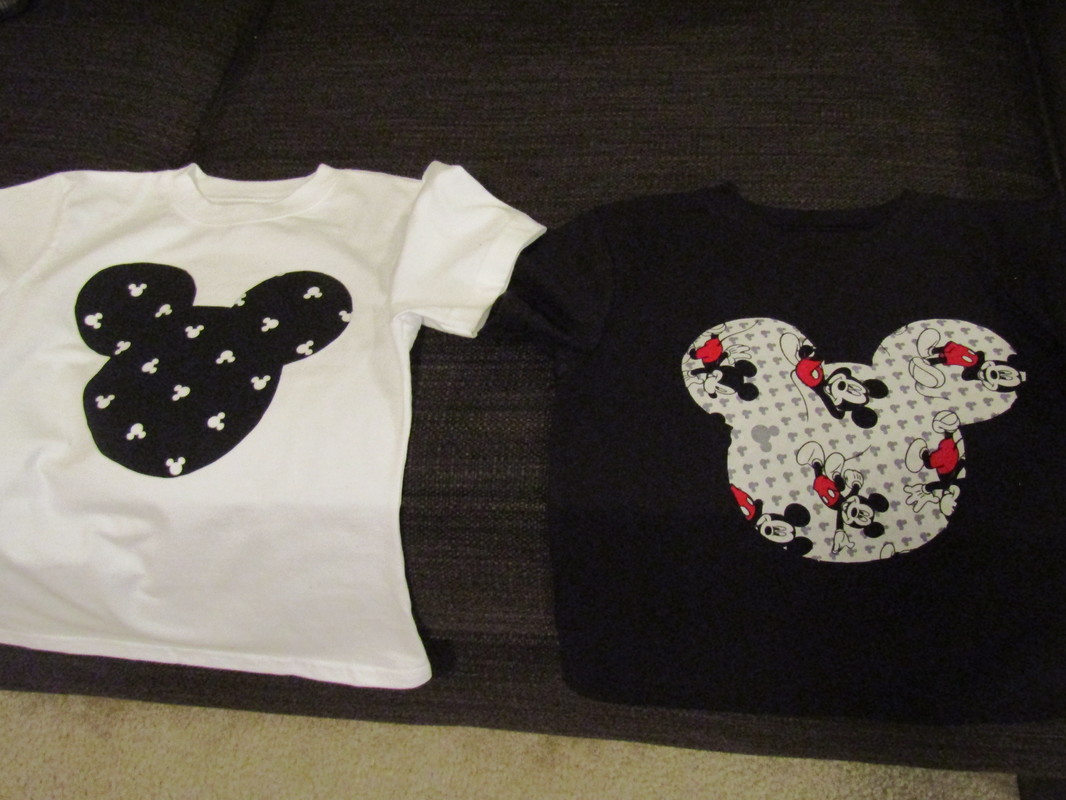
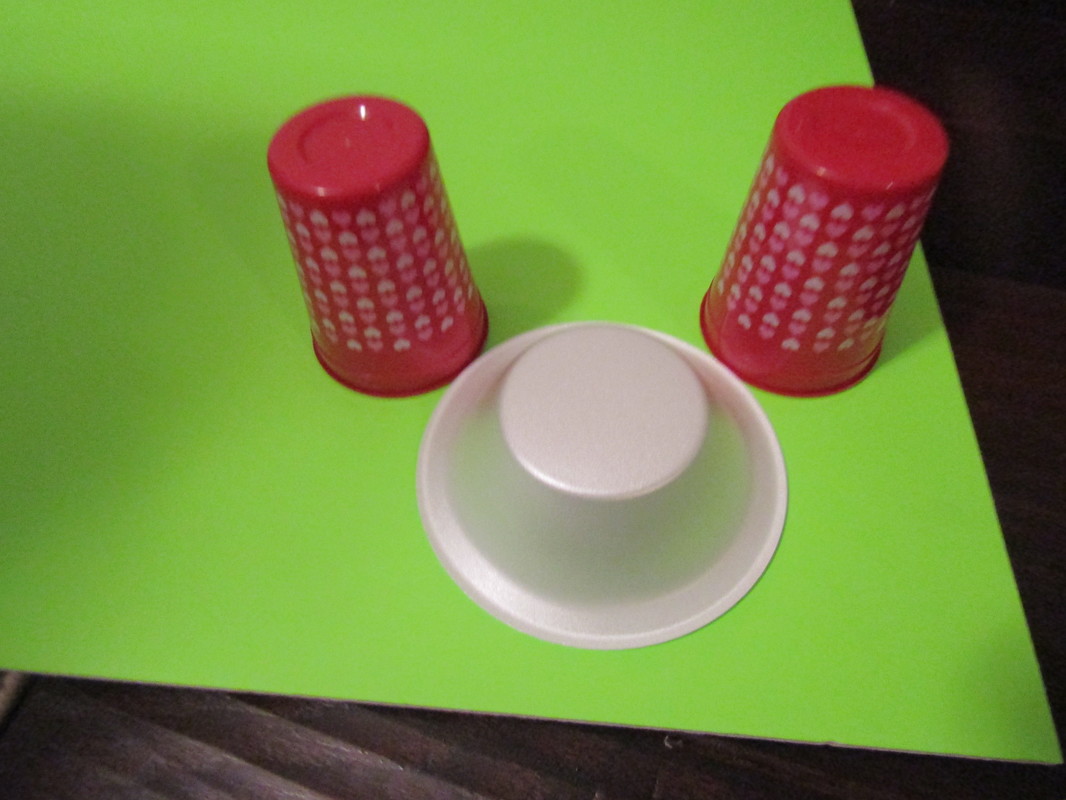
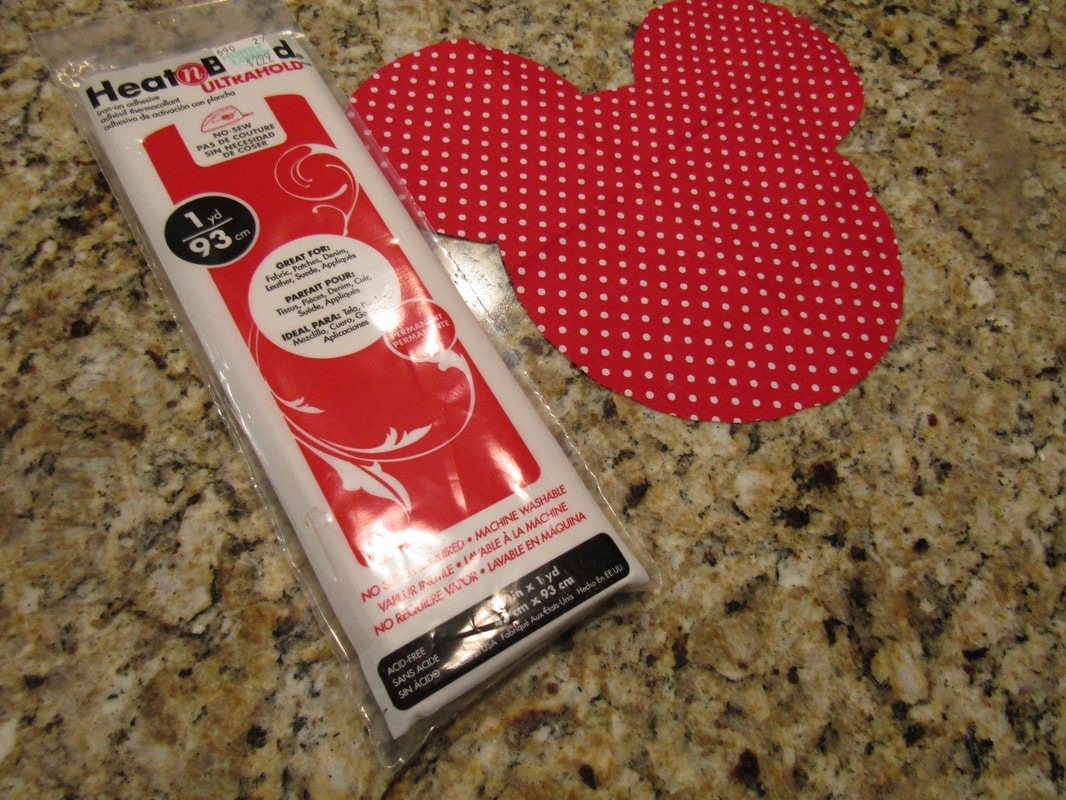
Fabric of your choice-I choose the Disney characters and movies that my kids and nieces like. Heat n Bond Ultra Hold Fabric Scissors Mickey Mouse Pattern/template or bowl and cups to trace Iron
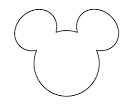
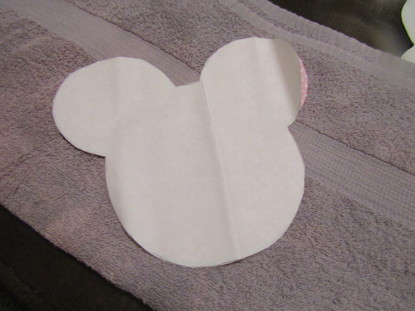
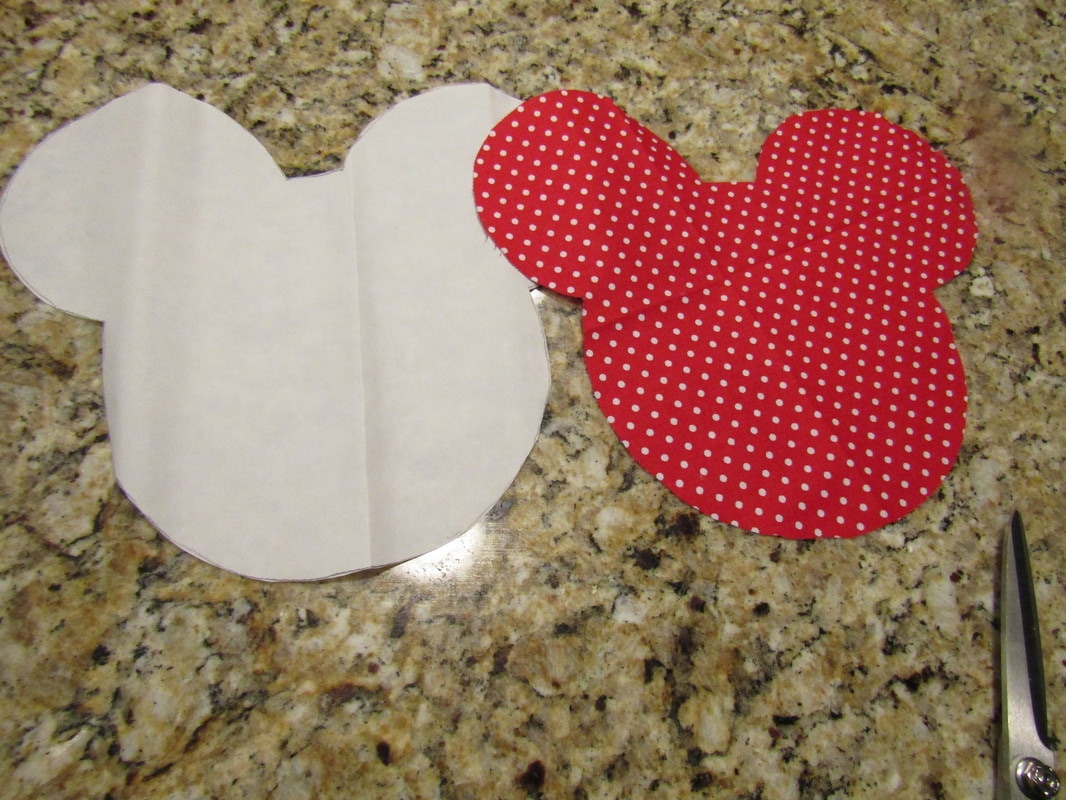
1. Using the bowl and cups, trace the Mickey pattern to construction paper. Cut out the pattern.
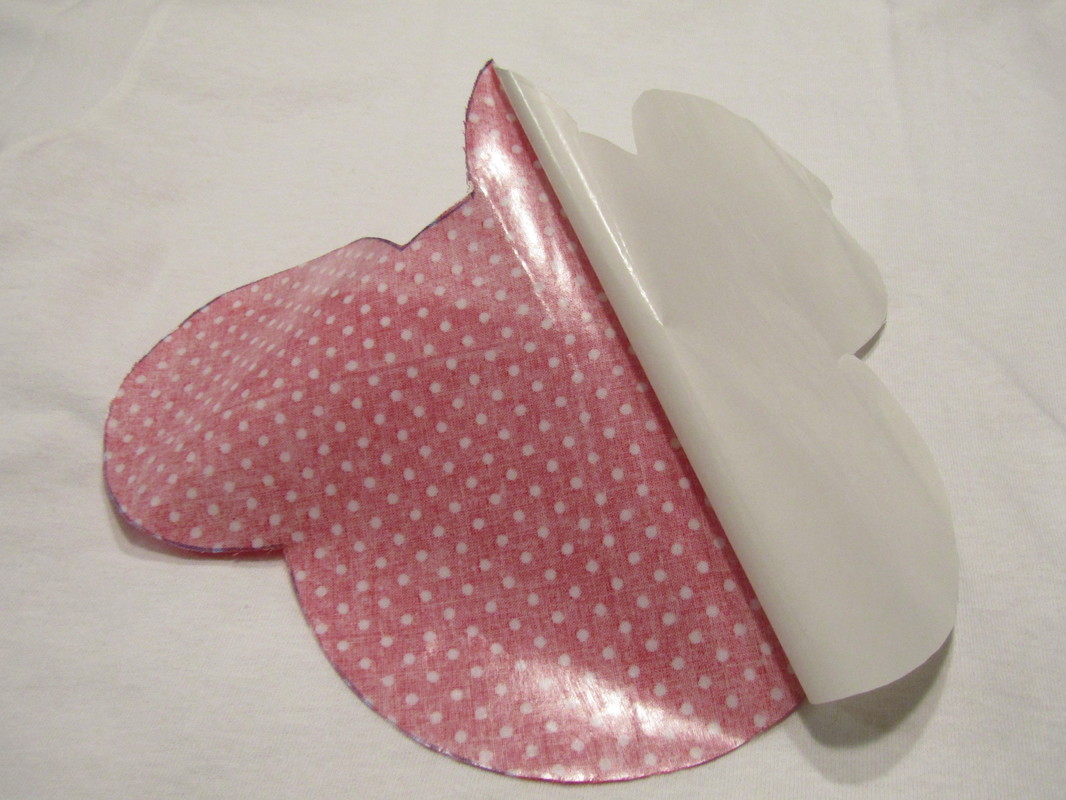
2. Using the pattern trace and cut the Mickey pattern out of your fabric and the Heat n Bond (this is like the glue that will stick your fabric to the shirt).
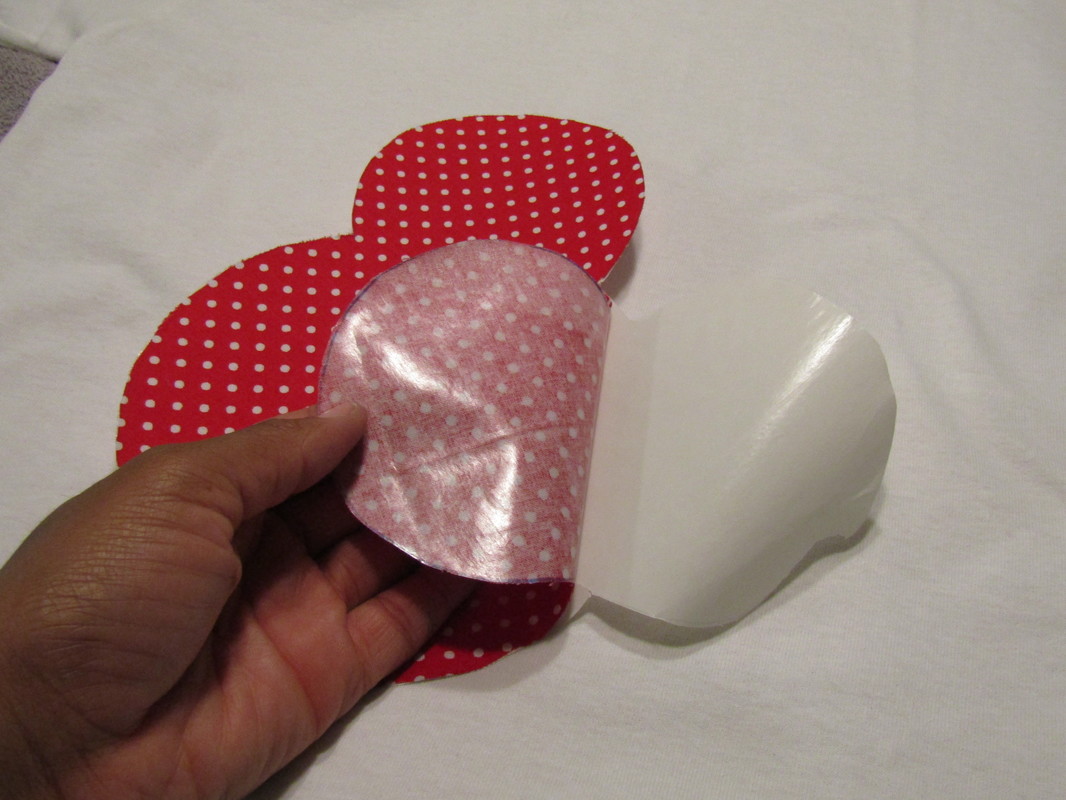
3. Turn the fabric upside down (the pattern is face down on the table) and place the textured/bumpy side of the Heat n Bond on the pattern and iron it on. Be sure to read the package for iron setting instructions.
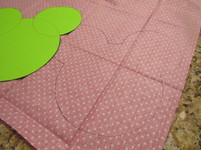
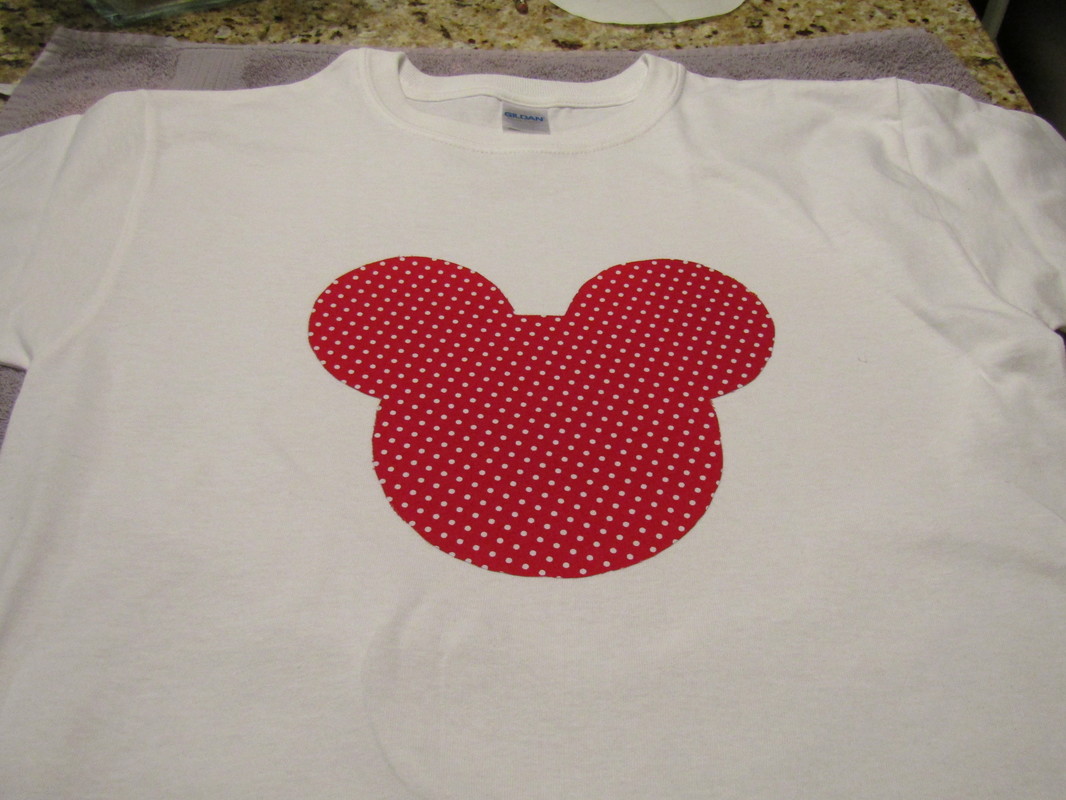
4. Peel the backing of the fabric off and place the pattern where you want on the shirt.
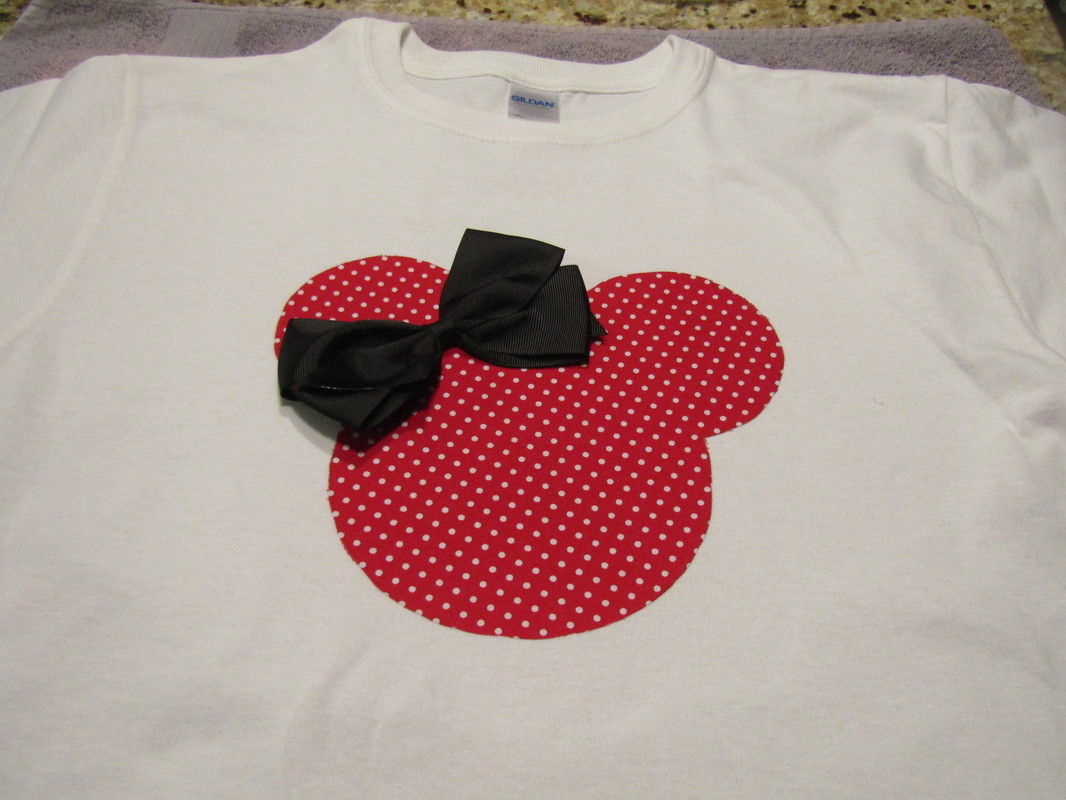
5. Iron the front of the pattern and there you have it. If you are adding a bow I have found hot glue to work great.
|
Archives
December 2019
|


 RSS Feed
