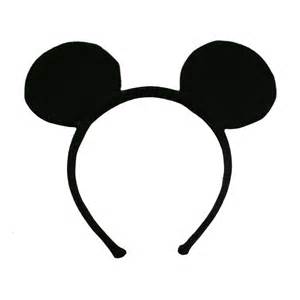
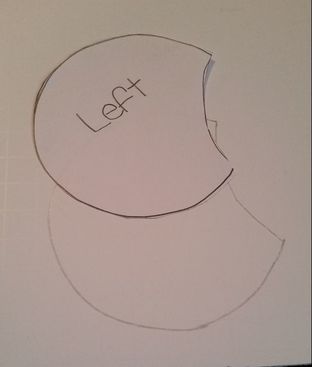
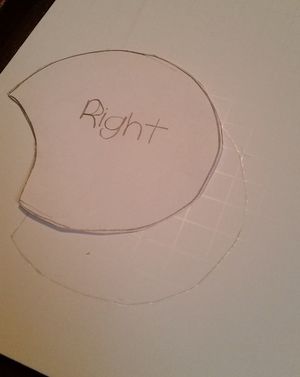
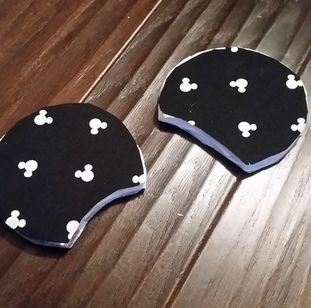
 So in addition to getting ready for my daughter's birthday, my son's birthday and the end of the school year, I am also planning our summer trip to Disney World ! I thought to get us excited I'd start with some crafts. I found lots of tutorials on making Mickey Mouse Ears and I just had to try it. (I figured I'd try it early and perfect them by the time we leave.) What you will need: Headband-as thick as you can find Foam Poster Board- cardboard will do as well Fabric (I bought the Fat Quarter (18 in x 21 in) pieces) Ribbon and bows Glue gun and glue sticks/Adhesive spray Fabric Scissors 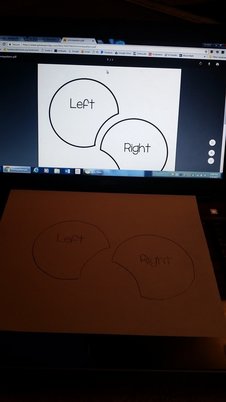 To start download or trace from the computer (that's what I did) the Mickey Ear Pattern. Trace two of each ear pattern on the cardboard or foam poster board and carefully cut them out. You should have 4 foam or cardboard pieces. Use adhesive spray or hot glue to glue the two foam pieces for each ear together and let it dry.
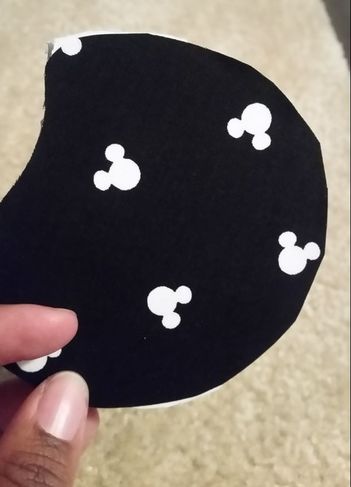
You'll need to trace the pattern on your fabric as well. You'll need four pieces-two for your backs and two for the fronts of the ears. When you have cut your fabric pieces, use a spray adhesive to attach the fabric to the foam or card board for a smooth finished product. Fold the edges of the fabric around the end of the foam board and hot glue it.
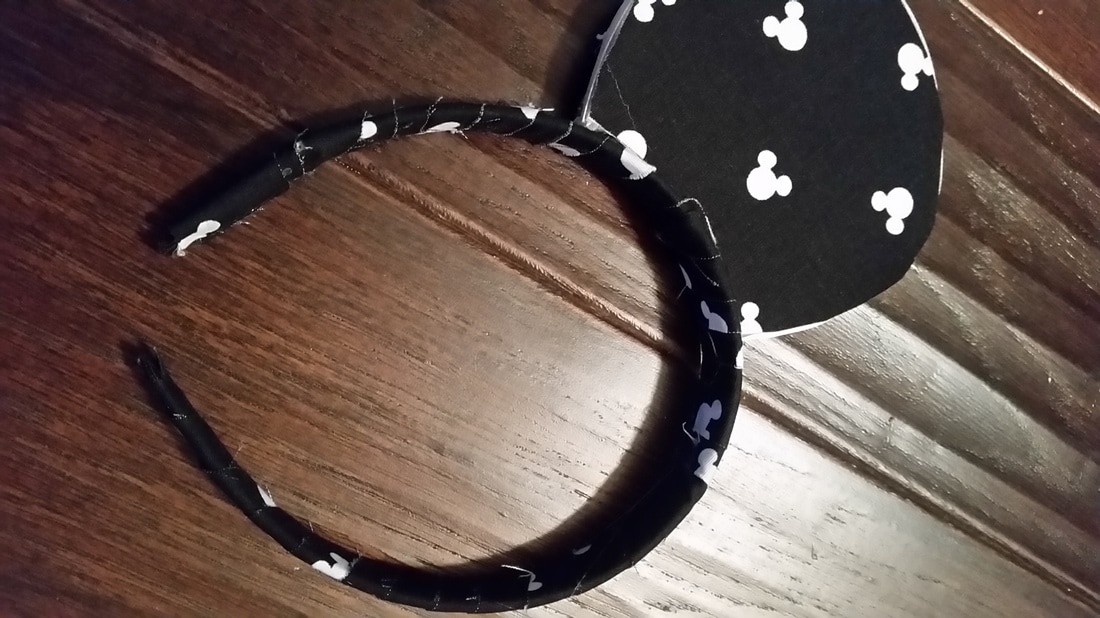
Add a layer of coordinating ribbon around the edges to hide the scrappy edges of the fabric and to give your Mickey Ears a cute finished look! Cover the headband with fabric. I hot glued the end of the fabric strip I cut to the end of the headband and wrapped. I had to use two strips of fabric.
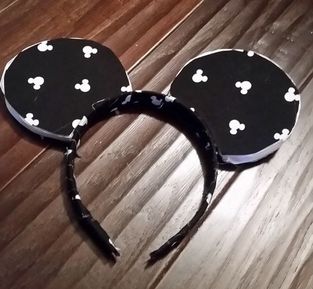 Finally, situate your ears about two inches from each other atop the headband then secure them with hot glue. If you want Minne Ears instead of Mickey Ears, like I made for my daughter and nieces you can glue a bow onto the center of the headband. 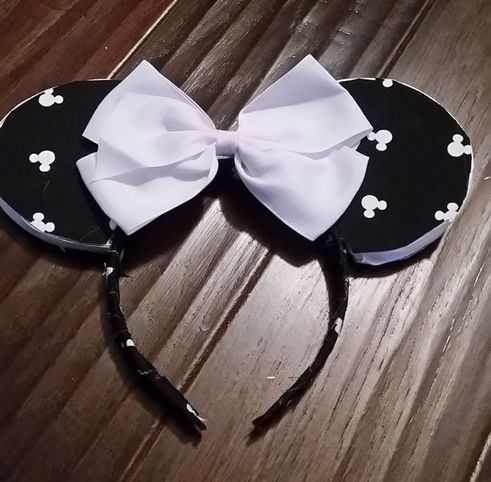 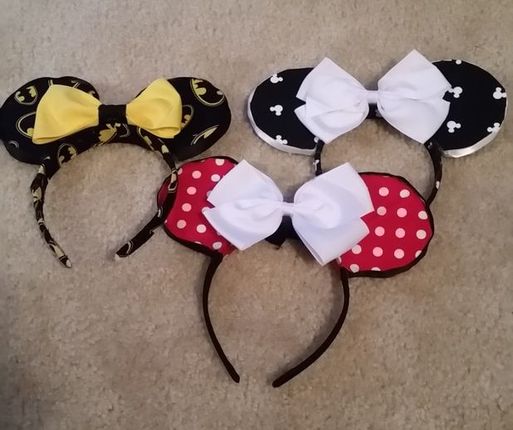
0 Comments
Leave a Reply. |
Archives
December 2019
|

 RSS Feed
