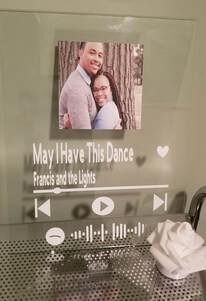
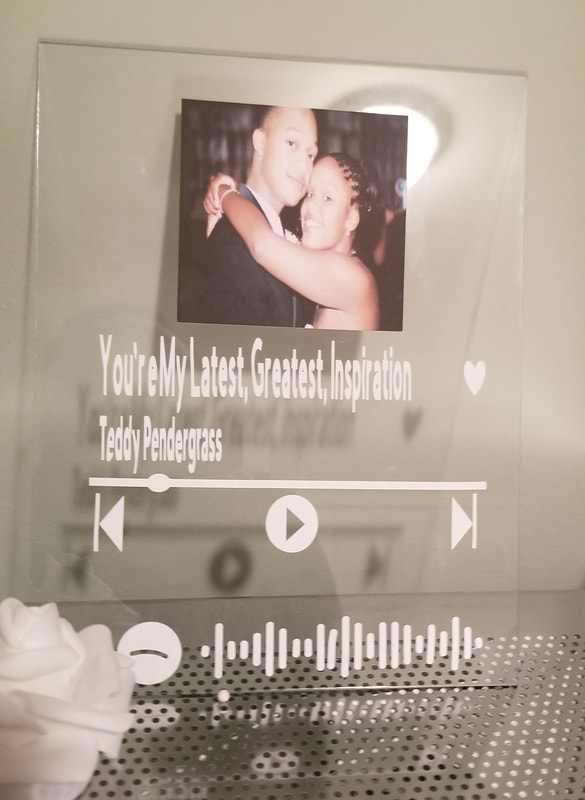
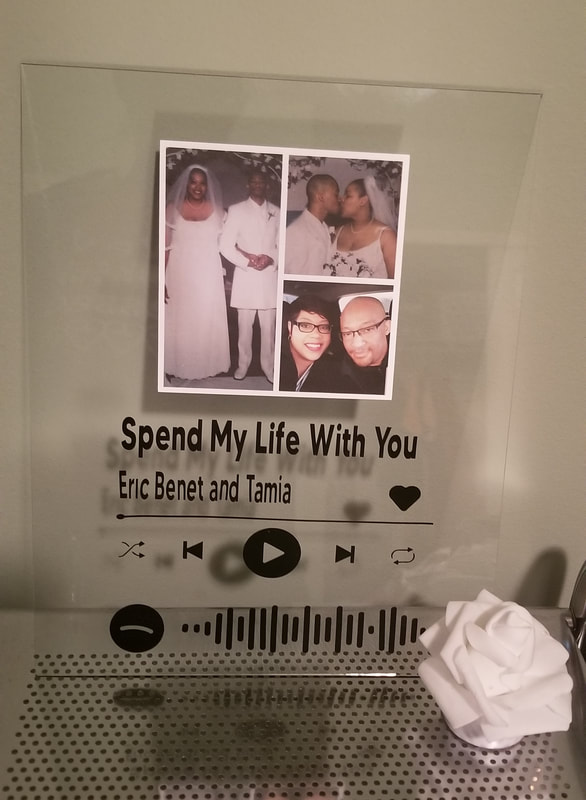
My brother in law just got married and I wanted to make something for them to commemorate the wedding or even the proposal. The Spotify Glass Art seemed perfect. These fun works of art have been all over Tik Tok and other platforms and I just had to give it a try. Here's what I did and used to make these gems! First up materials: Picture frame- anywhere form a dollar store frame, a floating from or a shadow box will do. I used a 8 x 10 and a 5 x 7. Vinyl- permanent adhesive white (or black) Spotify Code- Spotify is free to download and use Picture: My advice is to use a picture of your own and not an album cover (especially if you plan on selling these). I used sticker paper bought from Walmart. Here are a couple of really great tutorials on how to assemble this project. I can't do the directions justice. I hope you have an amazing time creating these works of art! Happy Crafting!!!!
1 Comment
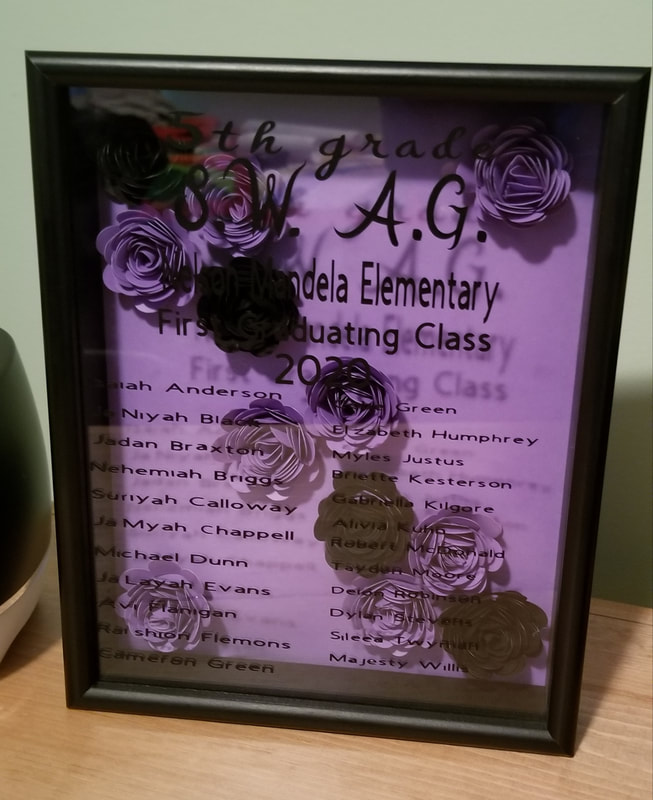
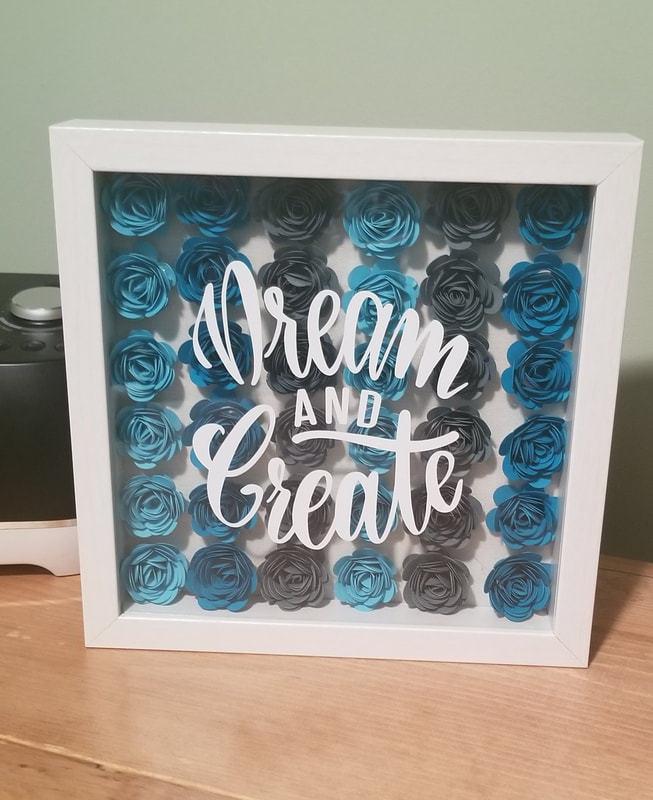
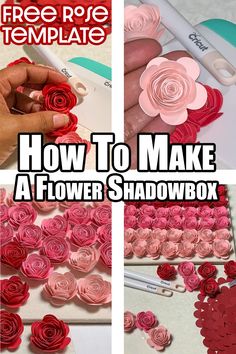
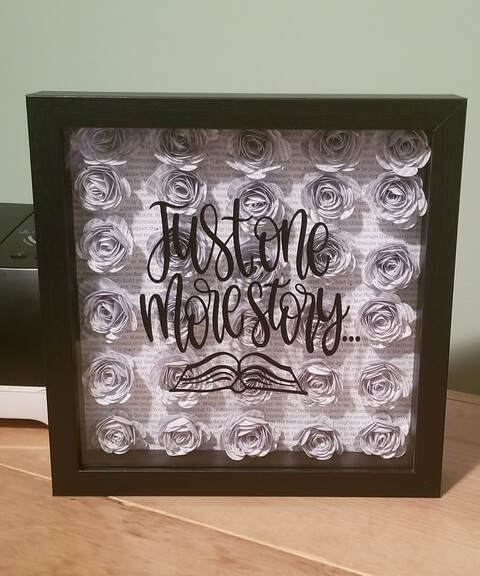 After working with vinyl for so long I thought it was time to try out some paper projects. I had seen flower shadow boxes all over craft group pages and pinterest and thought it was time to give it a try. Here are some tutorials I used to get them just right.
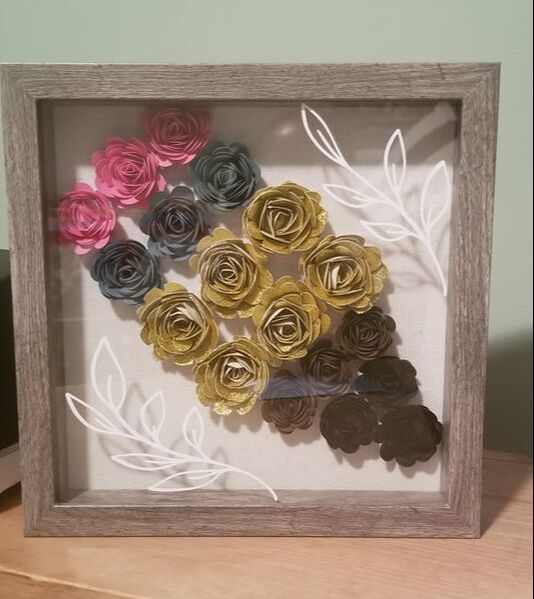 CLick Pictures below for more tutorials
I love how these shadow boxes turned out. I would love to see how yours turn out. Happy Crafting!
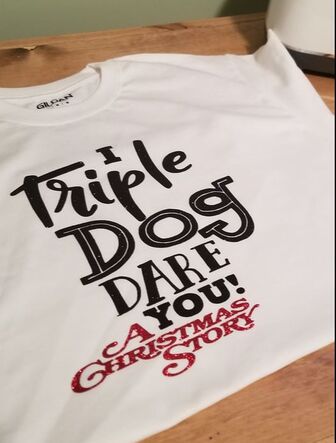
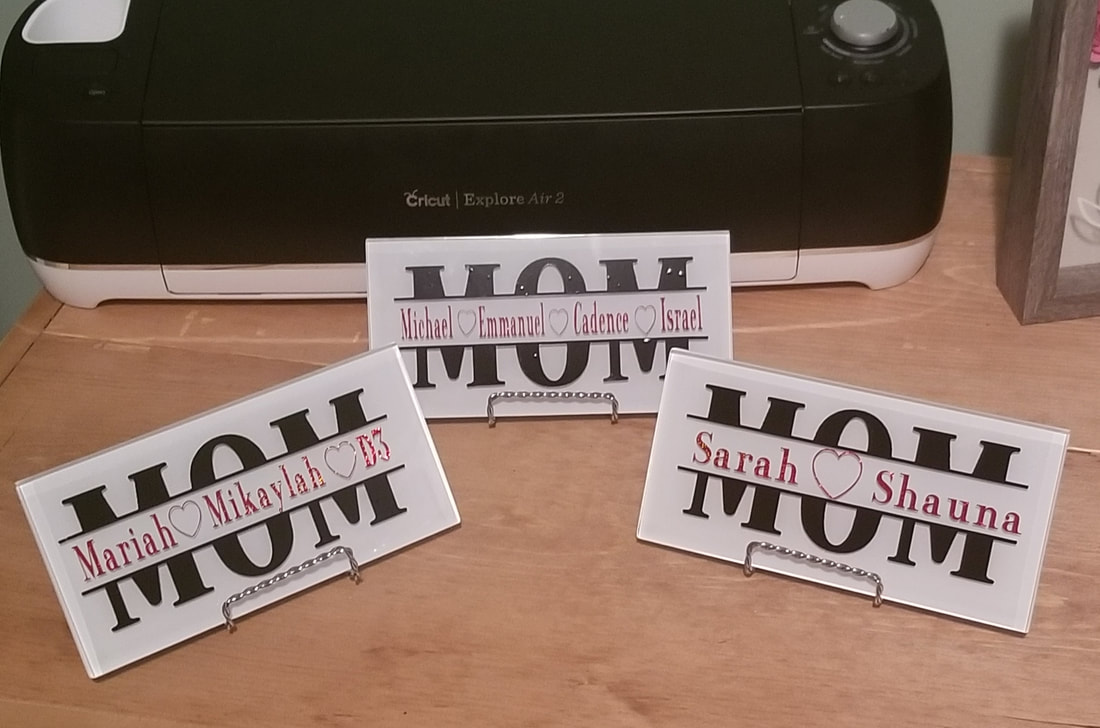
Here are some Mother's Day goodies I made using my Cricut Explore Air 2 and my Cricut Maker.
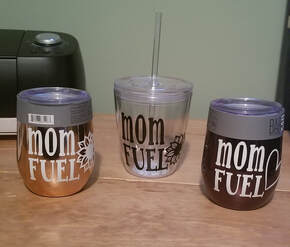
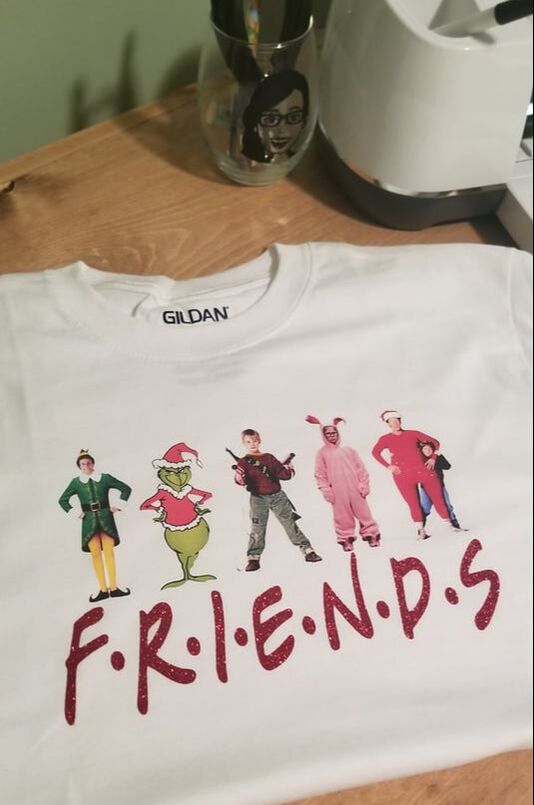
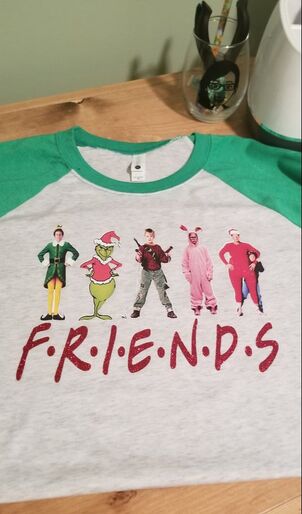
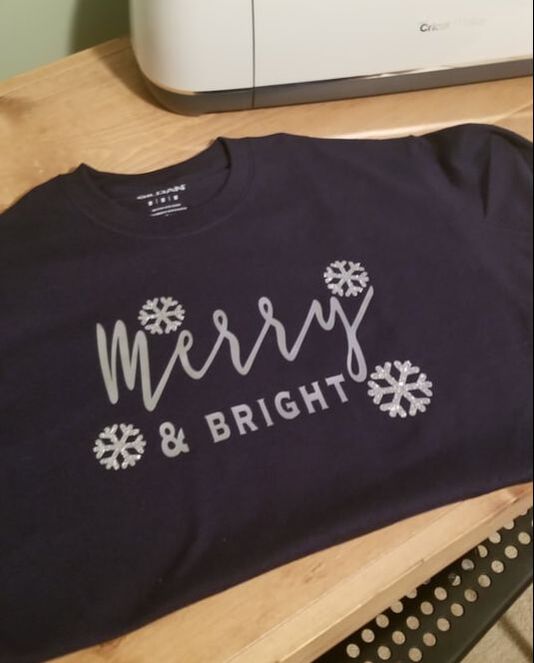
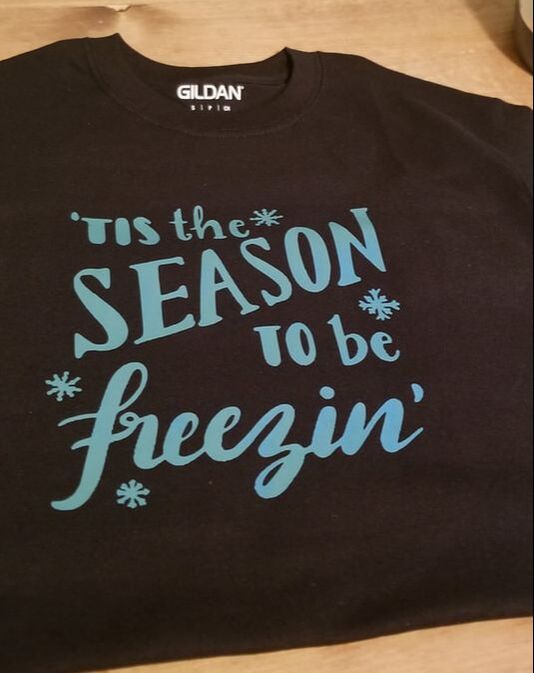
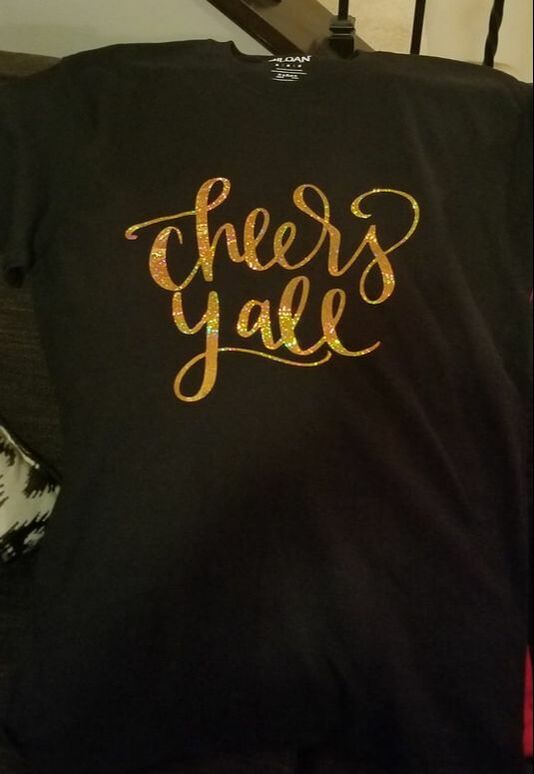
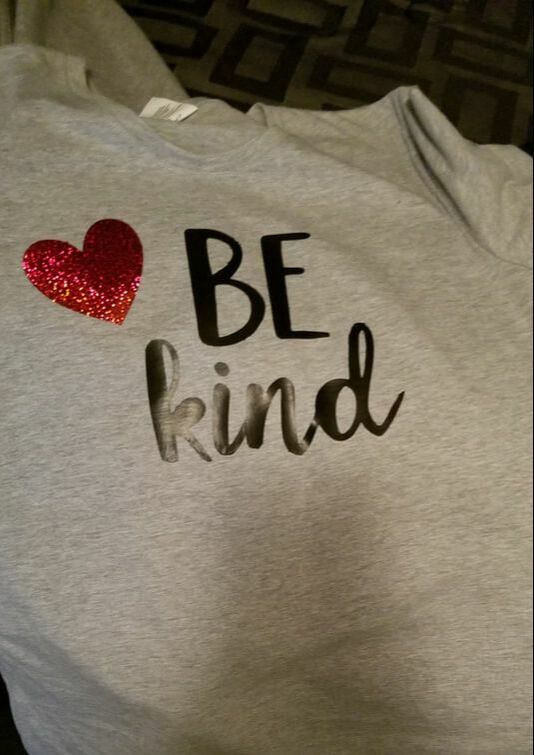
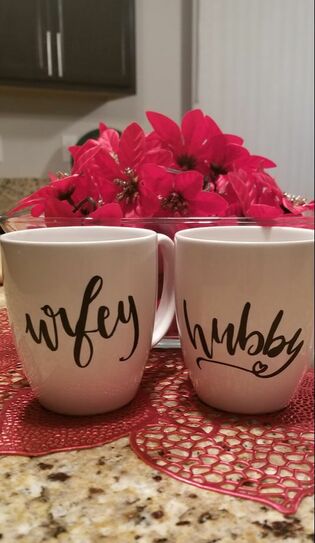
Mom Tiles Materials Needed: Tiles- Lowes ( Less than $3 each) Viny colors of your choice MOM image of your choicekids names are layered on top of MOM I've seen a lot with MOM on them and Mom Fuel Cups: With straw I bought at Michael's so long ago I am not even sure how much I paid for it Without straw cups were bought at Walmart $6-7 each I used white vinyl 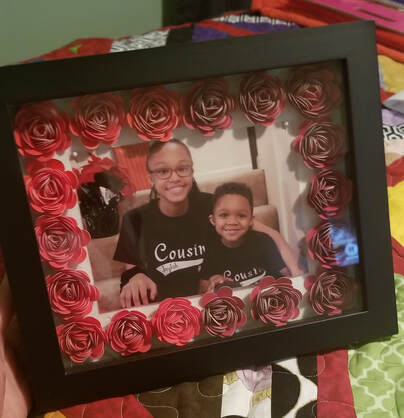 Mother's Day shadow box I love to do the flowers with my Cricut. It took a lot of tutorials but once you get it it's so easy and fun. Shadow Box from Michaels Paper from Michaels Glue Gun Here is a flower tutorial to help with the flower part. Once you have your flowers just assmeble as you please. 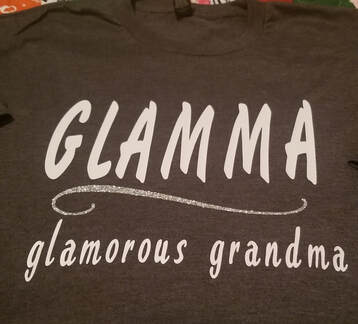 A dark heather gray shirt and some white and silver glitter vinyl and this shirt was a piece of cake! Check back in soon for Father's Day goodies!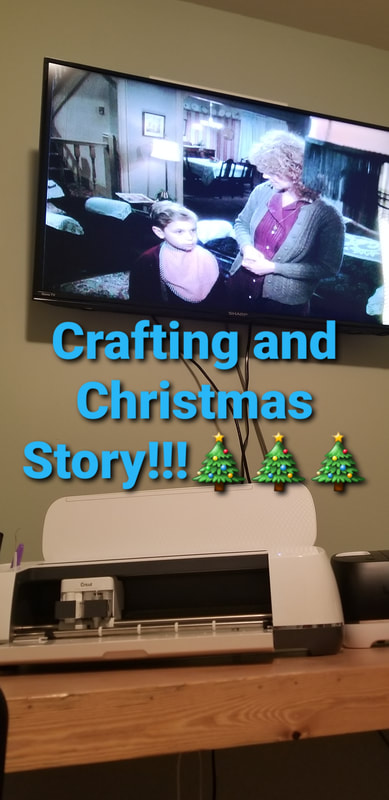 Merry Christmas! This year Christmas gifts came from my heart and my Cricut machine. I have two machines that I love and recently learned how to use them at the same time! (Can you say time saver!!!) I will be able to share more of the shirts I made for gifts after Christmas but what I want to share now are some of the fun Christmas shirts I made to get into the holiday spirit. Nothing better than some glitter vinyl and a good holiday movie. F.R.I.E.N.D.S.
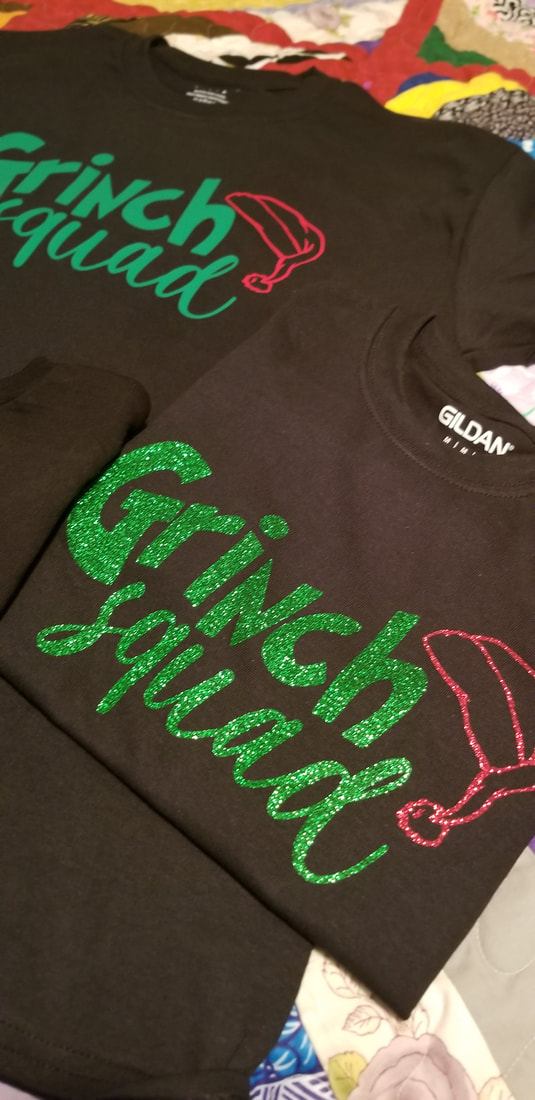
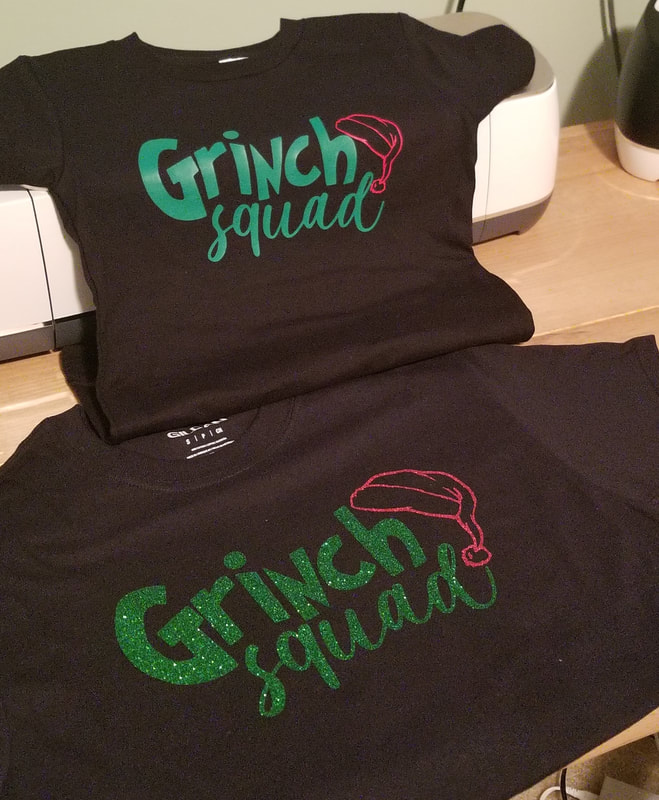
Grinch Squad
Happy Holidays
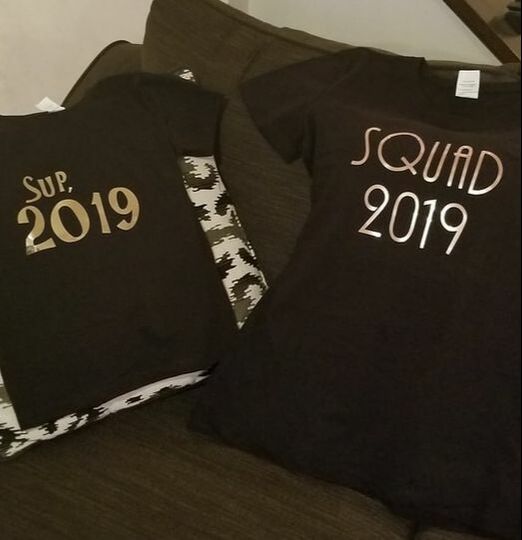
 With there being only days before Christmas I am still excited about making a few more fun shirts to celebrate the holidays!
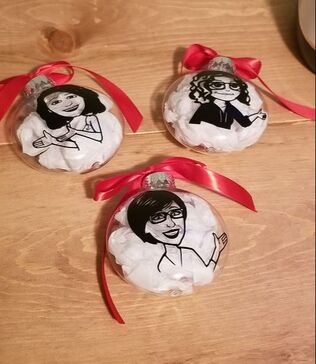
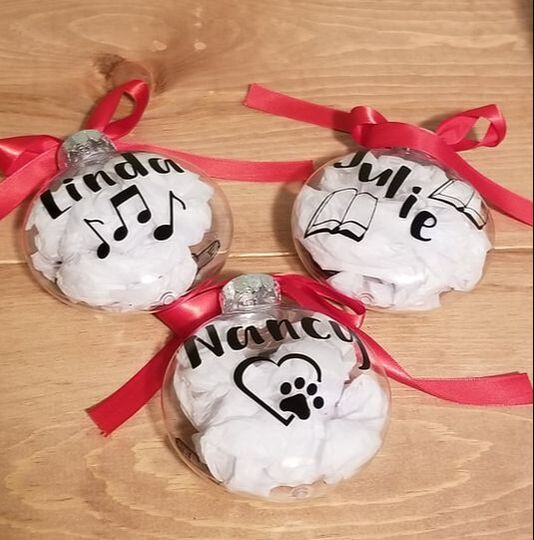
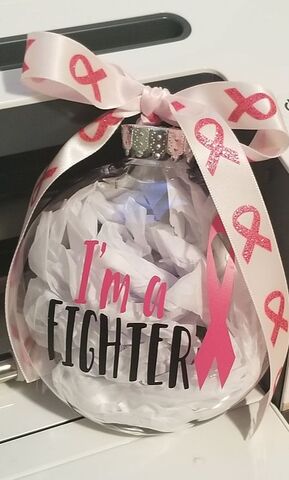
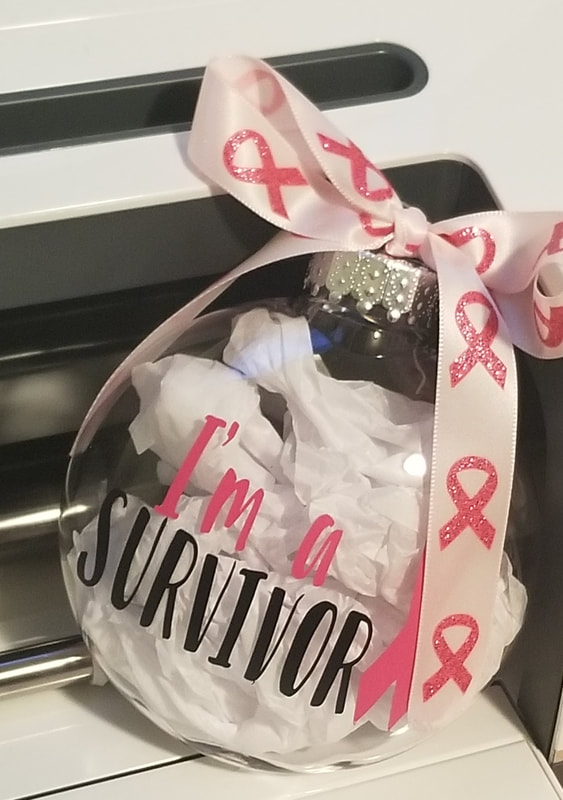
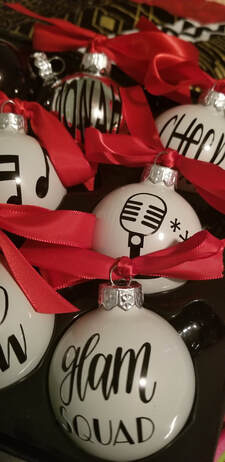
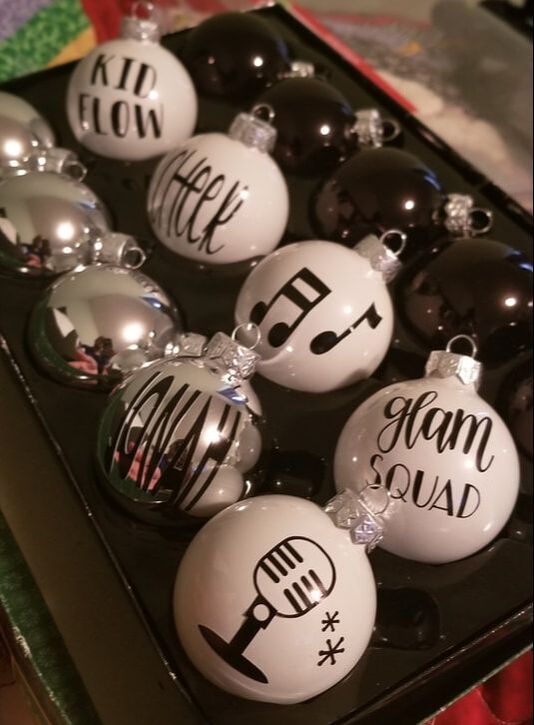
Happy Holidays!!!! Happy Crafting!!! 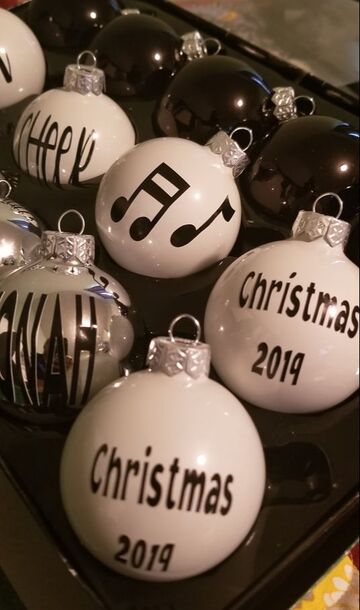 Happy Holidays! It's been a long time since I've shared what I've been working on but a lot has changed this year and I am busier than ever. This year for Christmas I decided to make gifts for everyone. My favorite were the ornaments. All that was needed was a clear plastic (or glass- but I used plastic)ornament and removable adhesive vinyl of your choice. Here are some of the ornaments I made this year! Bitmoji Ornaments
Breast cancer ornaments
Christmas 2019 Ornaments
Cricut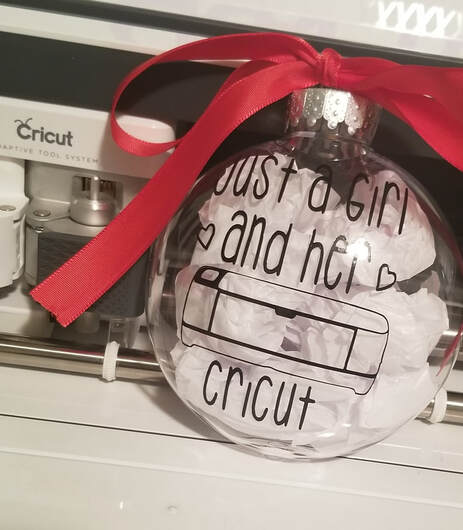 I would love to see all the Christmas crafting you have done this year!
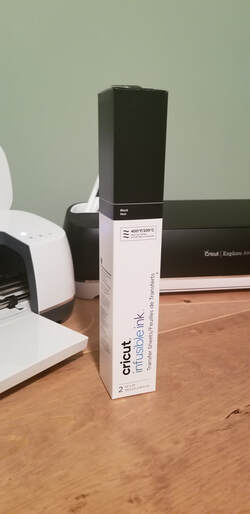
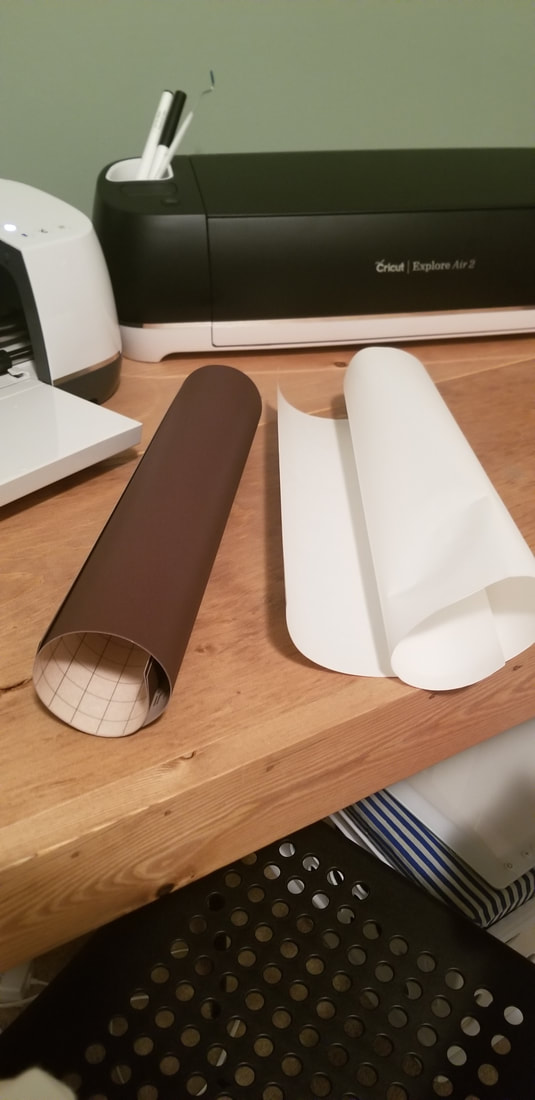
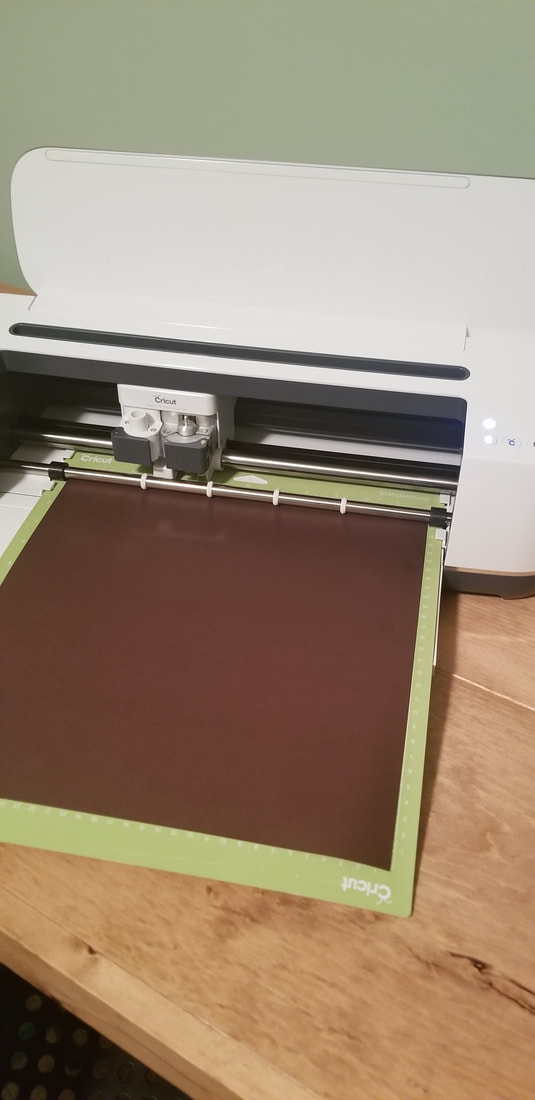
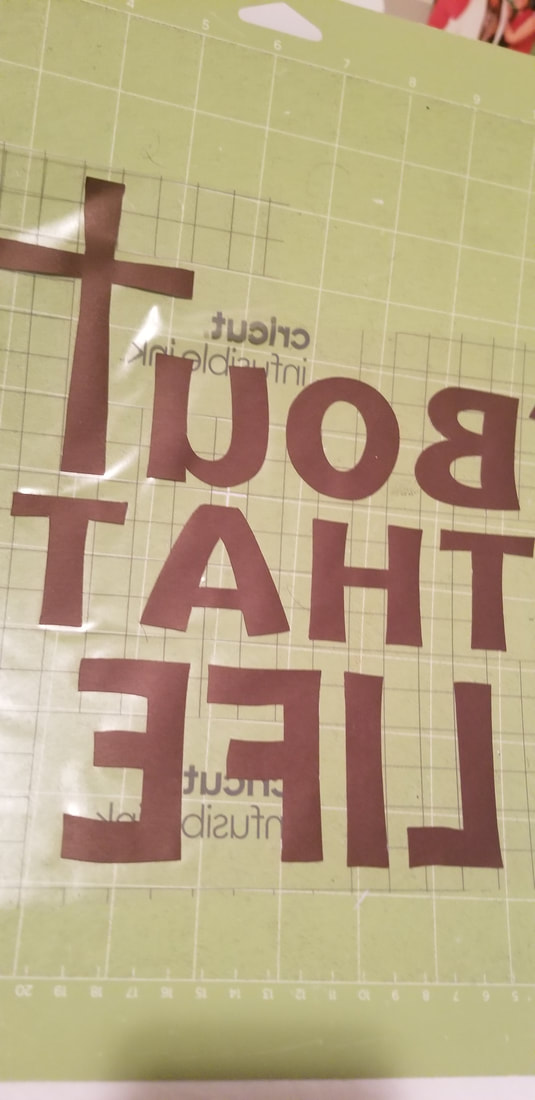
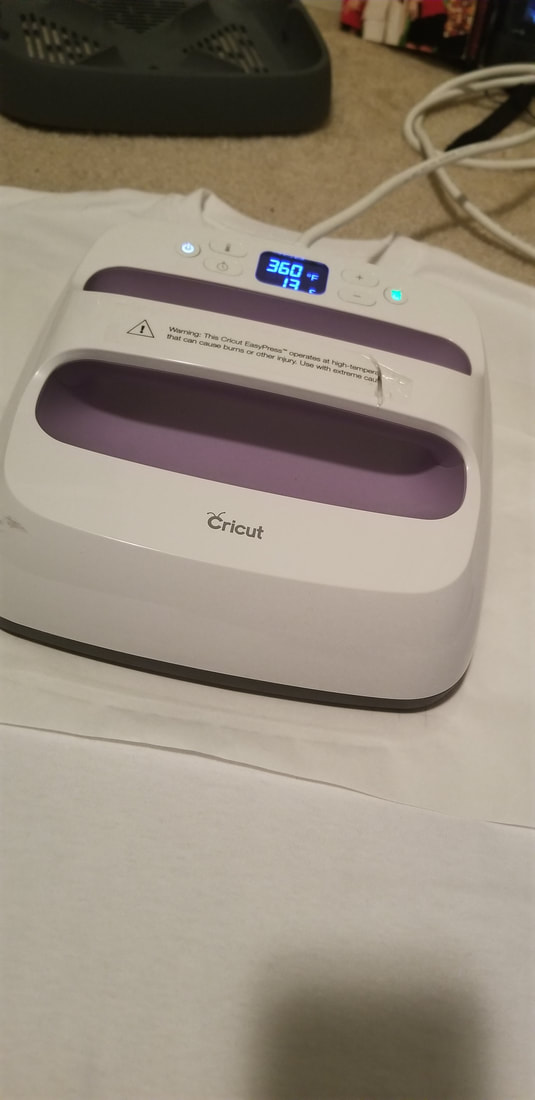
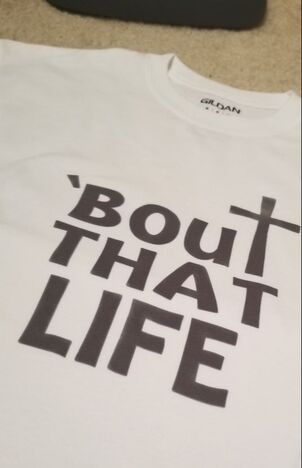
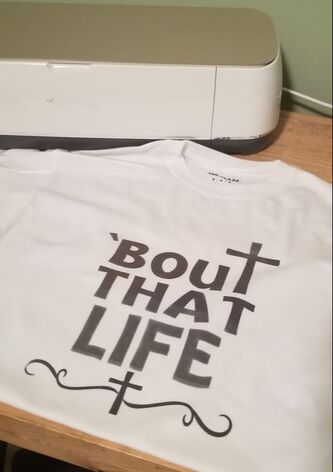
Happy Crafting!!!! Merry Christmas! 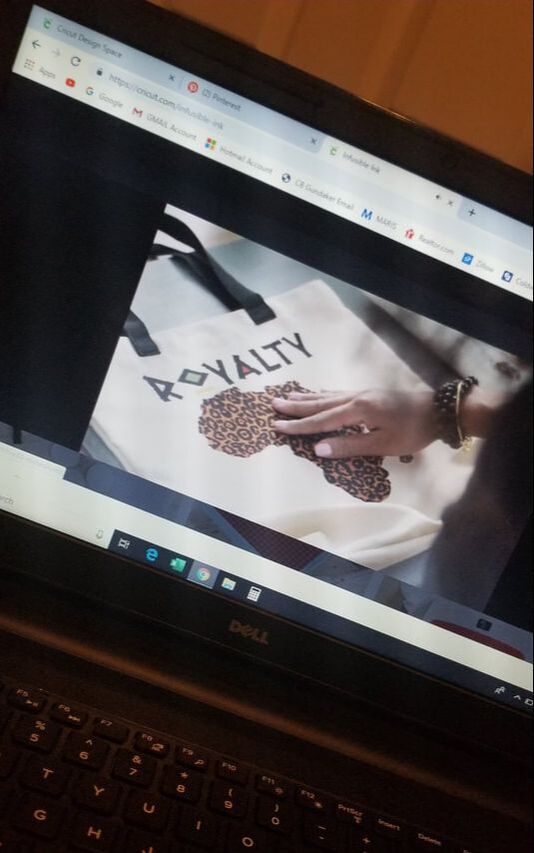 If you love to craft then you must have heard about Cricut's new Infusible Ink. It's a new transfer that infuses the ink (image) into the fabric. Amazing right? Well today is the day we are going to give it a try. Well-kind of... If you are anything like me you like to craft on a budget. I love to try new crafts and love when new items come out, however, I don't always have the finances to purchase all the new latest and greatest items. Infusible Ink is no different. Cricut has made it clear that to get the best results you need to use Cricut blanks for Infusible Ink and Cricut's heat Press 2 that heats up to 400 degrees. It's TimeSo what I used was very different. Blank: used a white Gildan shirt from Micheals. Heat Press: I have 2 heat presses. The Cricut Heat Press (only heats to 360 degrees so it is not a Heat Press 2) and another t-shirt press( this one does heat to 400 degrees but I didn't use it. Cricut Maker Black Infusible Transfer $12.99 at Micheals The directions on the box were no help to me. I didn't know if I treated this like HTV or Adhesive vinyl. They were very vague directions. I found a great youtube video that helped me figure it all out. So I followed the steps from the video and I am not sure what to think.
I learned a couple of things in doing this project.
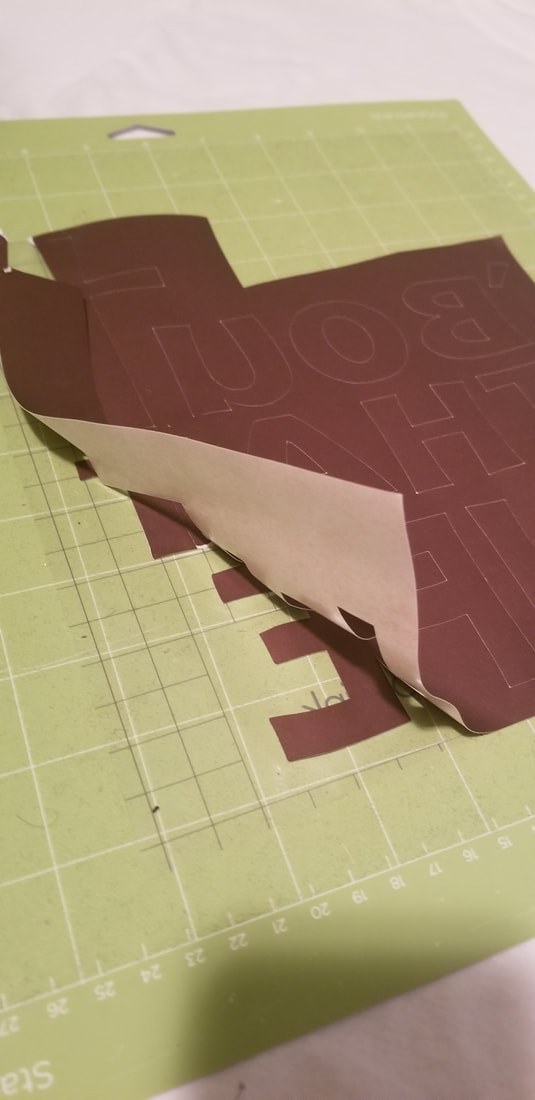
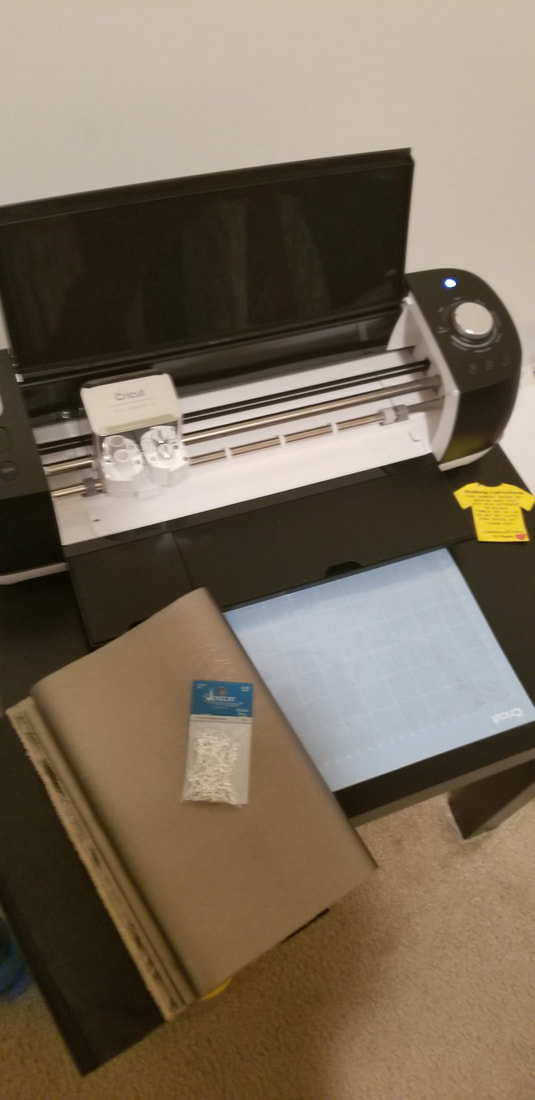
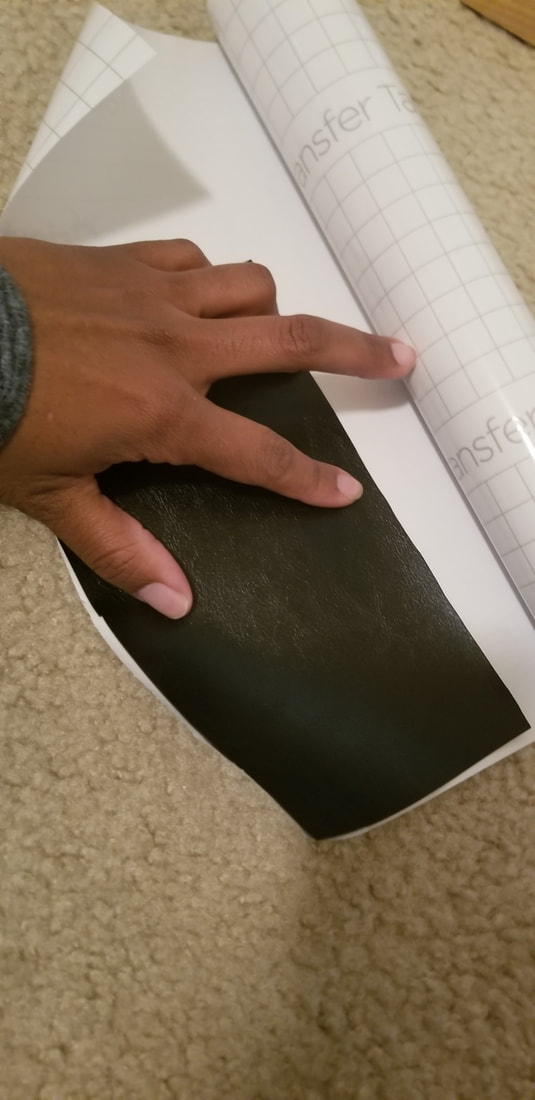
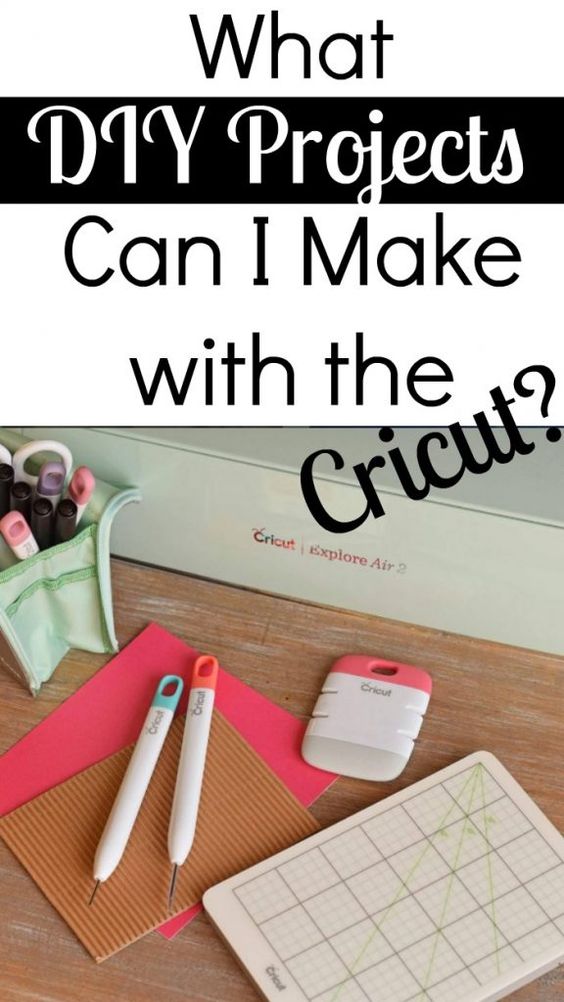
1. Cutting corners doesn't always yield the results I am looking for. Using the recommended materials may be necessary. 2. Don't lay heat on already finished image. It's ink. It's going to come back off. (See half of THAT and LIFE? When I pressed the cross on the heat press laid over THAT LIFE and some of the ink came off. I am going to go back soon to try some more Infusible Ink (OH and maybe the markers too!). I am going to get all the recommended supplies and let you know how it goes! I'd say this was FUN and not a fail. As long as I learn something for next time and enjoyed myself!! 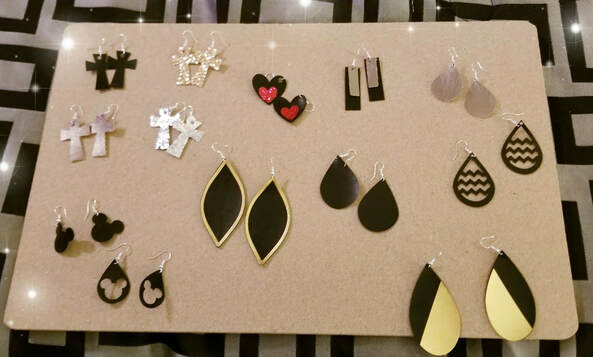 I am slowly learning that there are a million and one things you can do with a Cricut Explore Air 2 machine. One of those things I have recently learned is how to make these amazing leather earrings. They are so fun and in style. I wore them for days before anyone knew that I had made them. Here is how I (and you) can create some stylish DIY faux leather earrings.
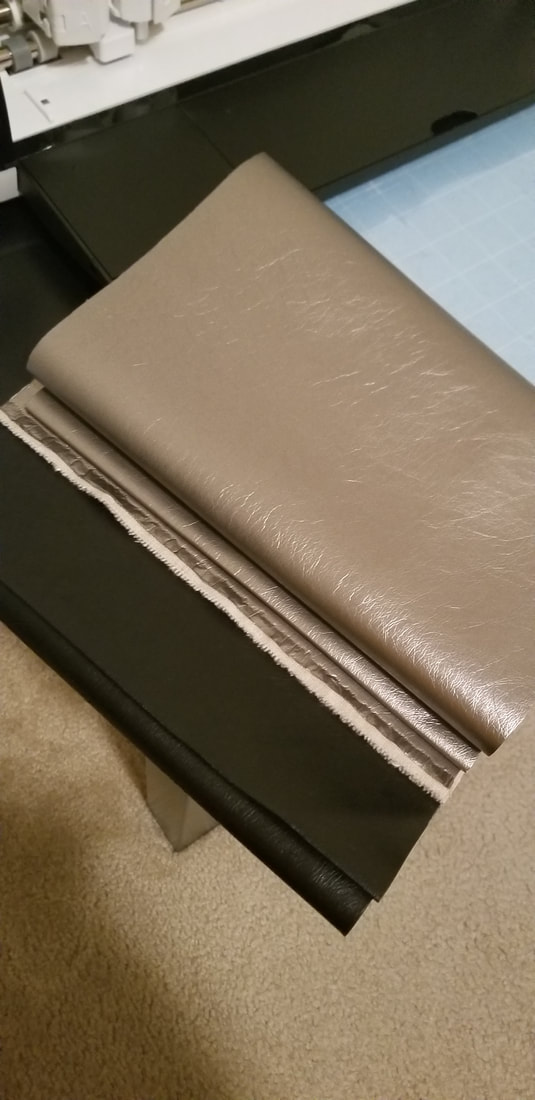
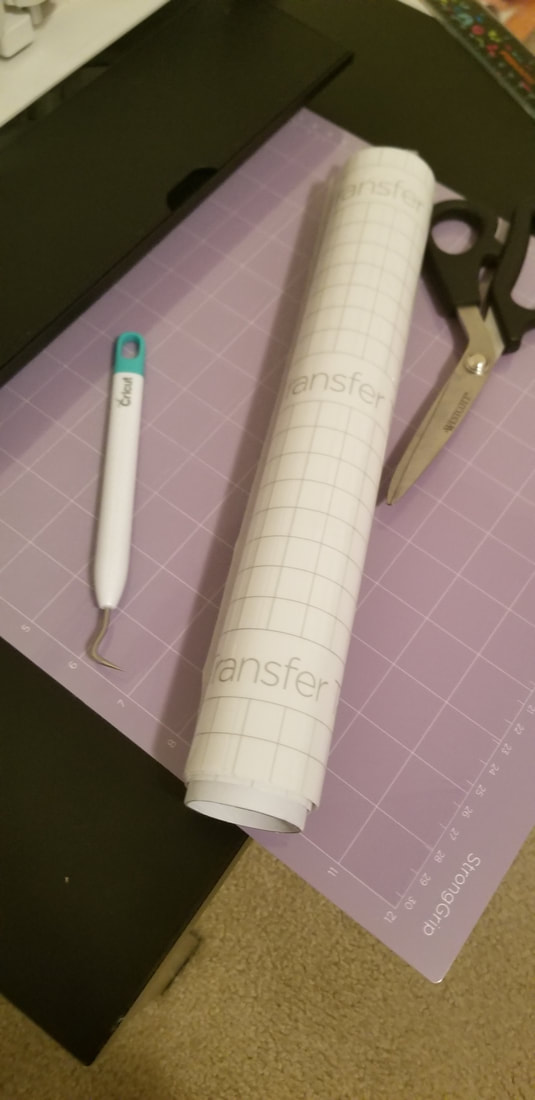
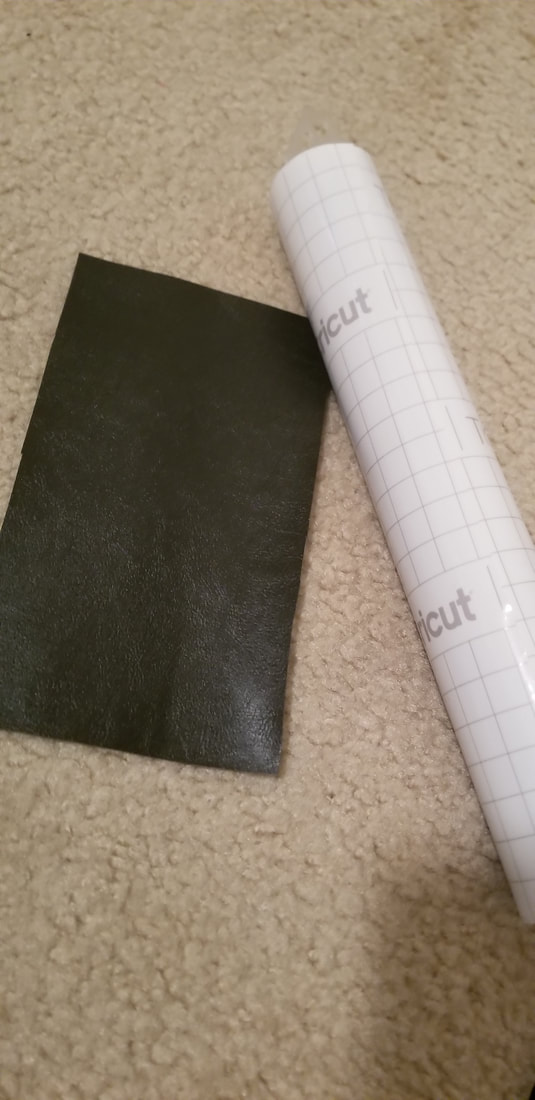
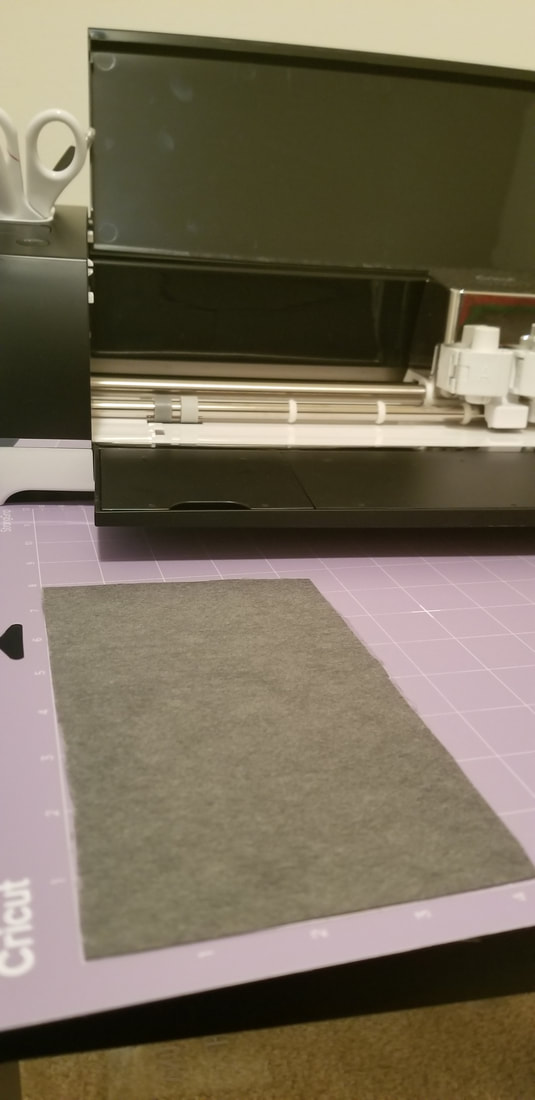
What you need: Cricut Explore Air 2 Machine Cricut Strong grip Map Faux leather (Cricut sales this in many colors, but I started with some simple pieces from Walmart) Cricut Transfer paper Needle nose pliers Fish hook earring hooks Once you have the shape and size set on in Cricut Design Space it's time to cut. (I just googled, saved and uploaded the shapes I wanted.) 1. Cut the size of leather you need and back it to the same size transfer paper. Make sure to lay the fabric down leather and transfer paper side down onto the mat.
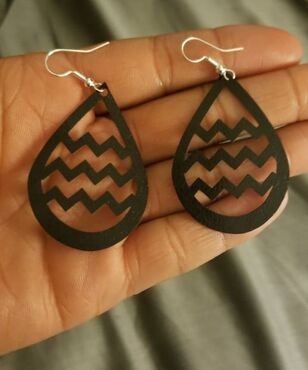
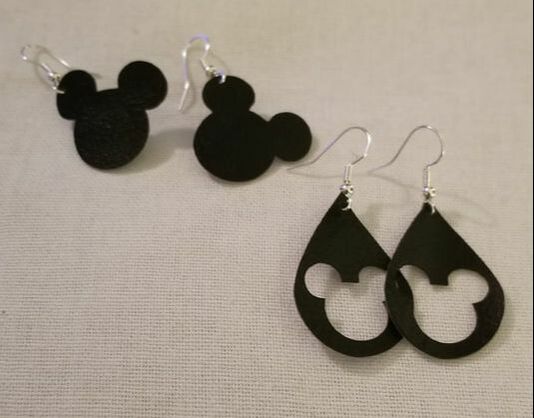
2. Once the design has been cut out- make sure you poke a hole in the top of the fabric. (I use the slice tool in design space to cut the whole into the fabric already.) 3. Using the needle nose pliers attach the fish hook earring to the leather piece. There you have it! A fab pair of earrings. Here is a video that I used the first time I ever made a pair of these earrings.
I love these earrings and can't wait to make more! I would love to hear from you. Let me know what you think of the earrings or if you have made some on your own.
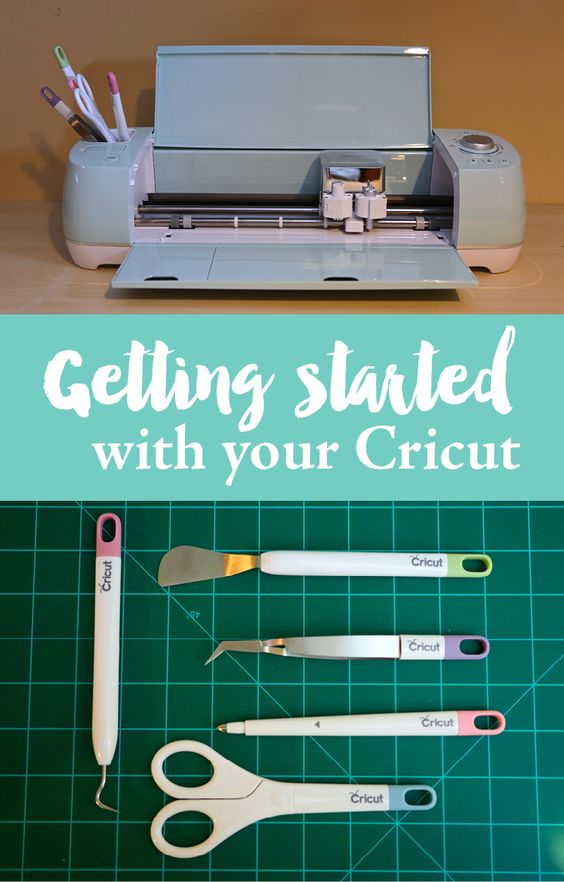
Happy Crafting! 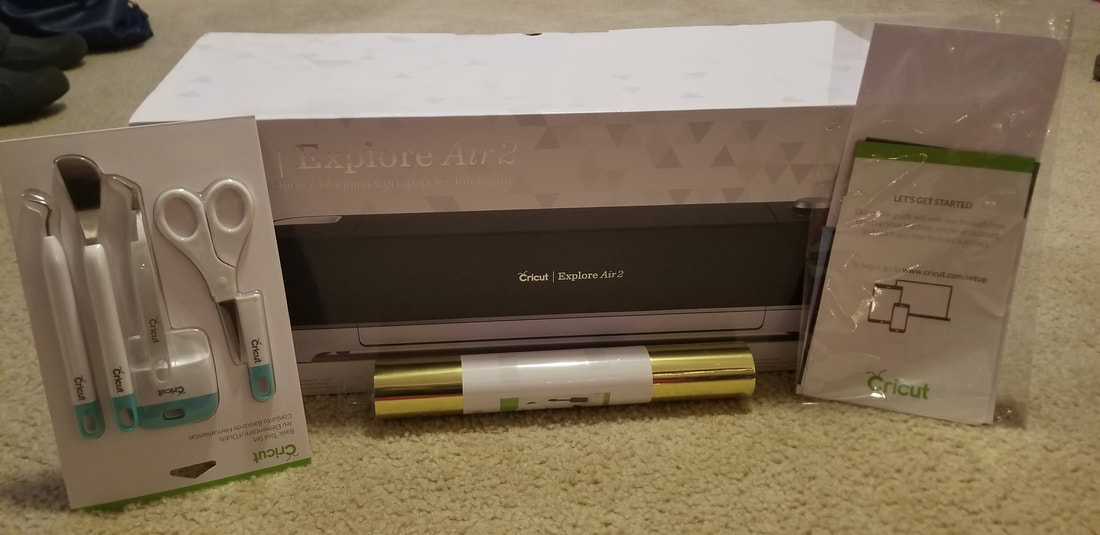 I am so excited about my new toy! I got a Cricut Explore Air 2 machine for Christmas and I absolutely love it. It's been a week and I have only scratched the surface with what I can do with this machine. Thank goodness for Pinterest, Youtube, and friends that already have a Cricut. I have learned a lot from all of them. I am in no way an expert on this machine but I am going to share some of the videos and pins that have helped me get started as well as I some of the items I have worked on. My ProjectsHere are just a few of the projects I have been working on. Remember that I have only had my machine a week and I am still learning the simple techniques and tricks to create some fun projects.
I have found so many great ideas, images, hacks and how to sites from Pinterest. Here are just a few of my favorites.
AuntieTAYThis is a youtube channel I found that has been super helpful getting me started. Auntietay is very knowledgeable about the Cricut and every Monday is Cricut Monday where she shares some tutorials or ideas that will get you inspired to be creative. As a bonus she has Cricut coupon codes that can help you get started for less! Tanner BellI just recently found Tanner Bell's channel. He's got a website makersgonnalearn.com that holds tons of information about the Cricut and Easy Press. He does tutorials and reviews and has a wealth of information about all things Cricut and crafting. Be sure to drop back in to see what new projects I've tried and are planning to work on!
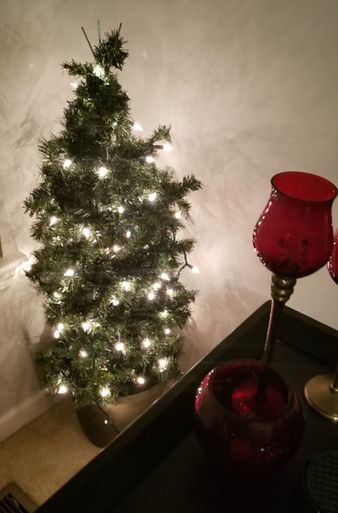
If you have any tips, tricks or ideas please leave me a comment. I'd love to try them all!!! Happy Crafting!! 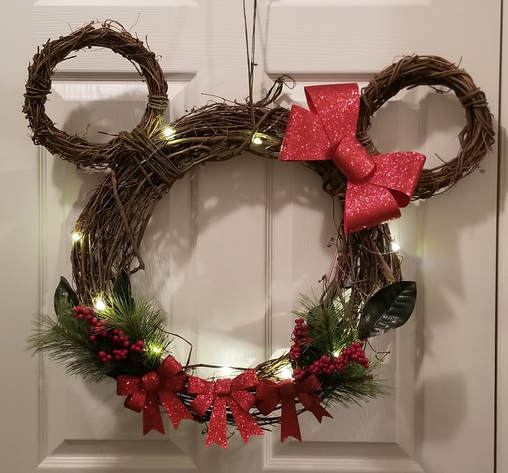 When do you my decorate for Christmas? I usually wait until the Friday after Thanksgiving but this year I went with a few days early. Just a few days... I love decorating for Christmas! Each year I try to do something new to shake things up. This year I made a Christmas Minnie Mouse Wreath for my front door and added two mini garland Christmas trees in my living room. Here's what I did: Minnie Mouse Christmas Wreath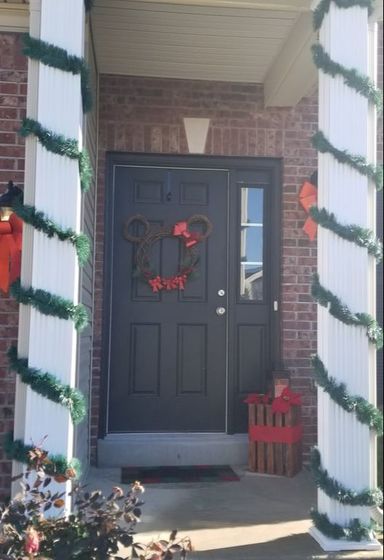 Materials Needed 3 wreaths-1 large and 2 small (Michaels) Christmas flowers and accessories (Michaels) Battery operated lights (had these already) Giant Christmas bow (Joanns) Small Christmas bows (Joanns) Raffia-to secure ears (Michaels) ***X-Acto knife, scissors, and hot glue gun *** Assembling was pretty easy. 1. Choose your spacing for the ears and attach the small wreaths to the larger wreath using the Raffia. 2. Once the ears were done it was time to place bows and accessories to see what I liked. The last thing I attached was the lights. 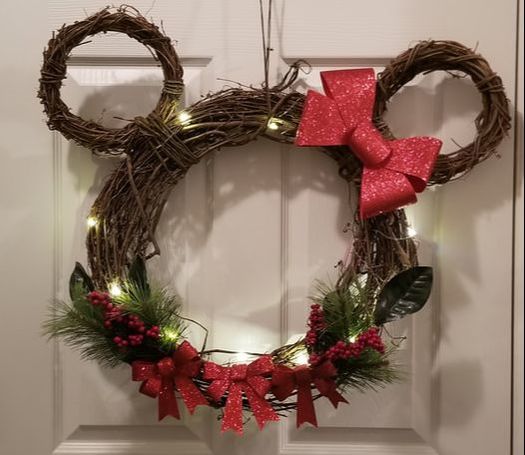 Garland Trees
Materials: Flower Pot- I found one I liked in the Garden Center of Home Depot $6.00 each Tomato Cage- Lowes -$2 each-I bought the 33 inch one String of Lights- Walmart Christmas Center Garland- 2 Strands per tree (on sale-Micheals) $4.00 per strand Duct Tape Directions: These are exactly the same as the Fallmas Tree I did in September. 1. Place the tomato cage in the flower pot. The cage was a little bigger so I bent the sides and duct taped the cage to the inside of the pot so it is secure. 2. Once the cage was secured I wrapped the garland starting at the top of the pot all the way to the bottom of the cage. 3. After the garland was in place I wrapped the lights around. I used 2 strands of garland and one strand of lights. You can wrap them as close or as far away as you want. Do what looks good to you! 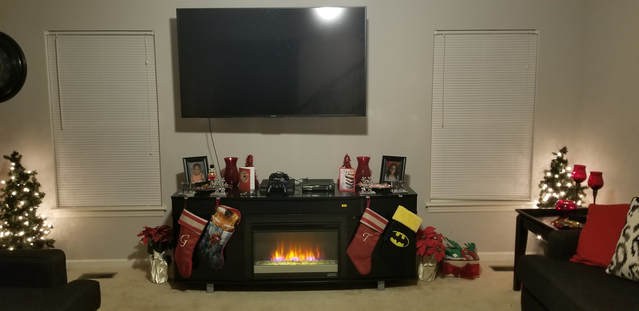 Merry Crafting!!!!
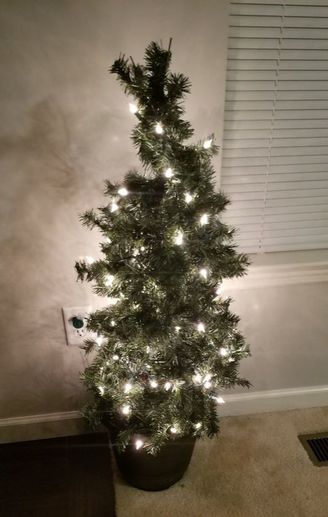
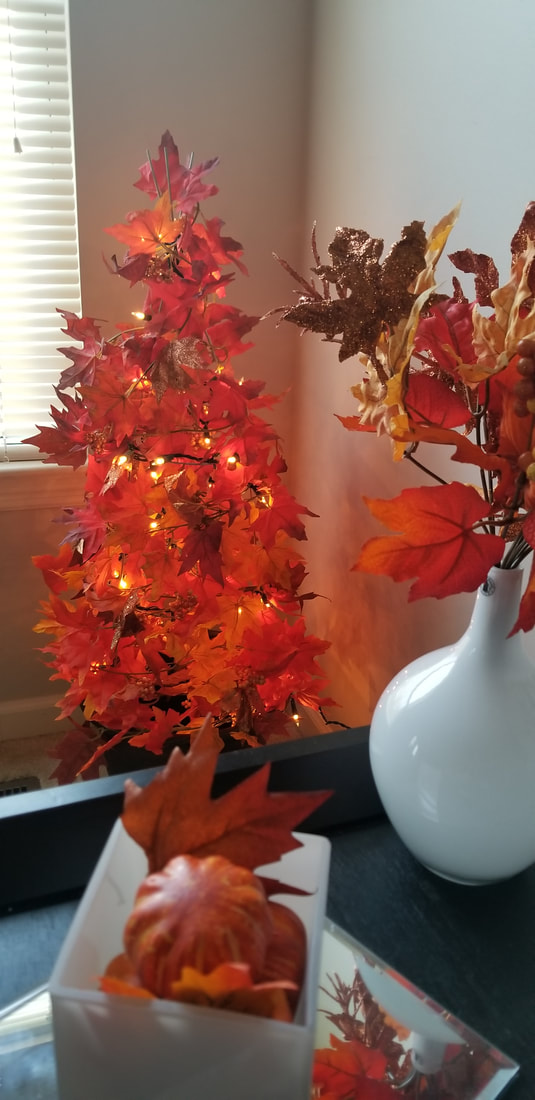
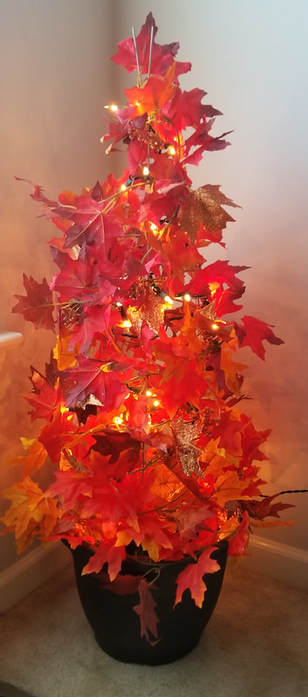
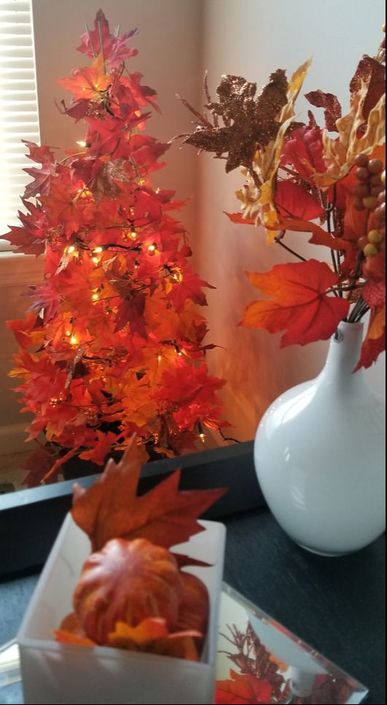 I love fall! I love the color changes, the weather changes and the decorations! This year I decided what we needed was a tree. I looked on Pinterest and found some ideas on a tomato cage tree now affectionately called my Fallmas Tree! Here's how to easily make your own Fallmas Tree! Materials: Flower Pot- I found one I liked in the Garden Center of Home Depot $6.00 Tomato Cage- Lowes -$2-I bought the 33 inch one String of Lights- Michael's (on sale) $5.00-originally $10.00 String of Fall leaf garland- 4-5 strands (on sale) $5.00 per-strand originally $9.99 Duct Tape Directions: 1. Place the tomato cage in the flower pot. The cage was a little bigger so I bent the sides and duct taped the cage to the inside of the pot so it is secure. 2. Once the cage was secured I wrapped the lights starting at the top of the pot (I let the plug and a few lights hang so that I can plug in the tree)all the way to the top of the cage. 3. After the lights were in place I wrapped the garland of leaves around the lights. I used 4 strands of leaves. You can wrap them as close or as far away as you want. Do what looks good to you! That's it! There you have it! Your FALLMAS TREE!!!!!
Happy Fall Ya'll!
|
Archives
December 2019
|


 RSS Feed
