|
Here are some great Lego snack and party ideas! I love a good tutorial video!:)
0 Comments
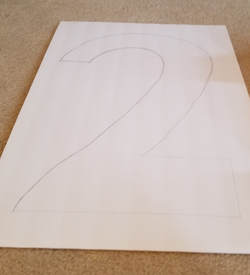
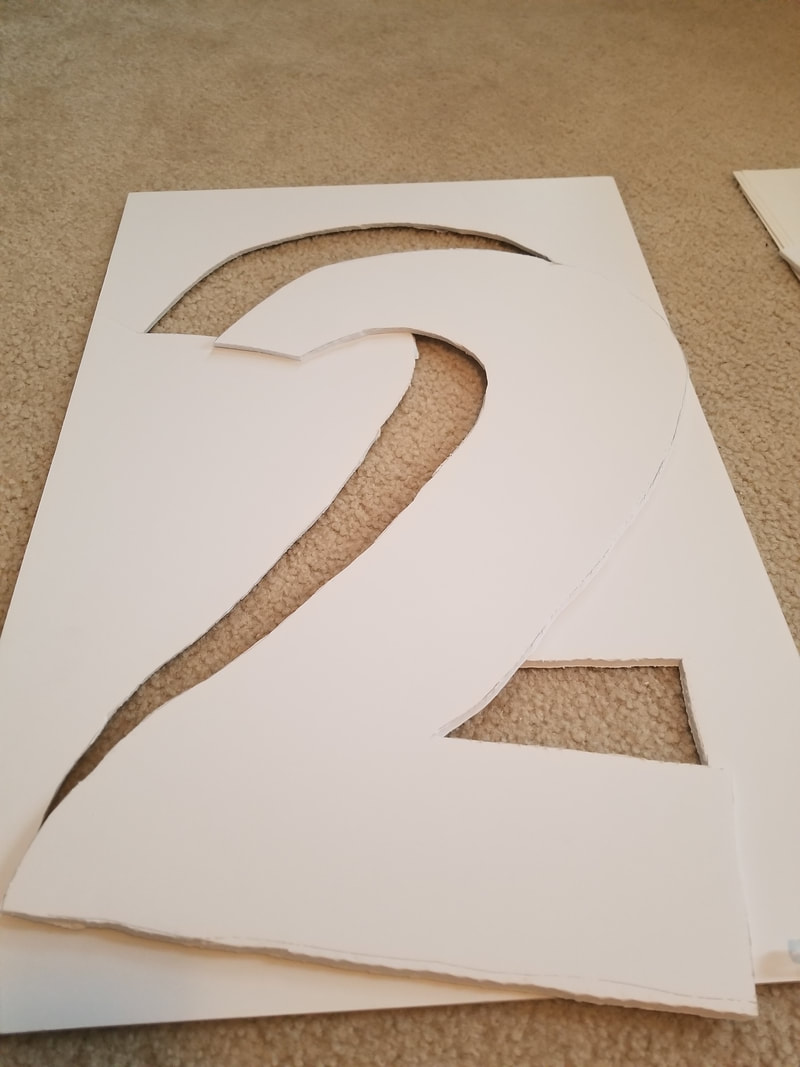
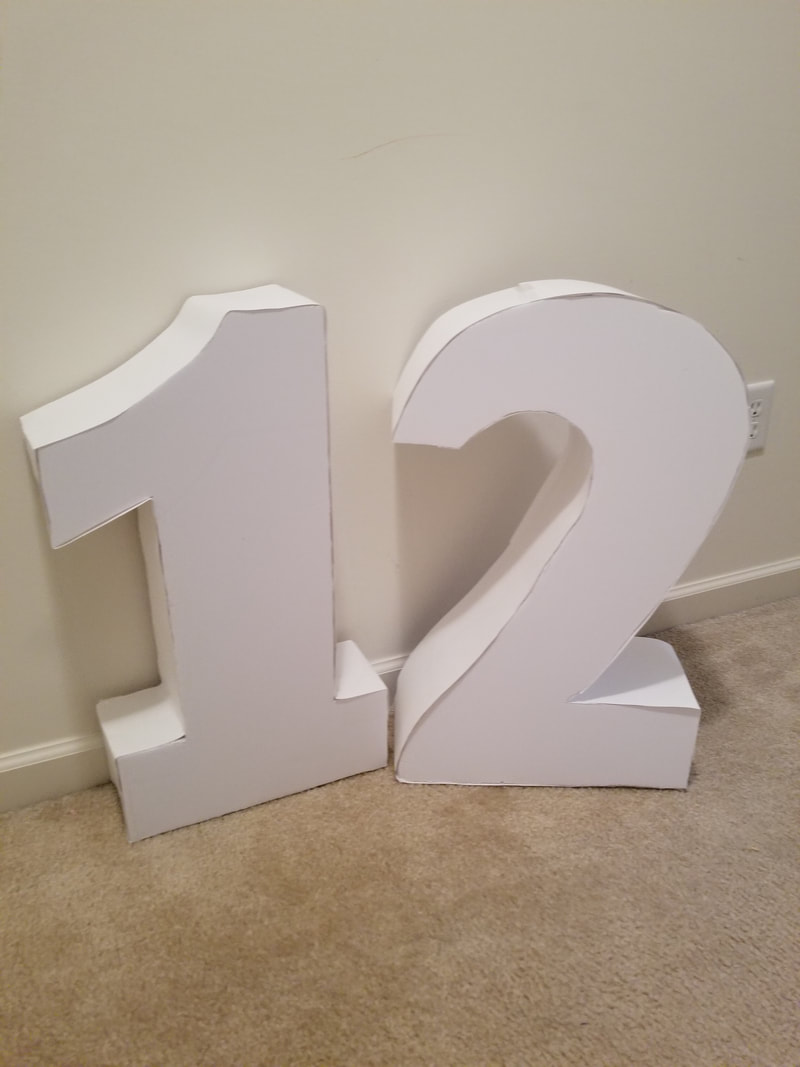
 I am working on ideas for Jaylah's 12 birthday and Jaxson's 5th birthday. One of the ideas I know I want to incorporate this year are giant numbers. Because I haven't done numbers before they aren't as large as I would like them but for the party we are having I think they will do just fine! I found a great tutorial that helped me make these awesome letters. This post is only part one on how to make the letters. I am going to decorate each later and will post those at a later time. 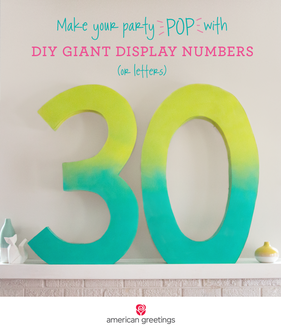 Supplies
Step 1: Draw/sketch out the number (or letter) on the foam board -do this twice for the front and the back of the number. Step 2: Cut it out. I used a X-acto knife.
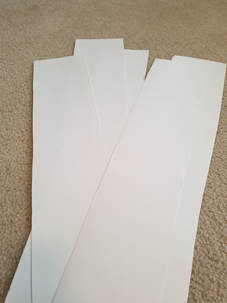
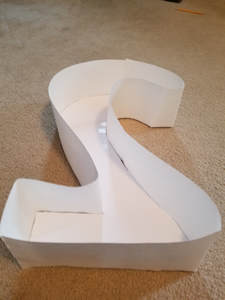
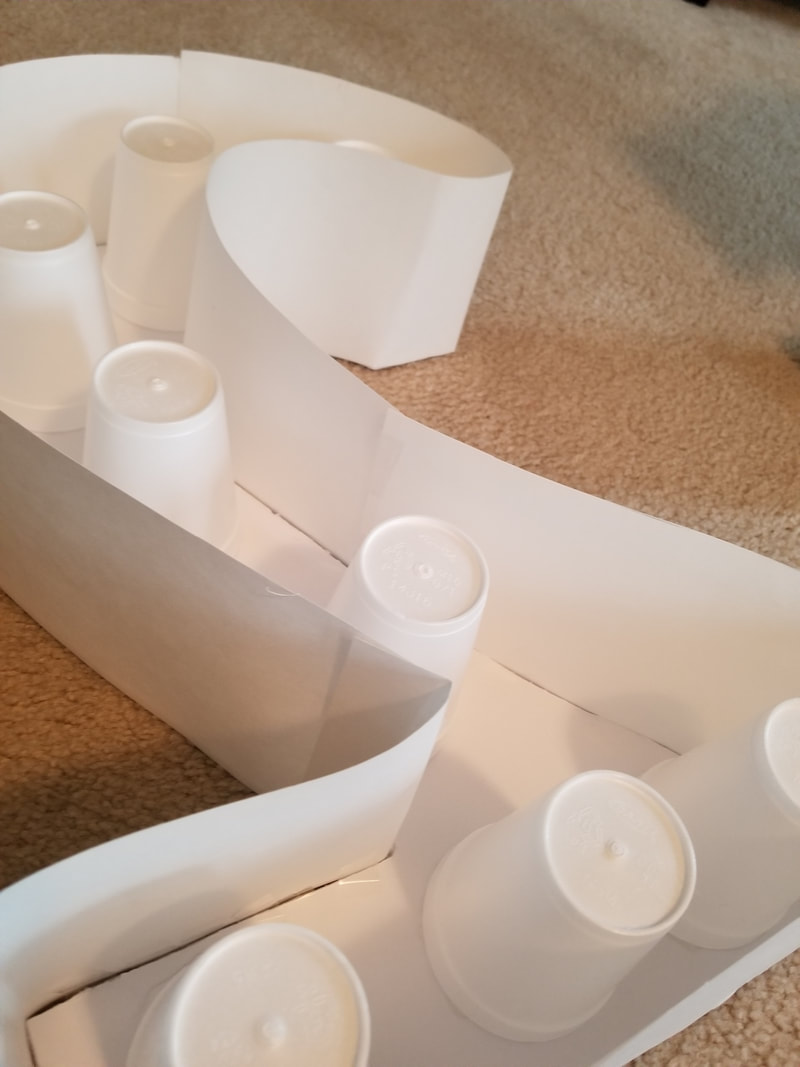
Step 3: Use the poster board strips (6'' wide strips) and tape them around the side of the number or letter. Step 4: Place the foam cups about 6'' a part inside the number.
Step 5: Glue the cups in place and then glue the back of the number into place. Step 6: Now it's time to paint and decorate.
This is only phase one of the numbers for Jaylah and Jaxson's birthday. Check back to see the finished decorated numbers!
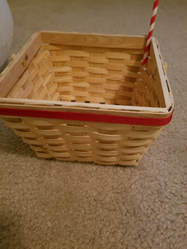
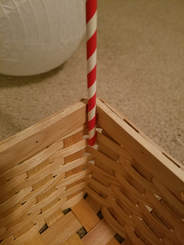
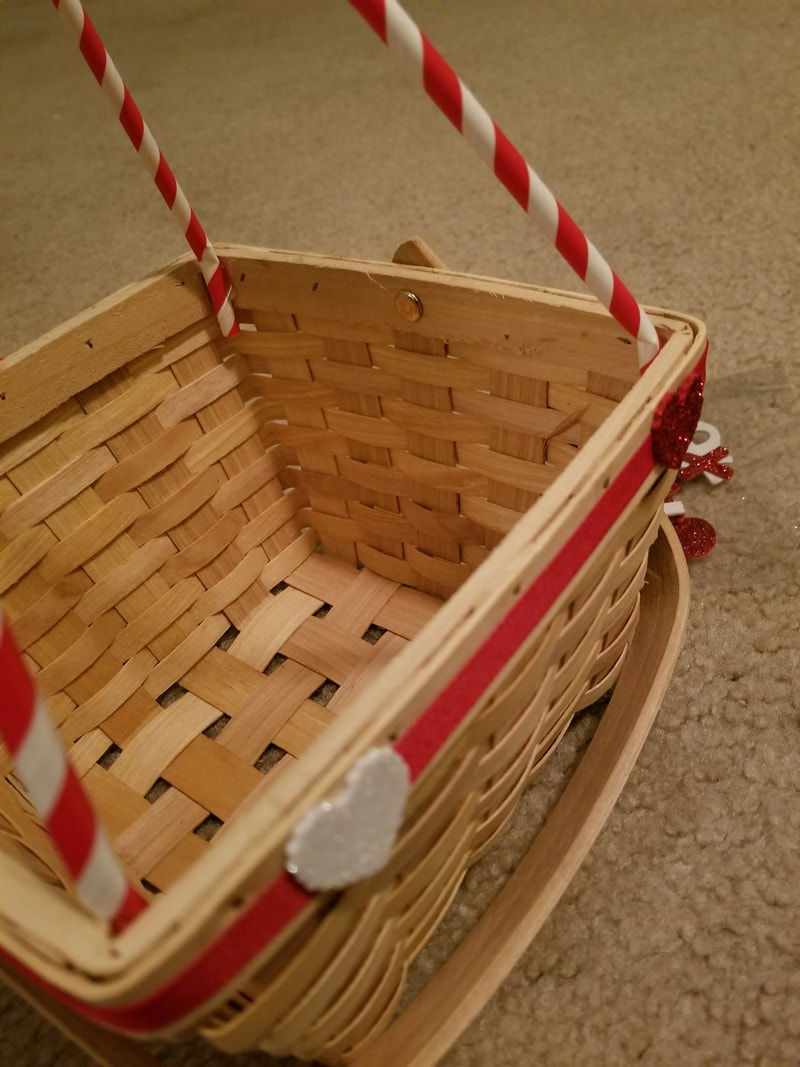
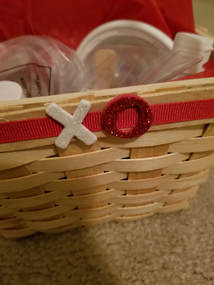
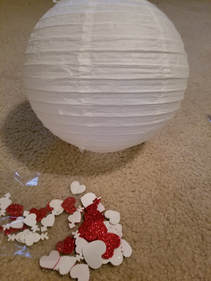
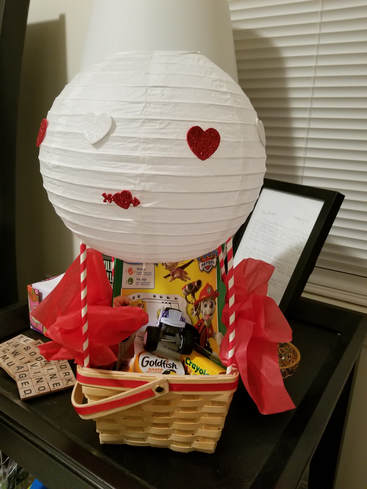 I saw these hot air balloon Valentine's baskets on Pinterest and thought that they would be perfect for family baskets this year. Since we are counting down to Valentine's Day using the activities jar I wanted something really special at the end. 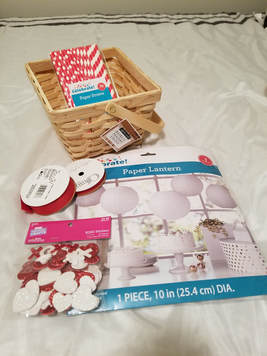 Here's what you need: Baskets -I got mine from Micheal's Red striped straws- Walmart's party section White lanterns-Walmart's party section Red Ribbon-I had some already but I am sure I got them from Hobby or Micheal's. Fun heart stickers-Hobby Lobby Glue sticks, scissors, tape
I didn't use any directions-just kept looking at a picture. First, I hot glued ribbon around the basket and put some decorative heart stickers around the basket. Second. I glued the straws in the corner of the baskets. Once I assembled the lanterns I decorated them with the fun heart stickers. Putting the lanterns on the straws took some tape and a prayer. I made slits in the lantern and put the straws through. I taped the outside around the straws on one and taped the straws to the inside of the lantern on another.
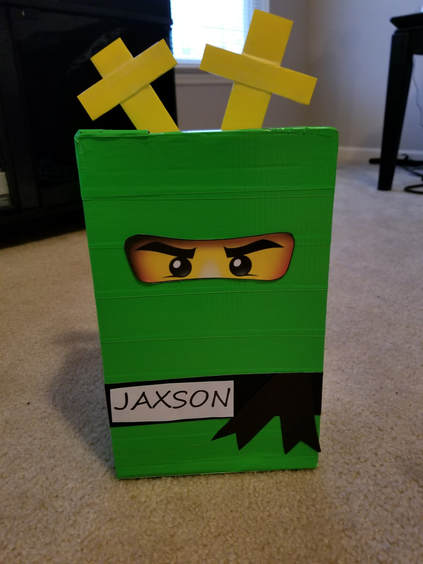
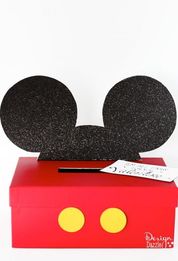
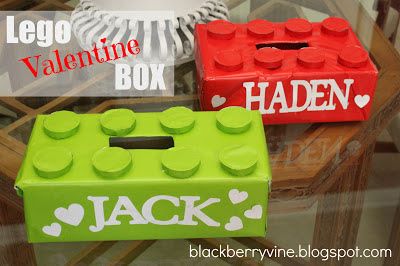
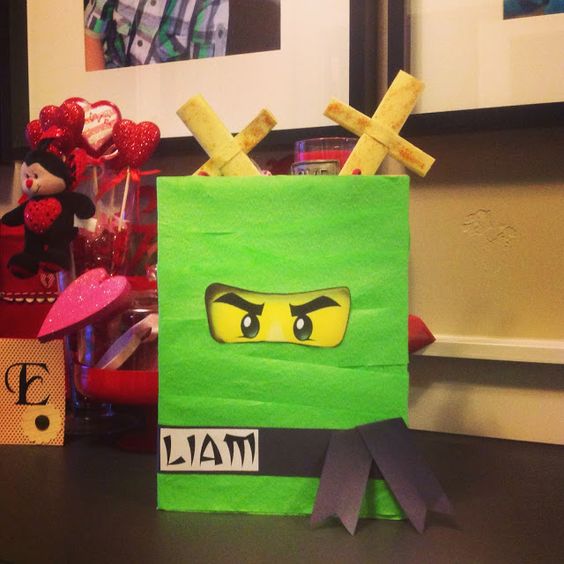
A little tissue paper and some fun gifts and the hot air balloon gift baskets are done. These are so cute you could make them for any holiday or season. 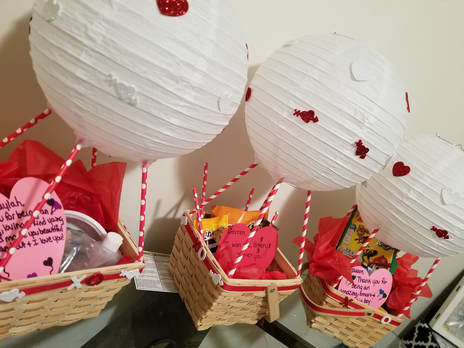 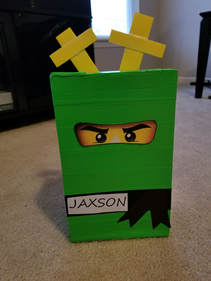 My youngest, Jaxson has his Valentine's Day party at school on Wednesday and he needs a box. So you know what that means! CRAFTING TIME!!! Last year we did Batman. This year he wants Lloyd from the Lego Ninjago Movie! (What I normally do is give him pictures of 3 boxes I think I can make and have him choose.) Last year's box! 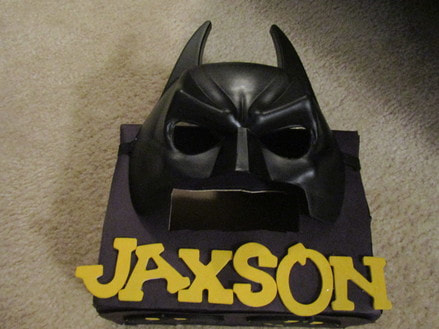 Here were the 3 he had to choose from this year and Lloyd won!!!
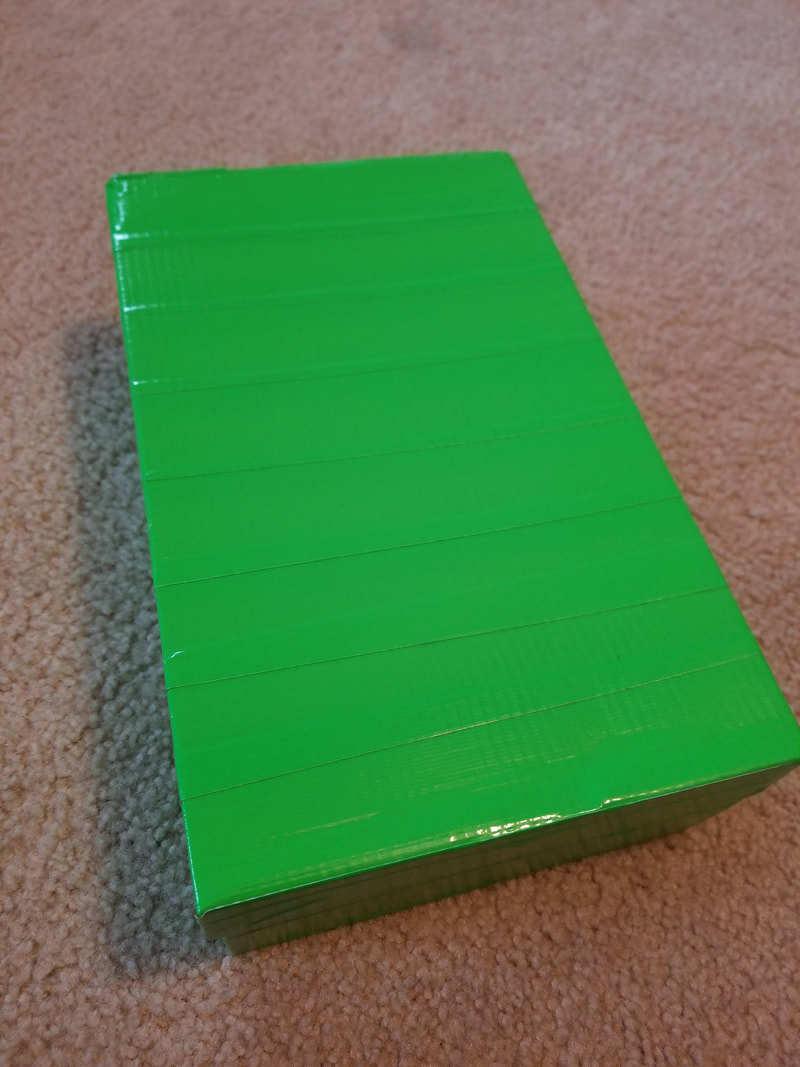
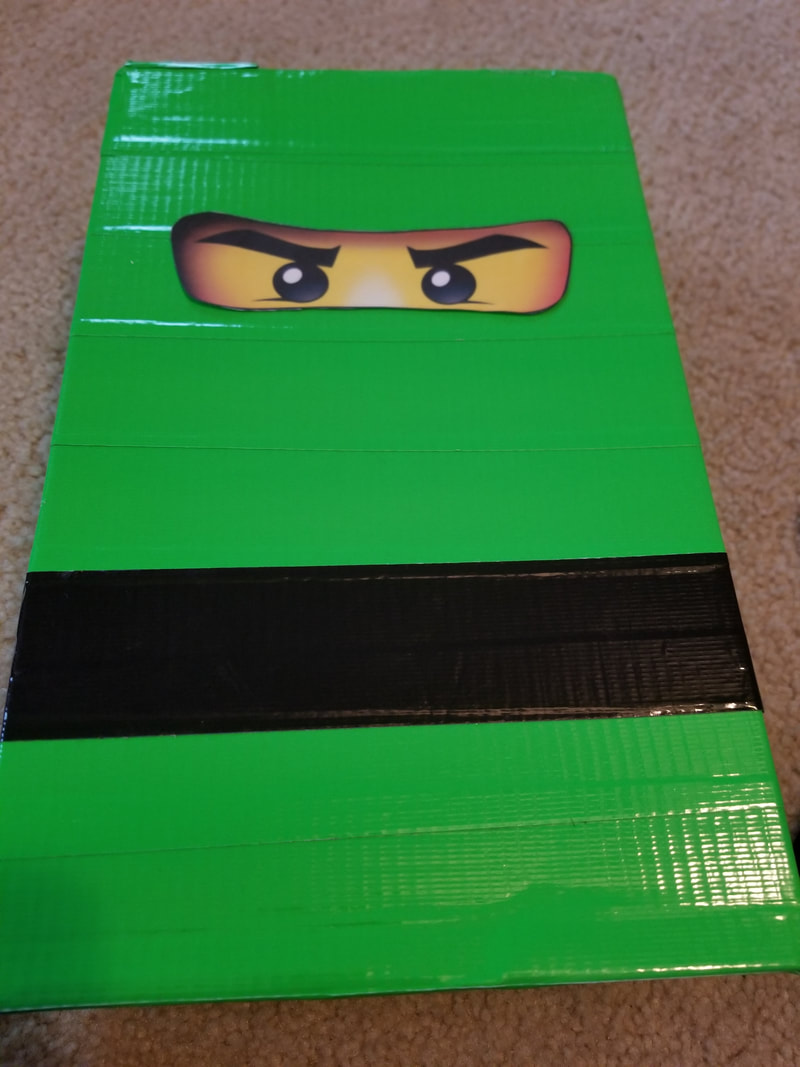
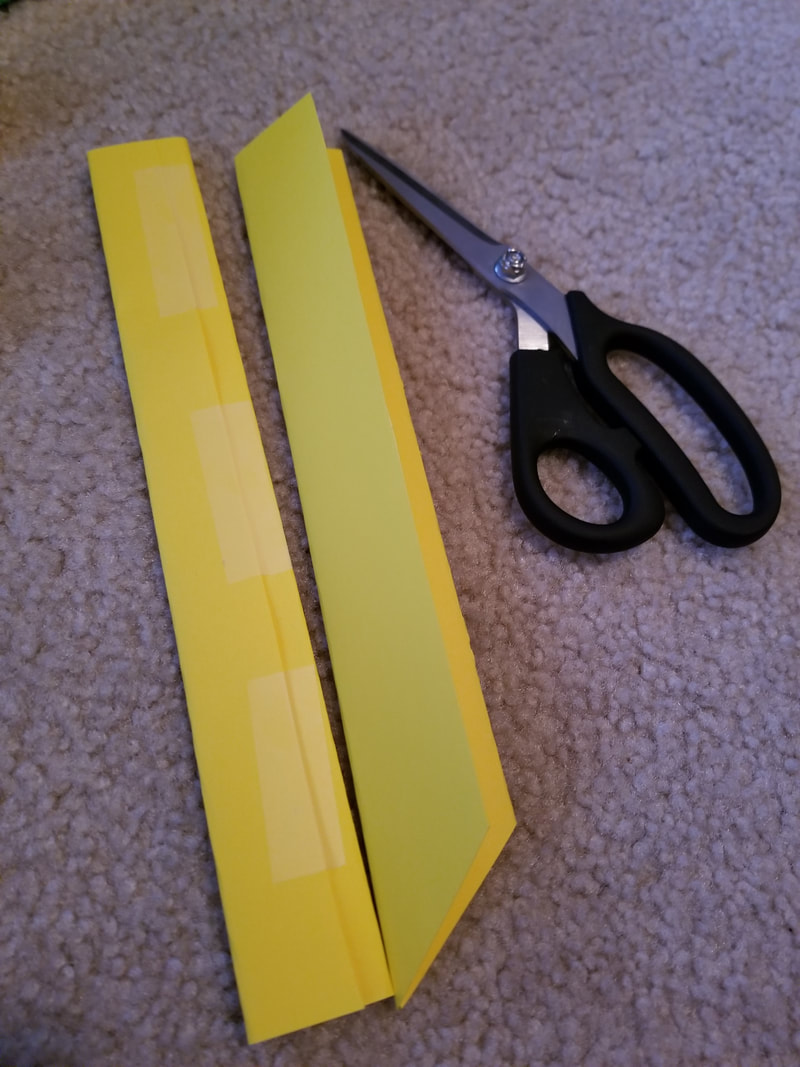
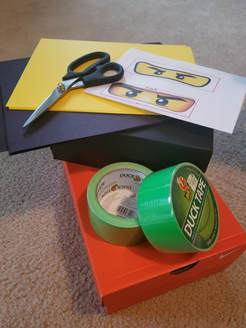 Making Lloyd was pretty easy! You could make any of the ninjas-any color with the same steps. Materials needed Shoe box Scissors Lime green duct tape Black duct tape yellow construction paper-for swords Lloyd's eyes- I printed from Google Images Jaxson's name -printed from Word Step 1: Cut a slot in the top of the shoe box (for Valentine's)then wrap the box in lime green duct tape. Step 2: Wrap the black duct tape around the box like a belt. Step 3: Finish belt with black flaps. Step 4: Print and tape down eyes and name. Step 5: Finish box with yellow swords taped to the back of the box.
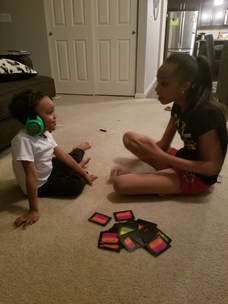
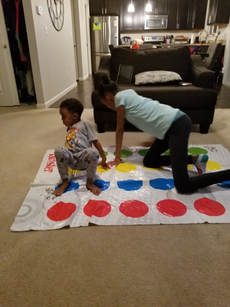
 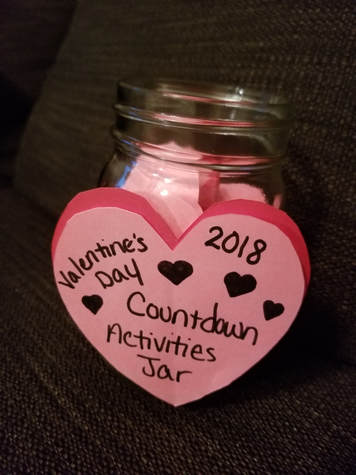 I was trying to find something fun to countdown to Valentine's Day, but I didn't want anything like an advent calendar that can start to add up financially. I decided time is what we all crave. We all want to spend more good quality time with each other and this is how we can make it meaningful and intentional. In comes the 2018 Valentine's Countdown Activity Jar 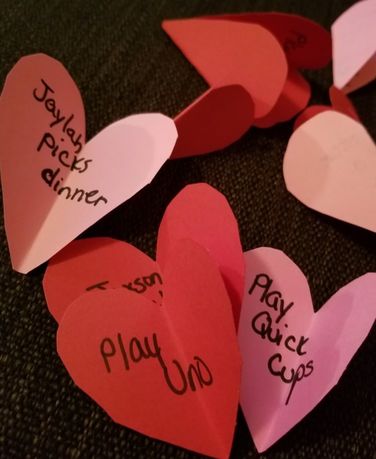 To prepare for the jar I cut out 14 hearts-7 red and 7 pink. On each heart I wrote a different activity we could do as a family. My kids love to play games- so our hearts of full of games we can play together. Here are some examples: 1. (child's name) picks dinner 2. (child's name) picks movie 3. Play Uno 4. Play Twister 5. Play Clue 6. Read a book together 7. Go out for ice cream 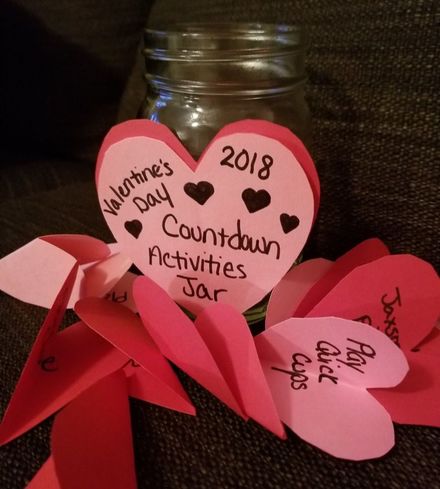 Super easy and inexpensive right? I think this is going to be a great way for us to really spend time having fun with each other.
What ideas would you add to the jar? I'd love to get more ideas for next year's jar!
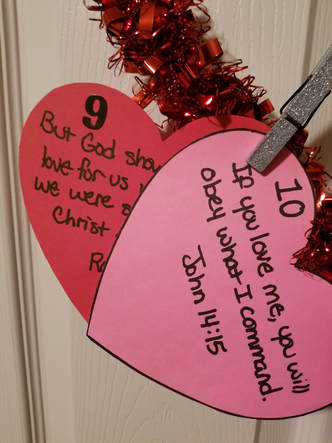
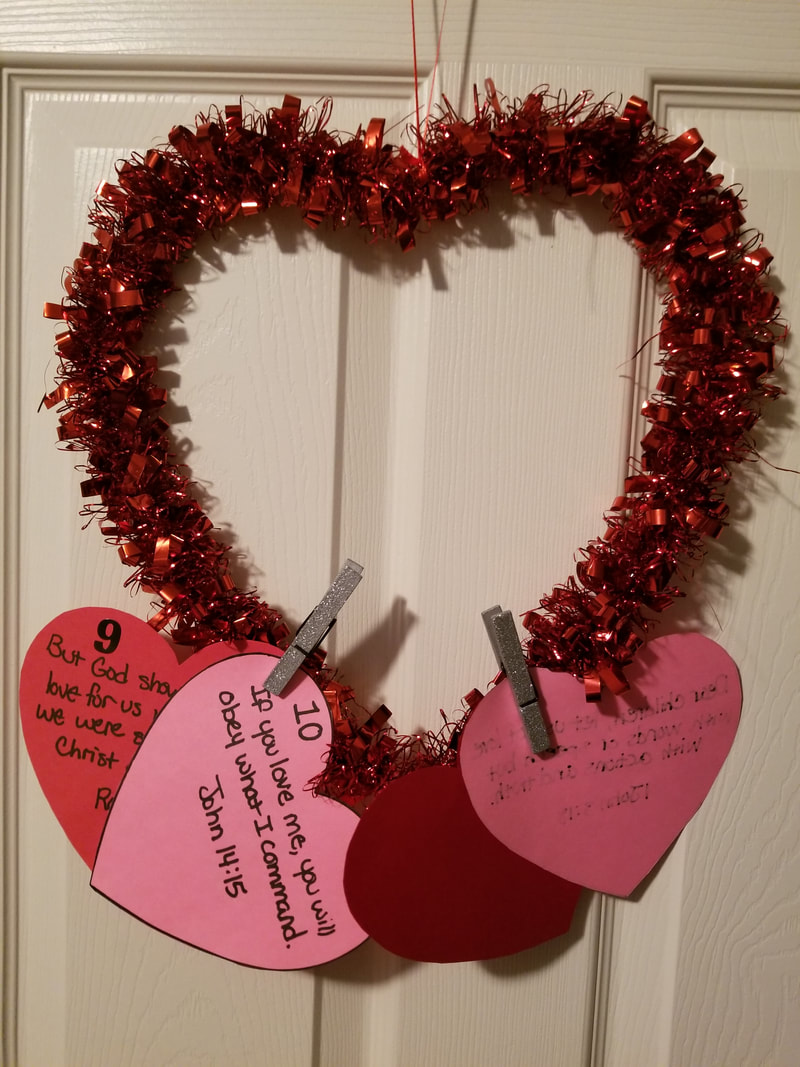
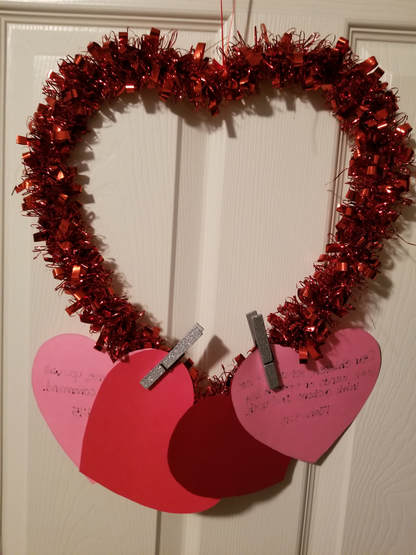 LOVE IS IN THE AIR!!! Don't you feel it? We are days away from February so it's time prepare the countdown to Valentine's Day. I found this awesome Bible Verse Countdown to Valentine's Day.  Instead of printing these off I decided to make it more personal and write them on cut out hearts.
Each of our bedroom doors have a decorative hanging heart on it that I hung these hearts from using cute silver(glittery) clothes pins. Each night the kids will go find the day we are on and we will read that scripture before we begin our special countdown to Valentine's Day activity. I am so excited to start this countdown!
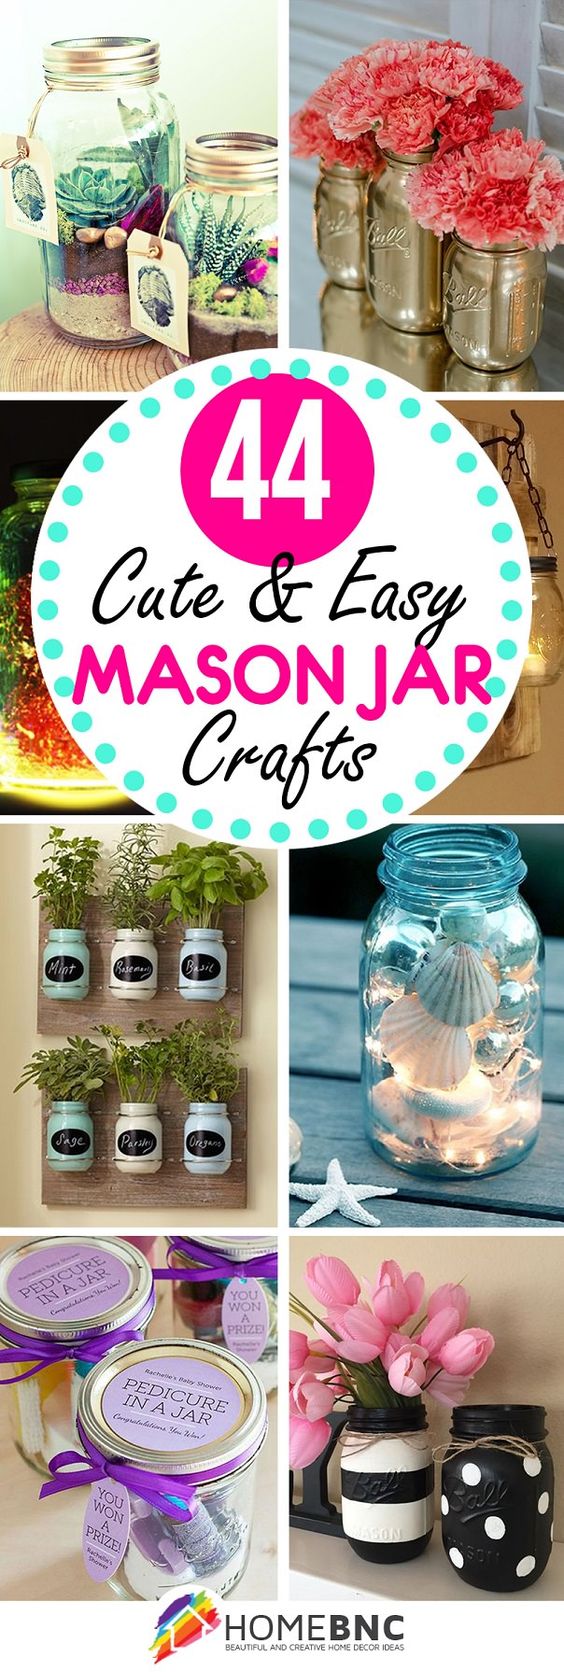
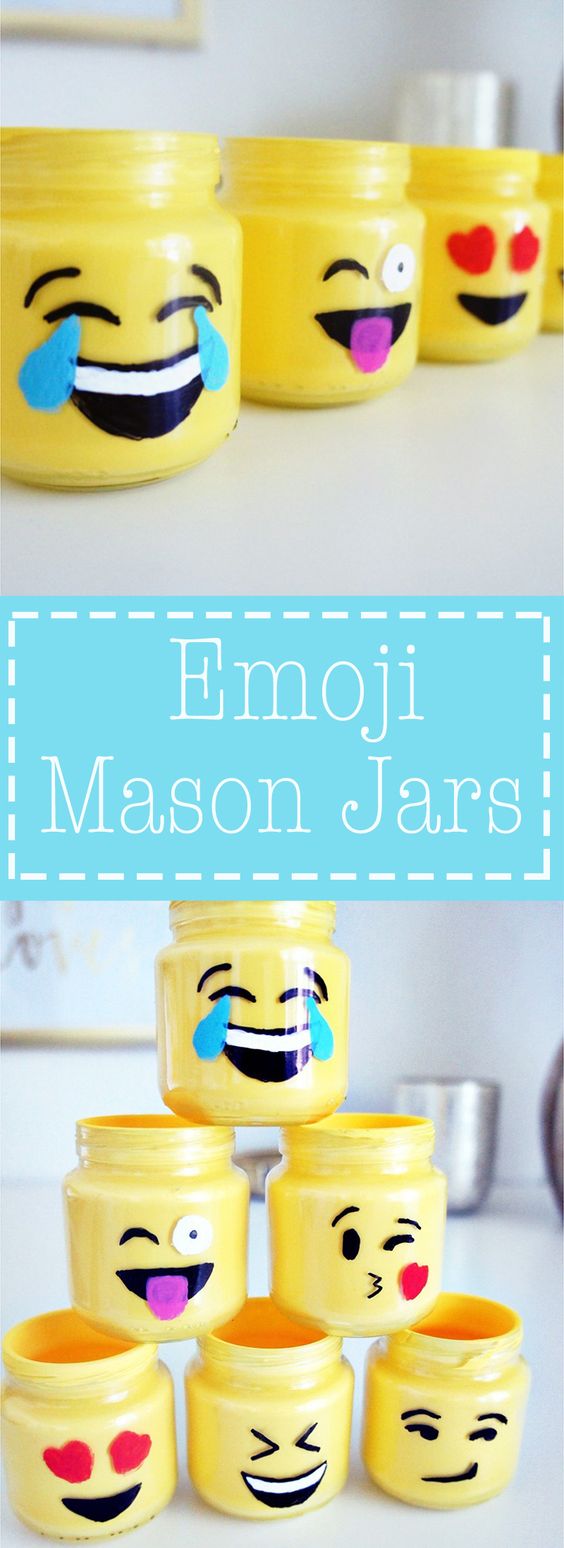
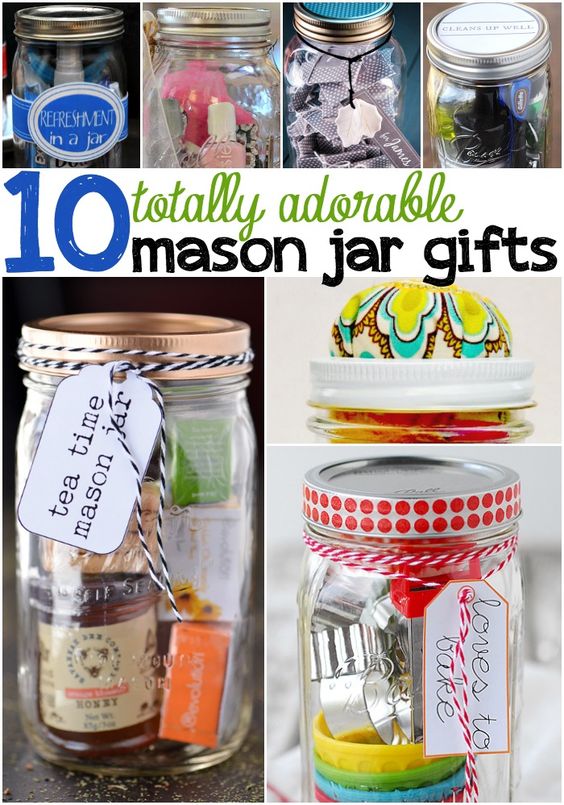
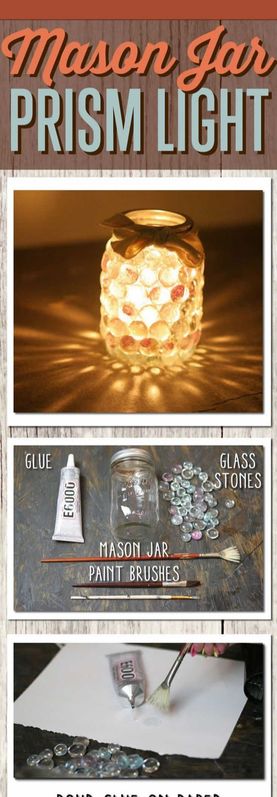
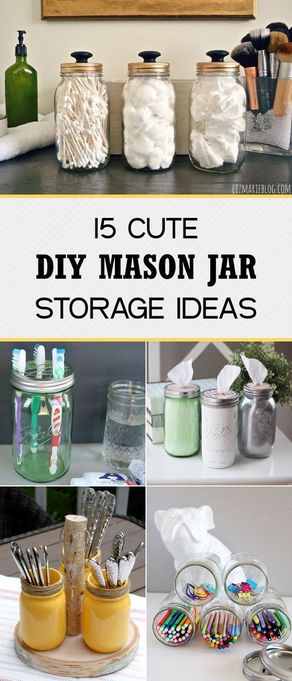
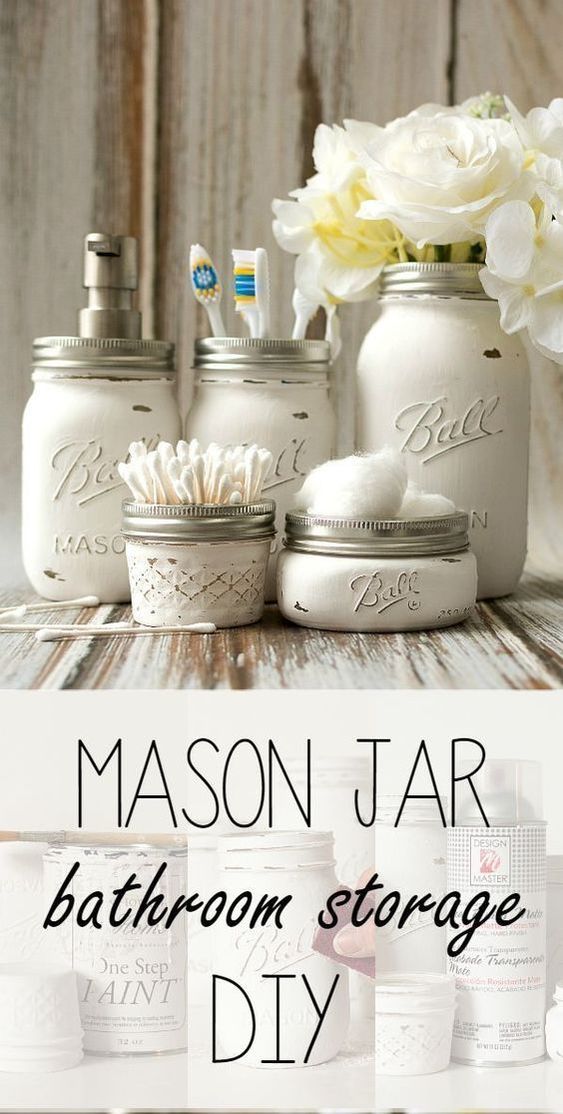
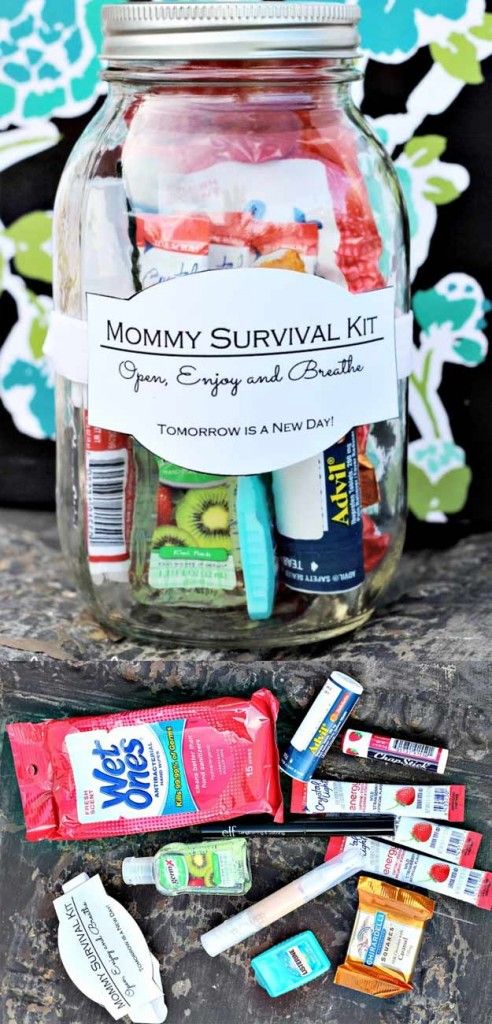
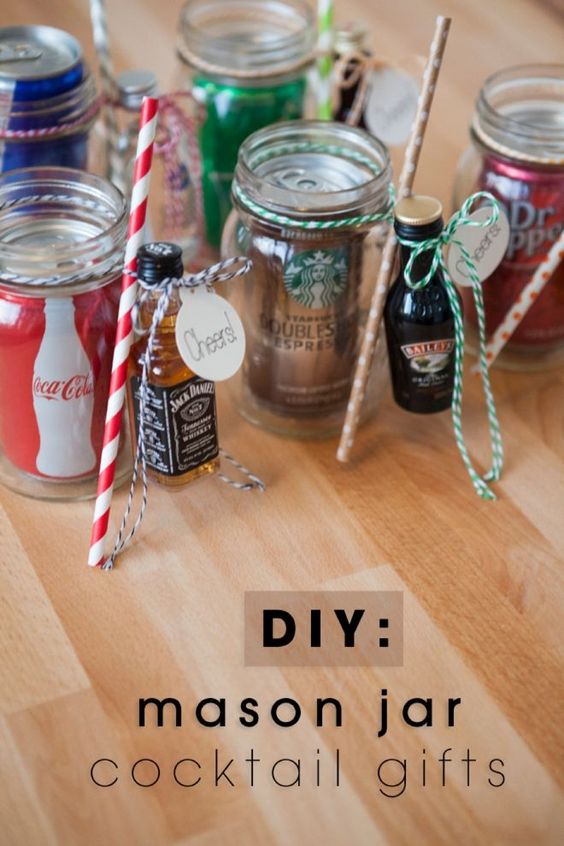
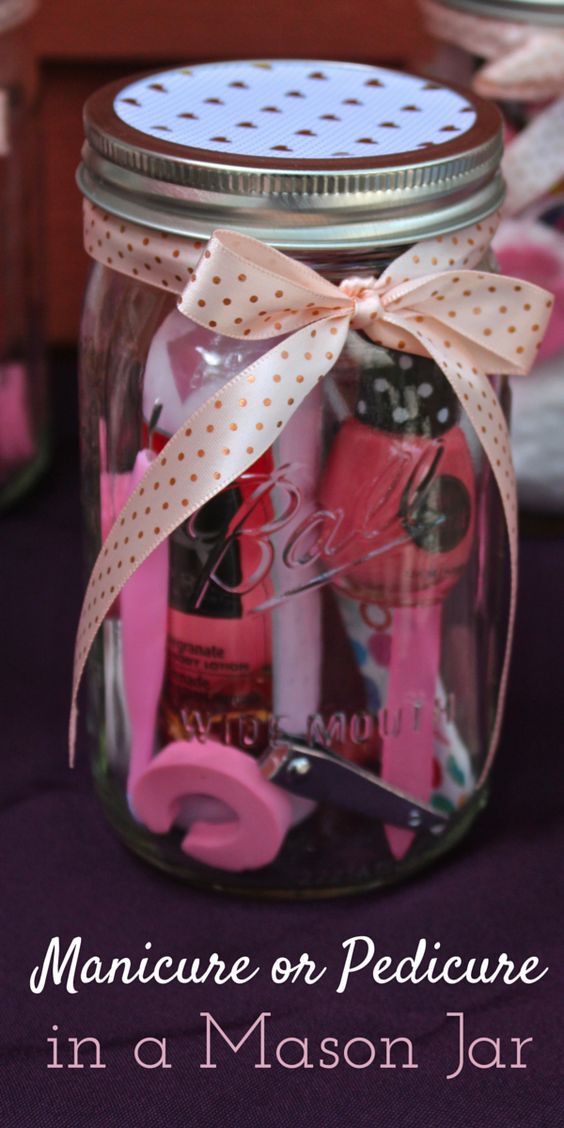
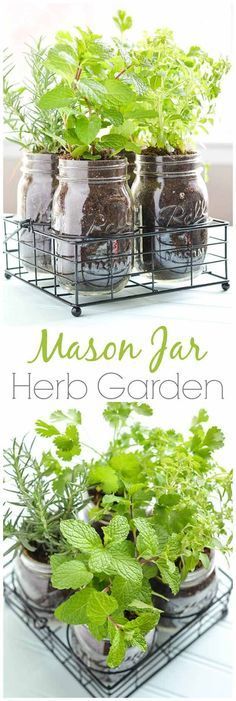
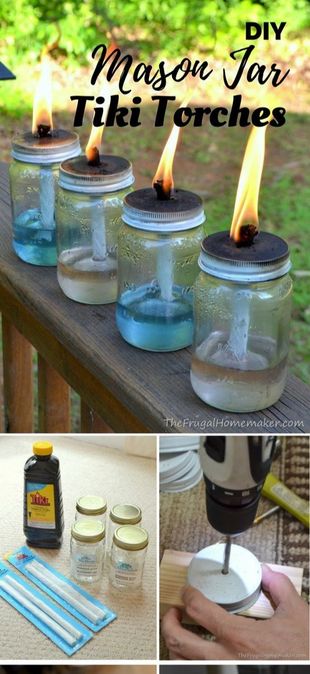
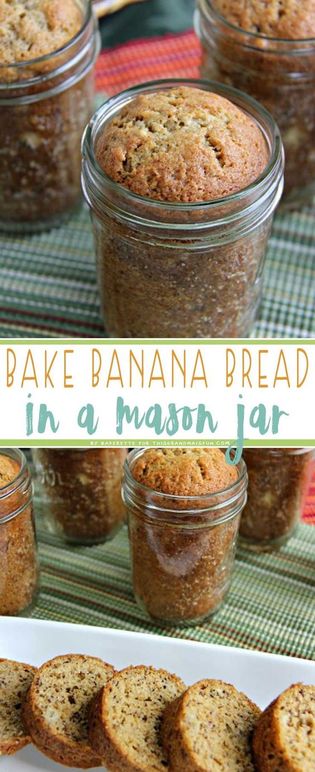
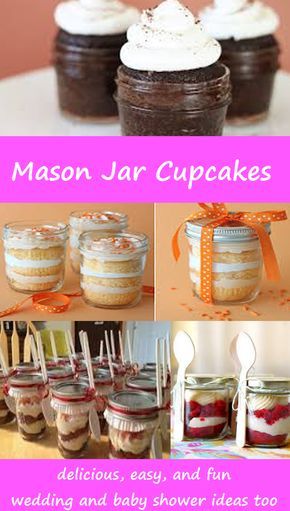
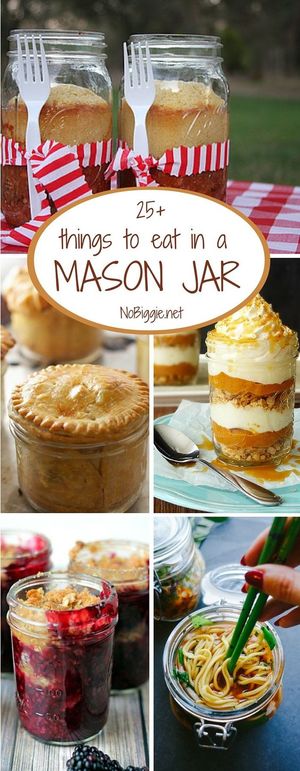
How do you countdown to Valentine's Day? I'd love to hear how you celebrate this day of love! Check back soon for the Countdown to Valentine's Day Activity Jar. If you're like me you see all of those amazing mason jar crafts and gifts and wonder how easy it would be to try them. Well here are some easy DIY Mason projects to try. Party Decor
Home Decor
Gifts
Outside Ideas
Food
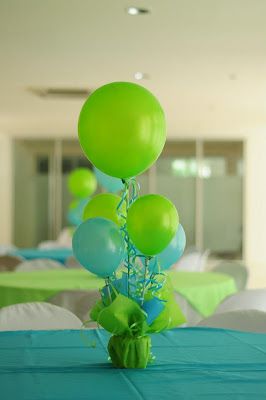
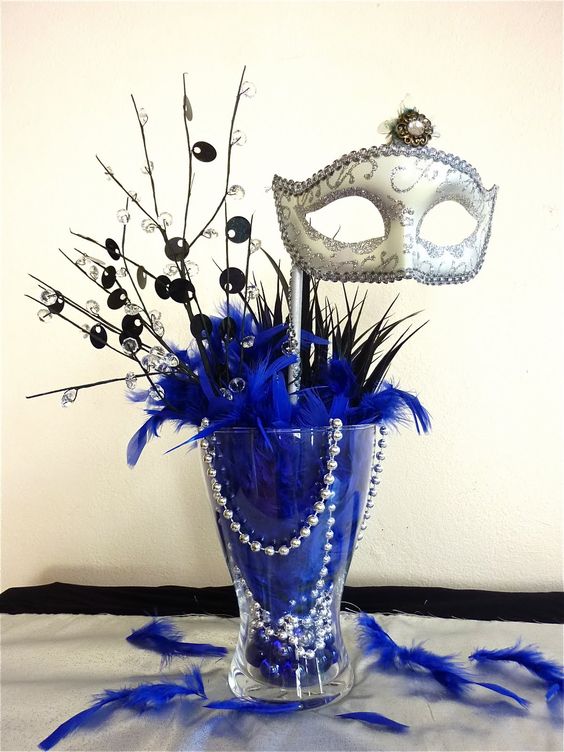
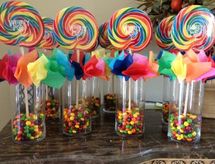
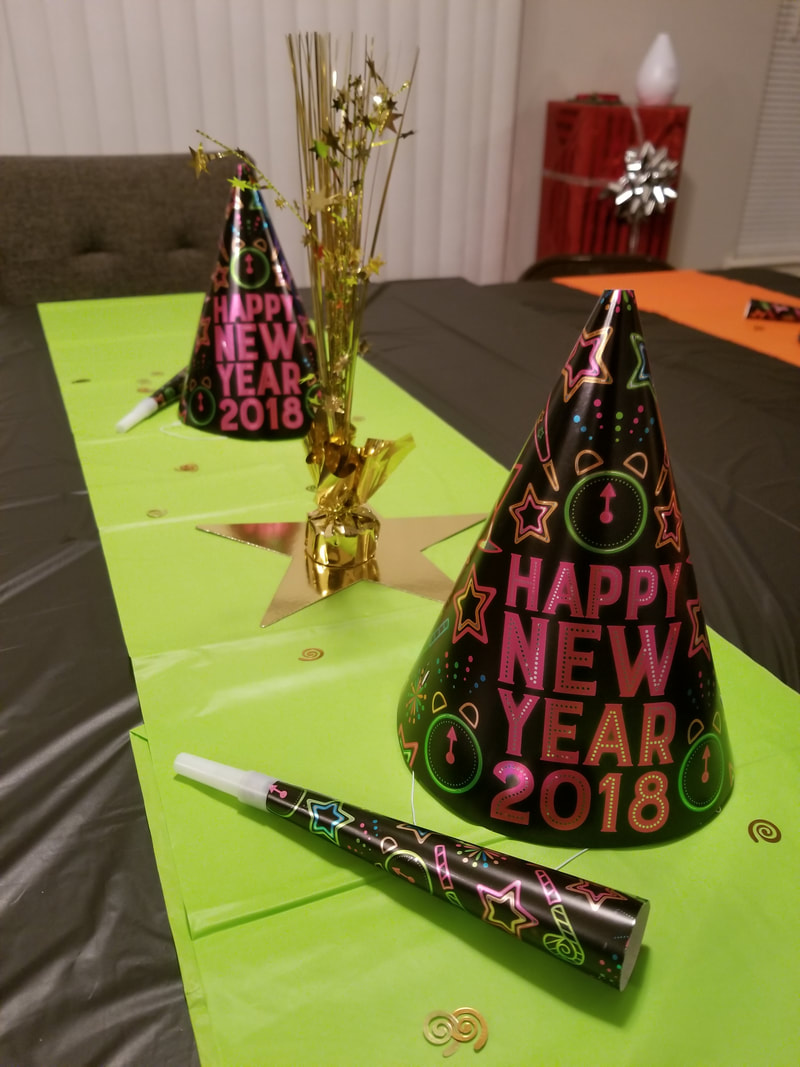
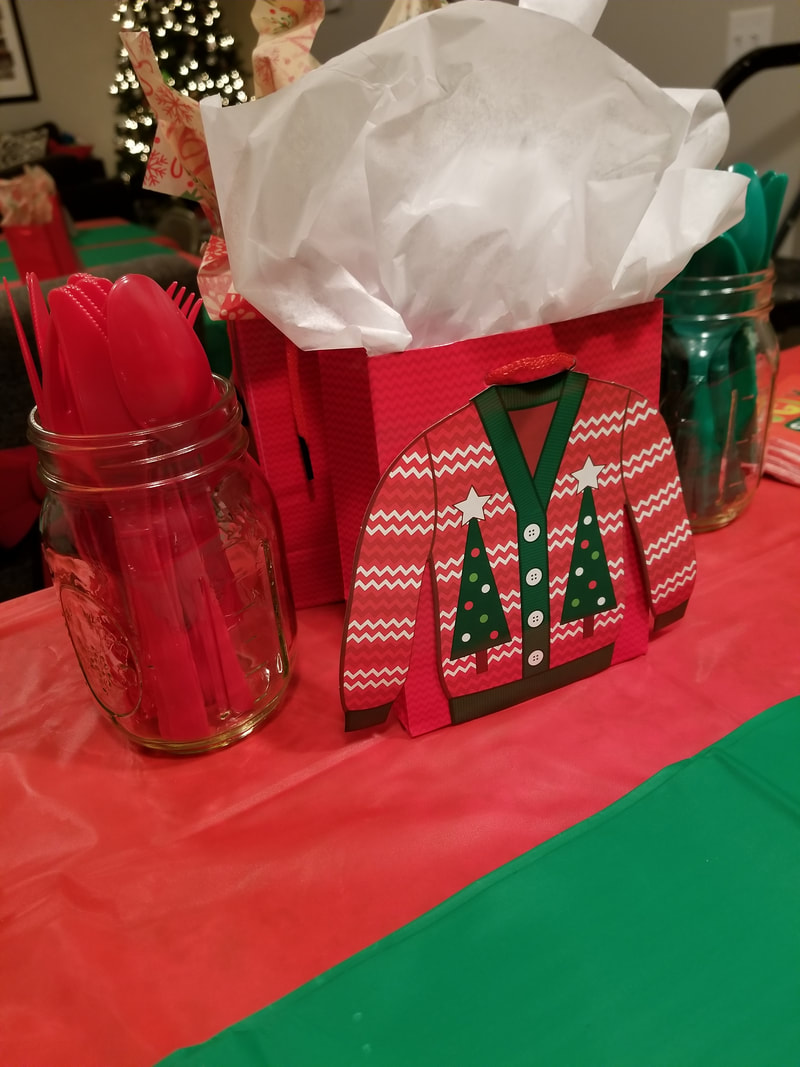
 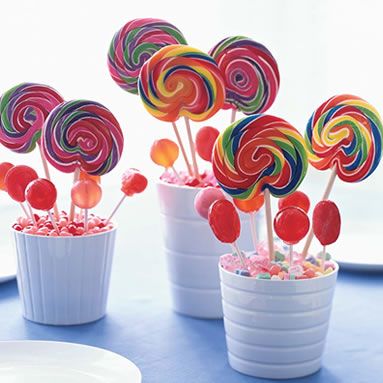 No matter what kind of party you have and no matter where you choose to have your party great table decorations are a must. Centerpieces and table decorations are another way to set the theme and tone of your party. Here are some easy DIY centerpieces that are sure to add some fun to the part-tay!!! Waffle Cone and Flower Centerpiece  DIY Centerpieces 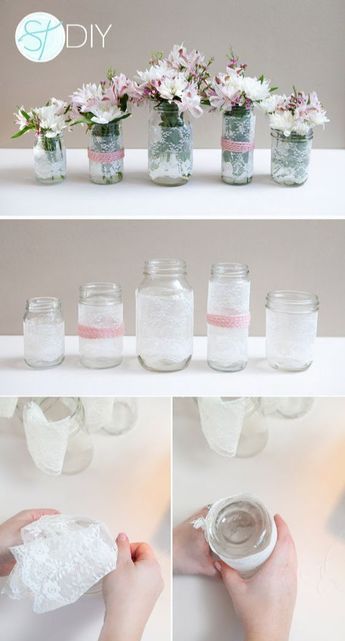 DIY Sand and Flower Centerpiece 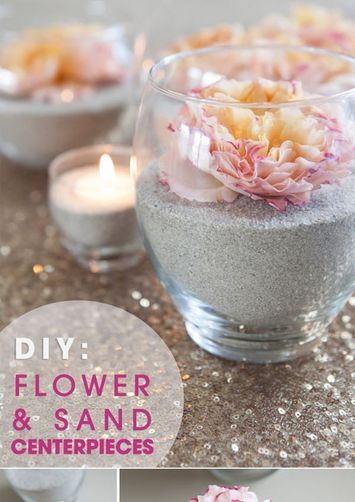 Fun Centerpieces
Candy Centerpieces
Creative Celebration Centerpieces
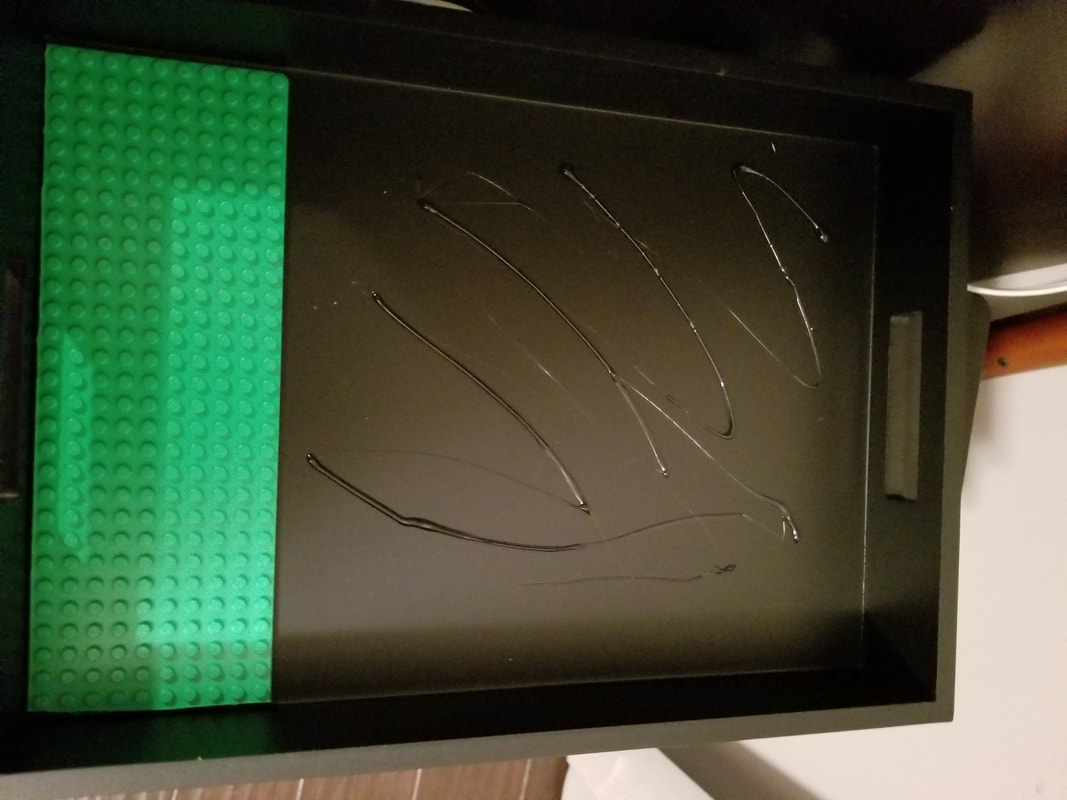
I have a lot of Lego lovers in my family. For Christmas I decided to make a Lego tray for one of them. I saw this on Pinterest and thought what a great idea. With this tray kiddos can build their legos anywhere in the house and transfer them to another room easily. 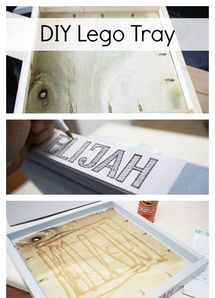 Here is my DIY Lego tray! 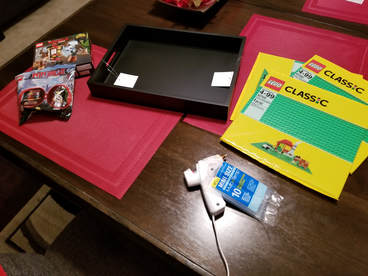 Materials Needed- Classic green Lego base plates Solid color tray glue gun glue sticks LEGOS!!!! 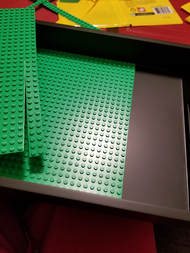 First thing I had to do was measure the tray to see how much of the base plate needed to be cut off to fit the tray.
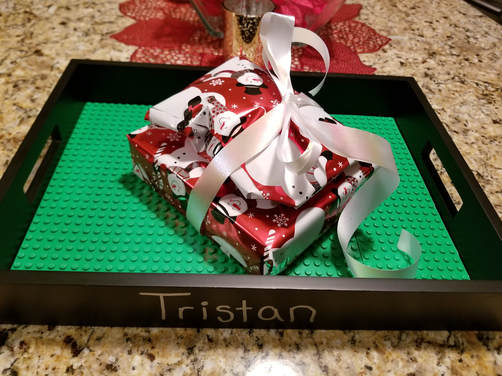 Once the base plates were secure all that was left was to add the gifts!
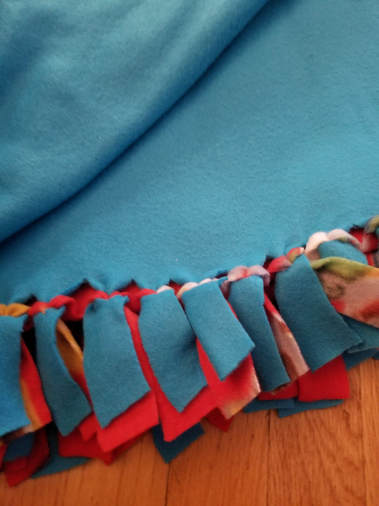
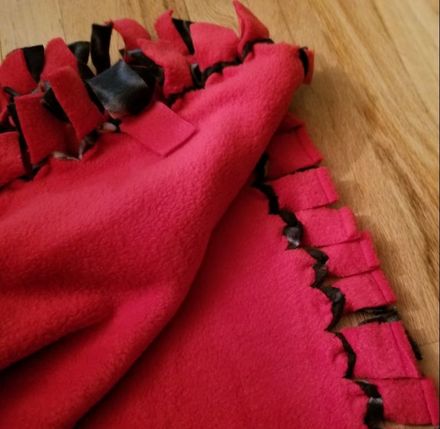
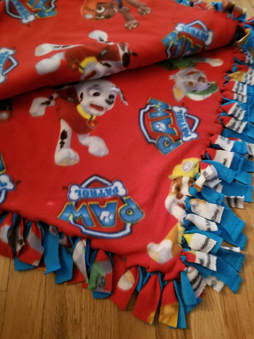
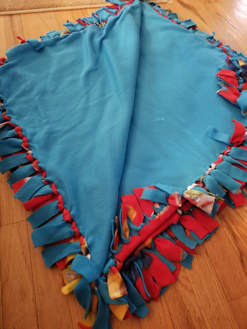
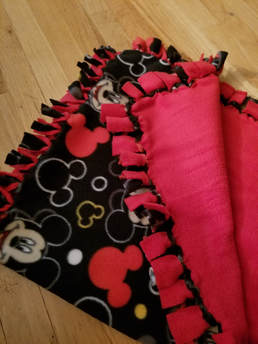
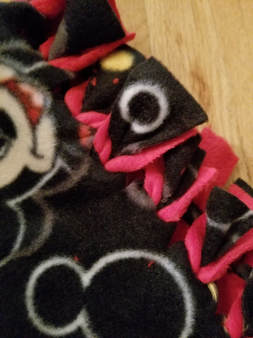
 My nephew will soon move from his crib to his big boy bed! What a big step! I wanted to be the best auntie of course and make his blanket for his bed. I found a ton of tutorials on Pinterest that were a huge help. It's actually really easy! 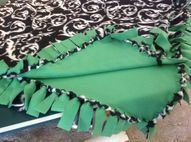 Snapguide.com's materials and instructions Materials
4 Inches Square template Steps and pictures at Snapguide.com Step 1: Layout your fleece on top of each other. Smooth out wrinkles and match up edges as best you can. Don't pull too much as fleece has a bit of stretch to it. Step 2: Trim edges. Step 3: Using a 4 x 4 square template, place on corner and cut out. Do this on all four corners. Step 4: Start cutting a four inch strip along the edge. I used 1 1/4 inch strips. Step 5: After you cut the four inch strips, fold them up. Step 6: Carefully make a small slit on the fold. This is your hole for 'tying', so the smaller the better. Step 7: Turn the strip up & pull down inside, through the slit. Step 8: Tug gently to make it tight. Step 9: Continue down the row with each strip. Step 10: Wrap yourself in it and enjoy! with the holidays approaching what a great gift this would be. Here are the blankets I made for my nephews. Each took me a couple of hours! cadence's Blanket
 Baby Israel's BlankEt
 |
Archives
December 2019
|


 RSS Feed
